Return to action – the pitot tube
Sunday, 8th April, 2018
It’s been a long winter that has ended with a cold, wet spring. I have neglected my workshop since October last year, a full six months. But yesterday the temperature struggled up to 14 degrees, the sun shone wanly and I made a tentative return to the too long abandoned model. The two radiator fairings with which I had struggled a full six months previously waited balefully, a cobweb here and there, but I decided to ease back gently, and the pitot tube seems like a likely subject.
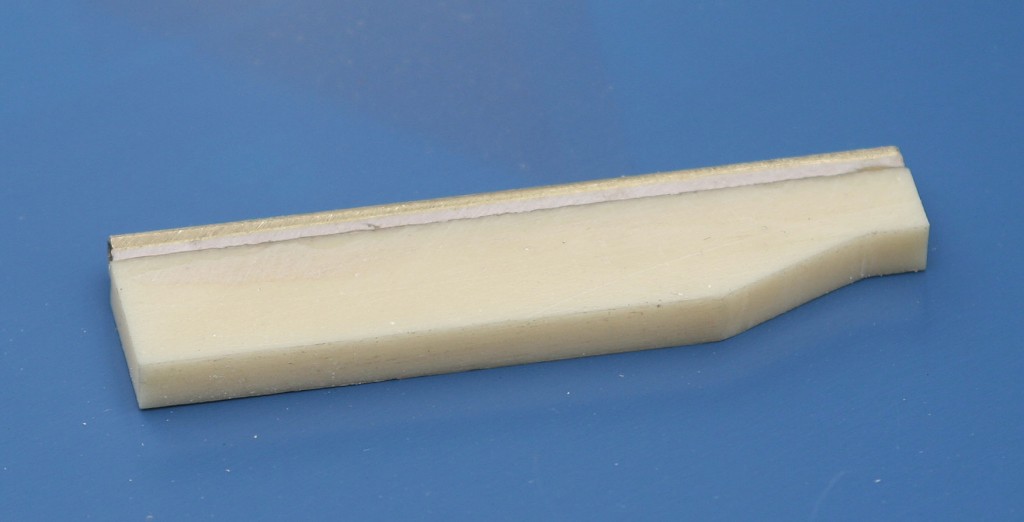
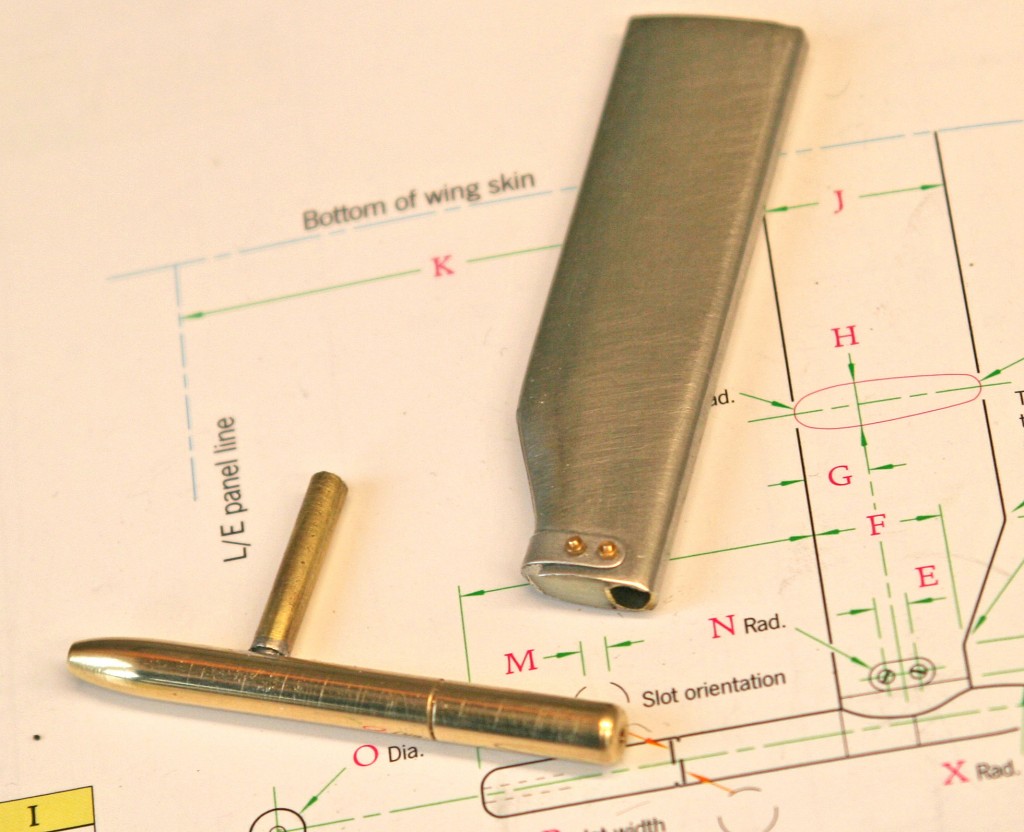
The photographs show the work, beginning with the pitot stem: a scrap of waste casting resin milled to thickness, grooved down the mating edge and glued to a brass tube. The join between resin and brass is made good with rapid hardening automotive filler and the piece filed and sanded to shape, taking care to achieve an accurate fined down trailing edge. When happy, I clad the entire stem with pewter sheet, overlapping at the trailing edge and secured with thin absorbent superglue. The soft pewter is beautifully malleable and when boned down with a metal or hard wood tool the seam becomes all but invisible.
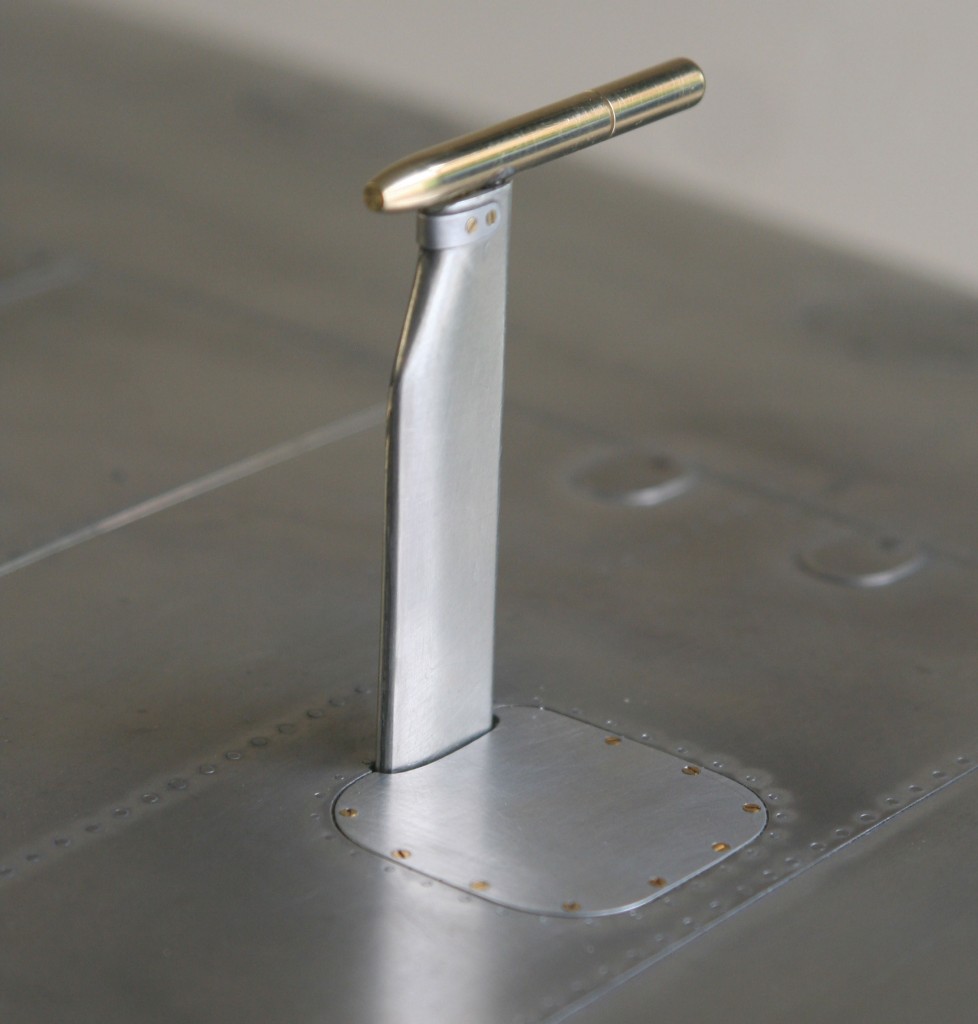
I made the brass pitot tube in my lathe, drilling the tiny hole at the front end and turning the tapered back end. The photos show how it is drilled at right angles to accept a half inch long brass stub, soft soldered in place. By this simple mechanism the pitot tube attaches to its stem and the stem telescopes over a matching brass rod embedded into the wing. A litho plate inspection cover and eight 14 BA brass screws completes the job.


