Assembling the airscrew
Friday, 10th August, 2018
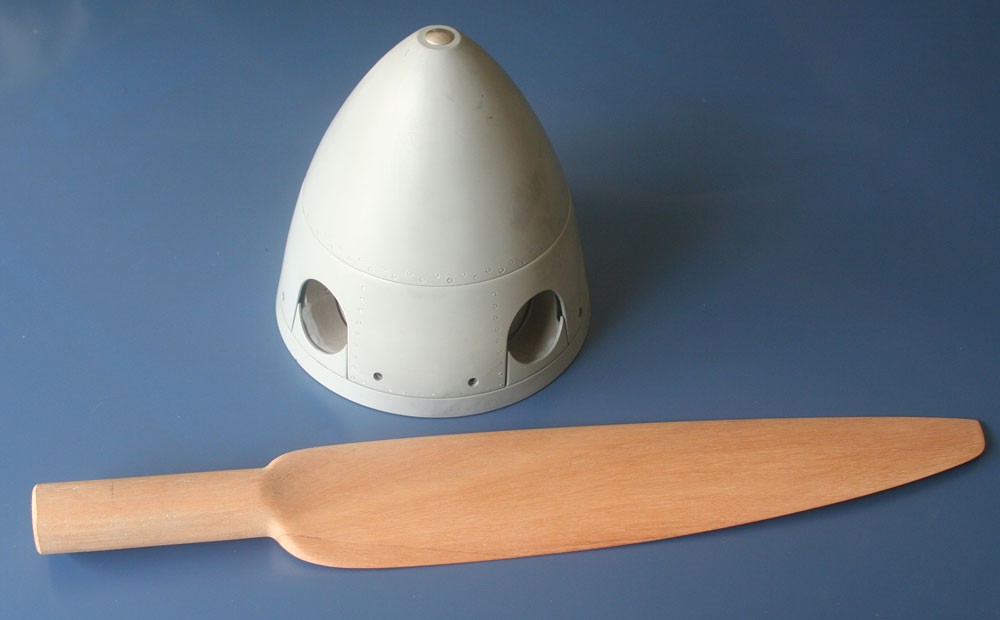
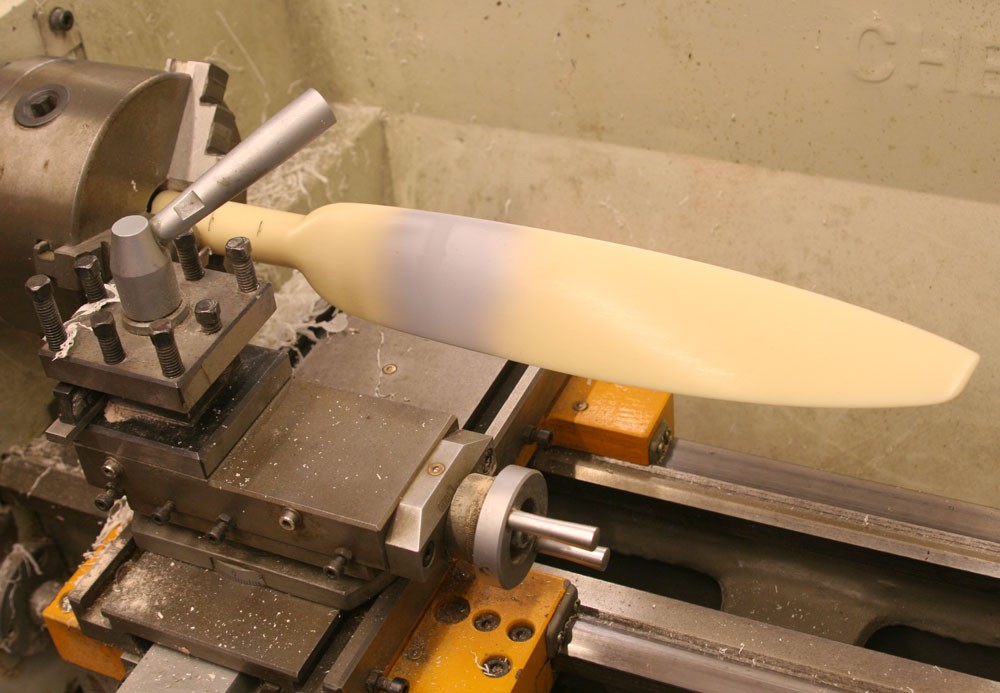
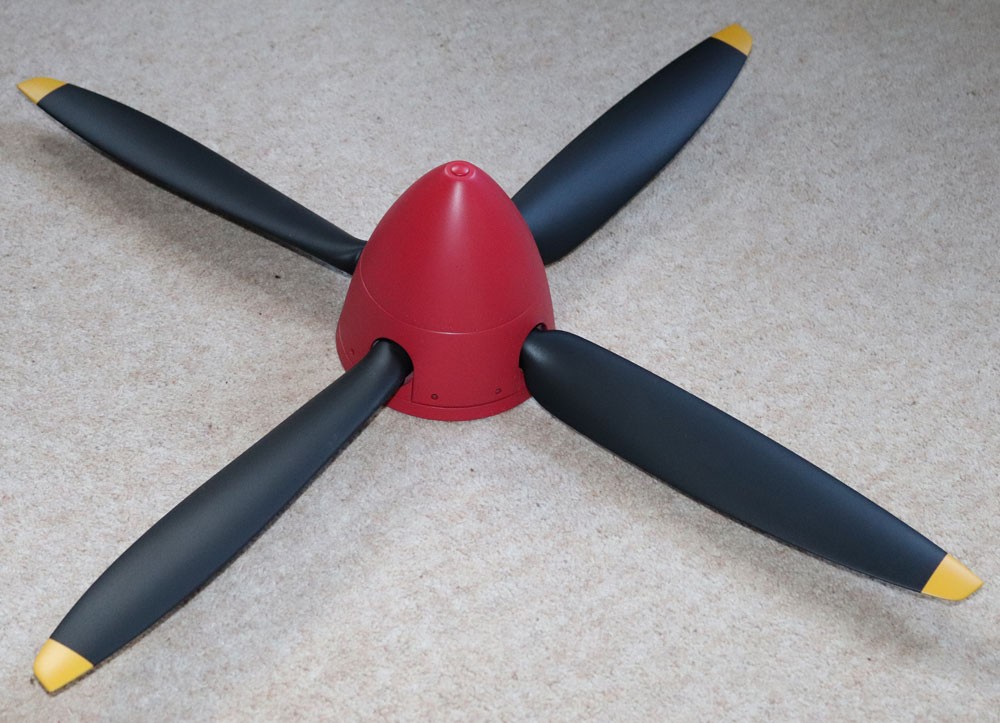
It is more than a year since I commissioned woodworker and vintage aircraft restorer Colin Essex to make the beautiful walnut pattern for my Spitfire’s Rotol airscrew blades (see diary entry for 20th July, 2017). During the month of June just gone I finally got around to producing the castings.
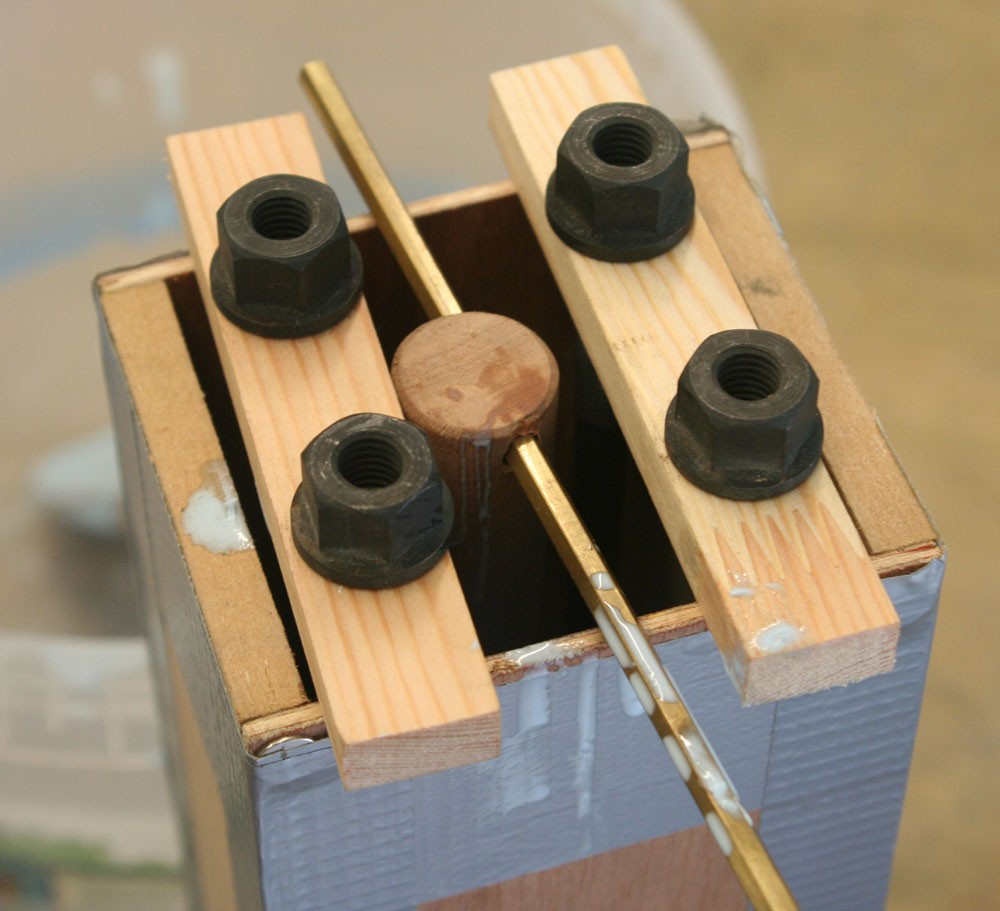
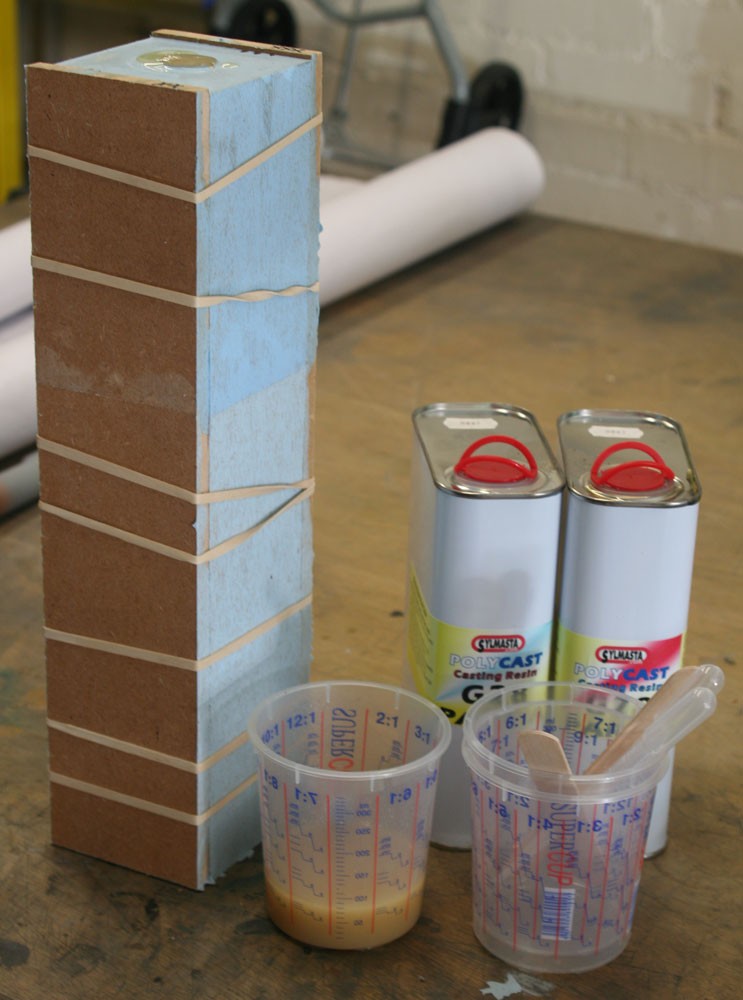
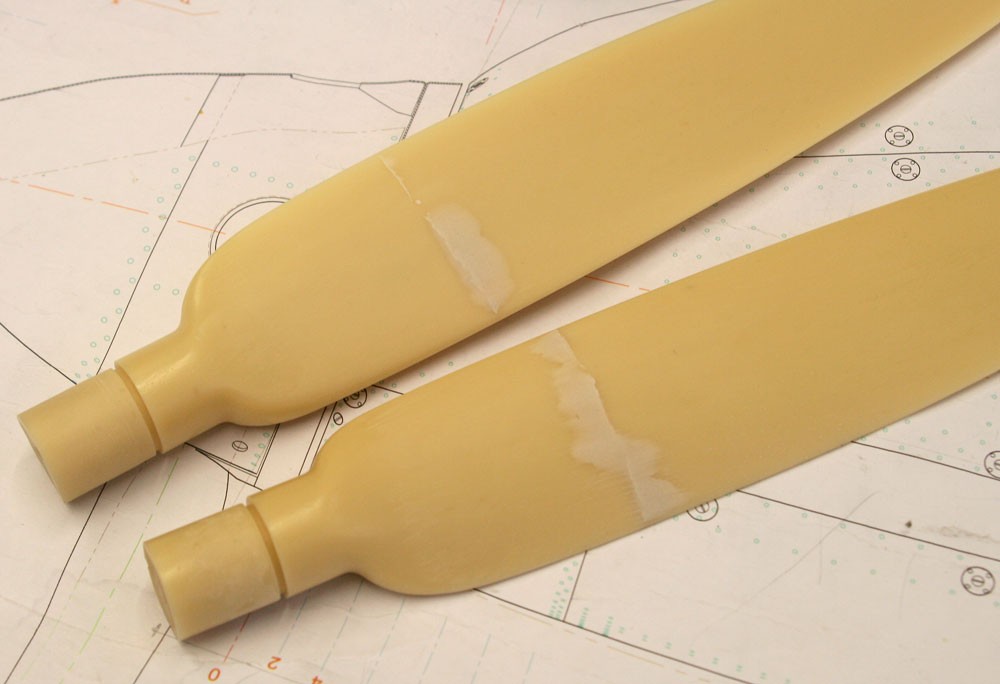
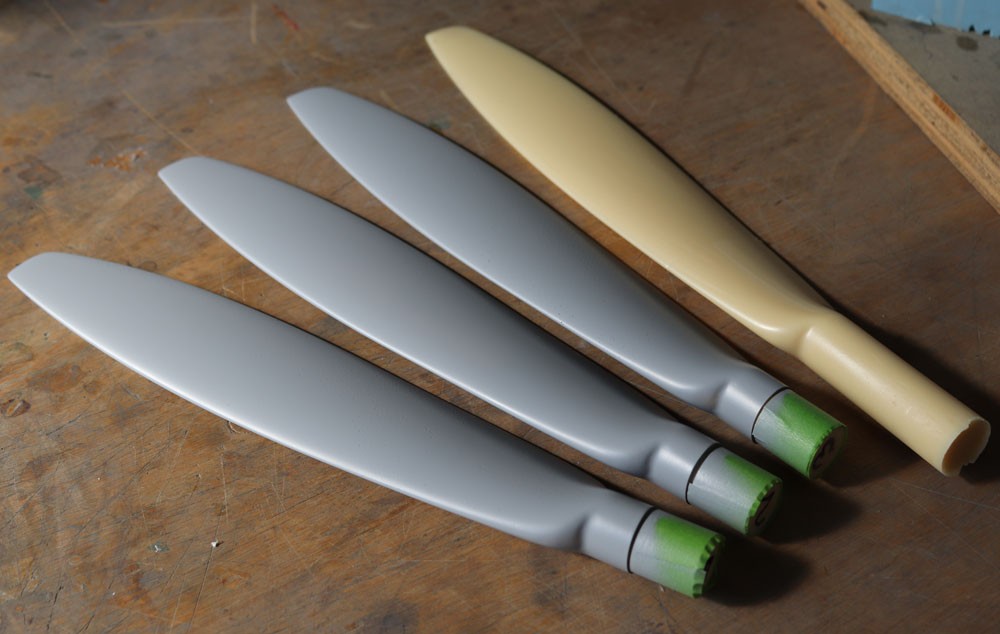
Readers who have perused my P-51D Mustang diary may be familiar with the technique, which relies on a two-part vertical silicone rubber mould. I used Sylmasta slow-cure casting resin, leaving each pour in the mould for at least 24 hours to ensure maximum rigidity for the castings prior to extraction. I made five blades in all, and only one showed a minor degree of distortion, and that simply because I had removed it prematurely. The seam lines located about a third of the way up each blade were also remarkably good requiring only a very minimum of filler during the cleaning up process.
The next job was to chuck each blade in my lathe with view to turning then parting off its root section as an accurate push fit into the inch-deep holes bored almost three years previously into the propeller boss (see diary entry for 28th April, 2015).
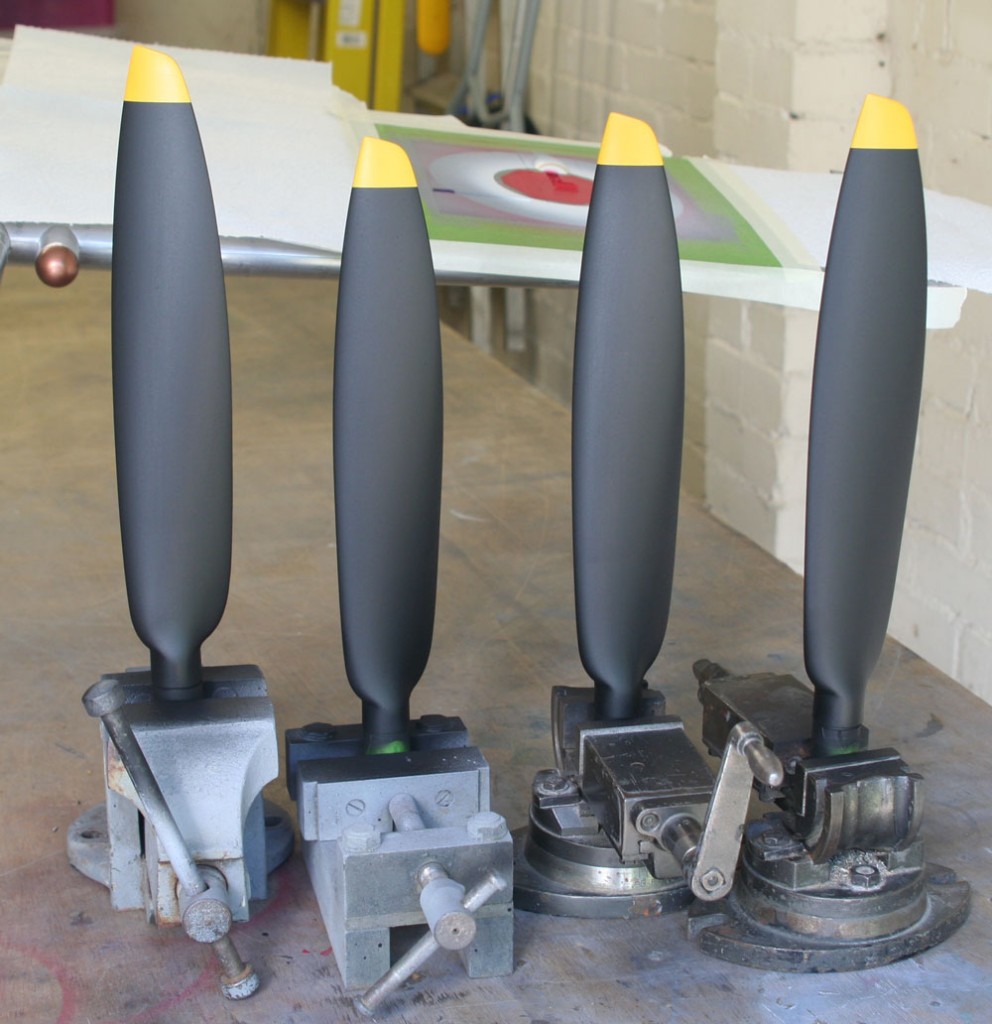
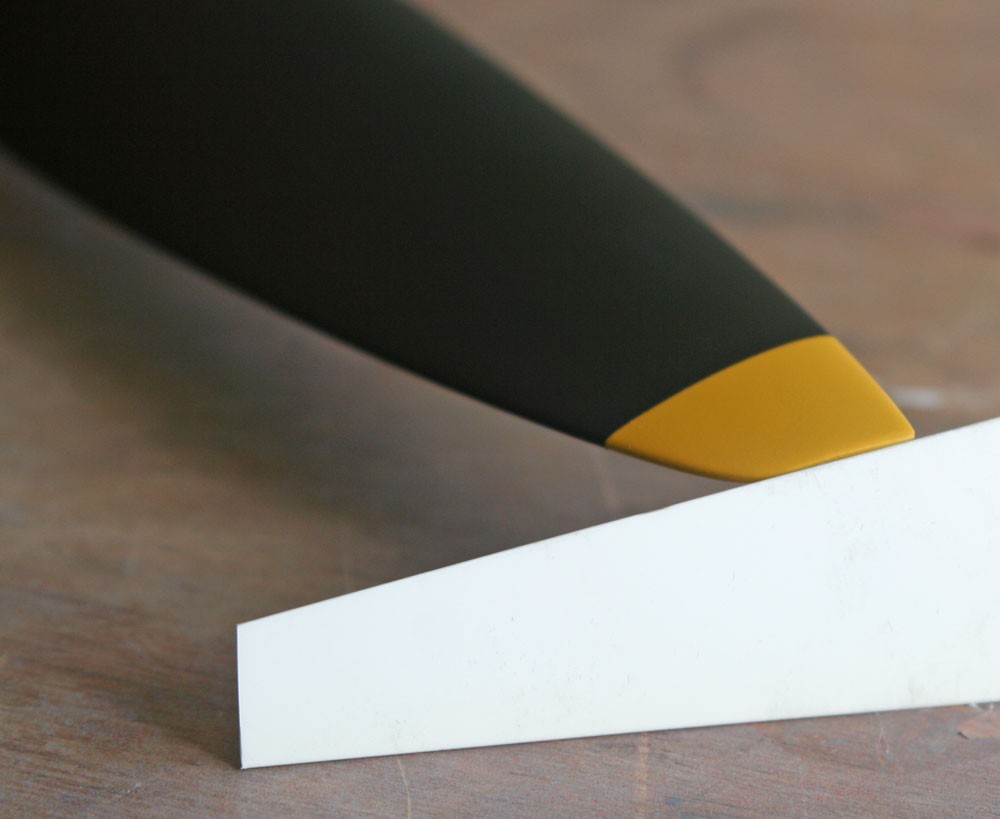
Spray painting involved multiple coats of acrylic primer followed by the top coats, for which I chose Phoenix Precision Paints RAF Trainer Yellow and dull black. Precision Paints specialise in durable, high quality enamels favoured by model engineers and used extensively by builders of miniature live steam locomotives. Well diluted with up to 30 per cent thinner, they spray beautifully with my Aztek air brush.
A last-minute hitch occurred when I realised that I had no reliable data on the at-rest pitch angle of the Rotol aircrew of a Spitfire Mk IX. Perusal of scores of photographs proved inconclusive; however, an email to Historic Flying at Duxford conjured up an almost immediate answer: 12 degrees at the tip relative to the plane of rotation. My sincere thanks to Martin Overall for the info.
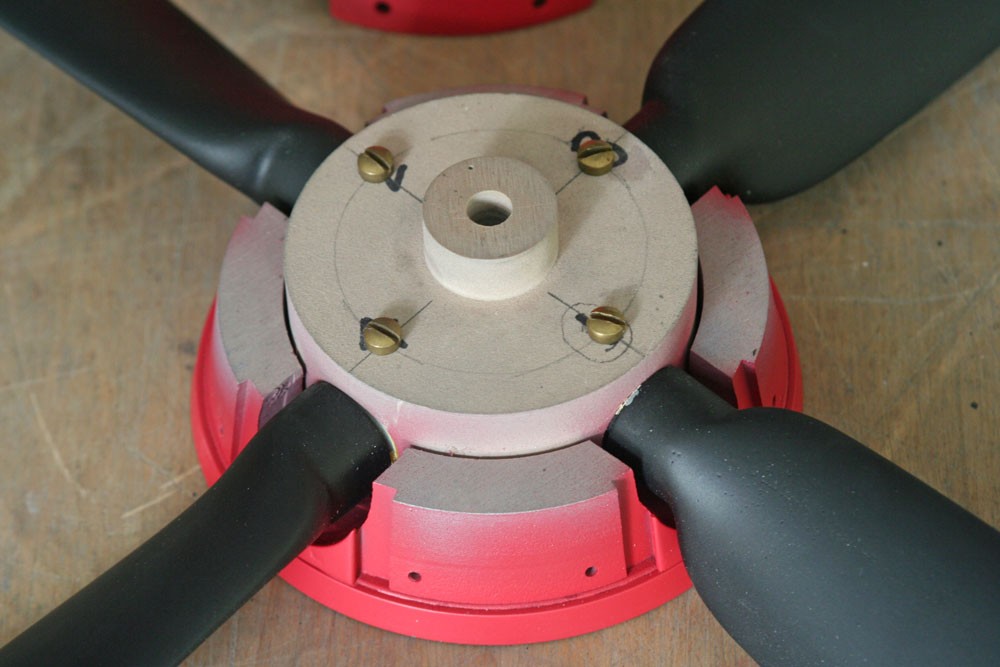
Finally, with the blades located in their sturdy boss, checked for true and the pitch angle set using a simple card template, I was able to drill four vertical holes for a set of hefty self-tapping ‘grub screws’ to retain each of the blades securely and accurately.
Ultimately, the entire assembly will held in place on the prop shaft by a large nut and friction washer, followed by the spinner which is secured to its backplate by a set of eight screws, as in the full size version.