Fitting the exhaust stacks
Tuesday, 28th August, 2018
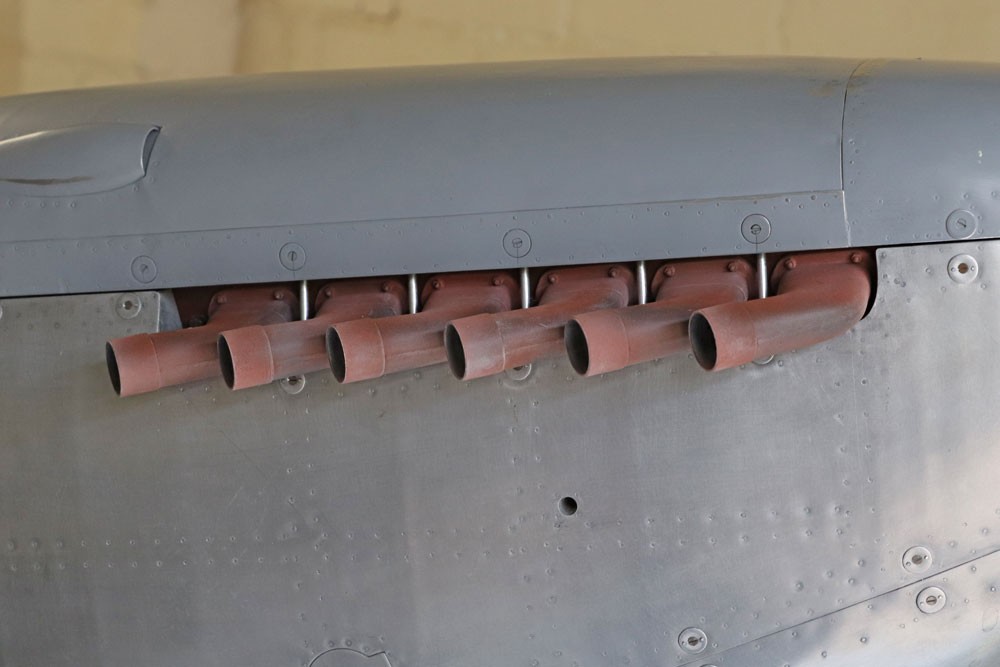
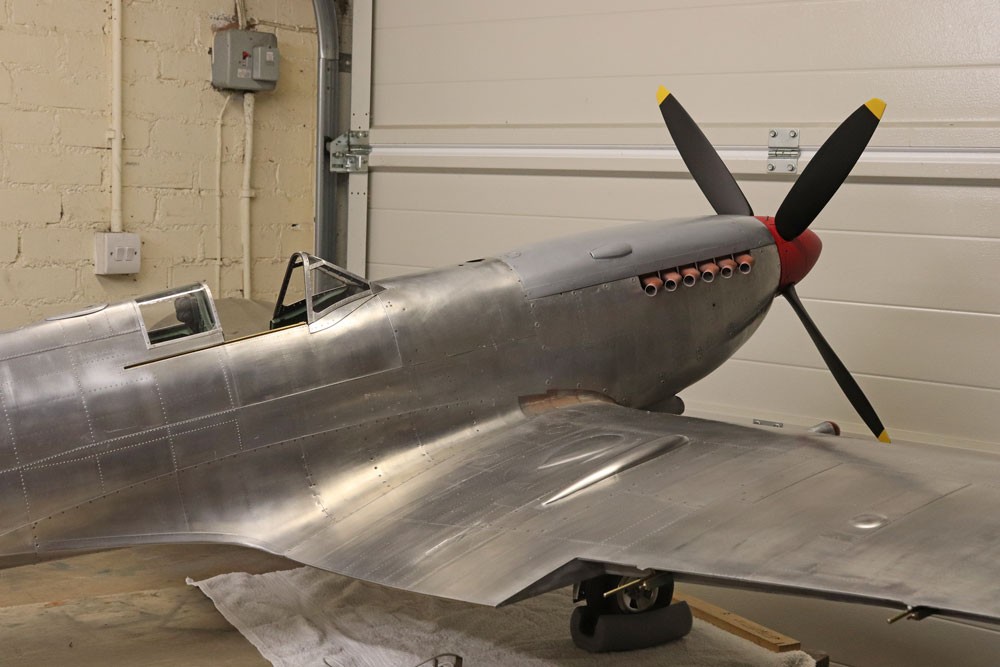
With the model upright on its undercarriage, one of the immediate jobs I tackled during the month of July was to fit the recently painted exhaust stacks. Looking back, it is hard to believe that these resin-cast parts have languished in storage for more than three years; but, yes, the dates on my photographs remind me that I made them in May 2015!
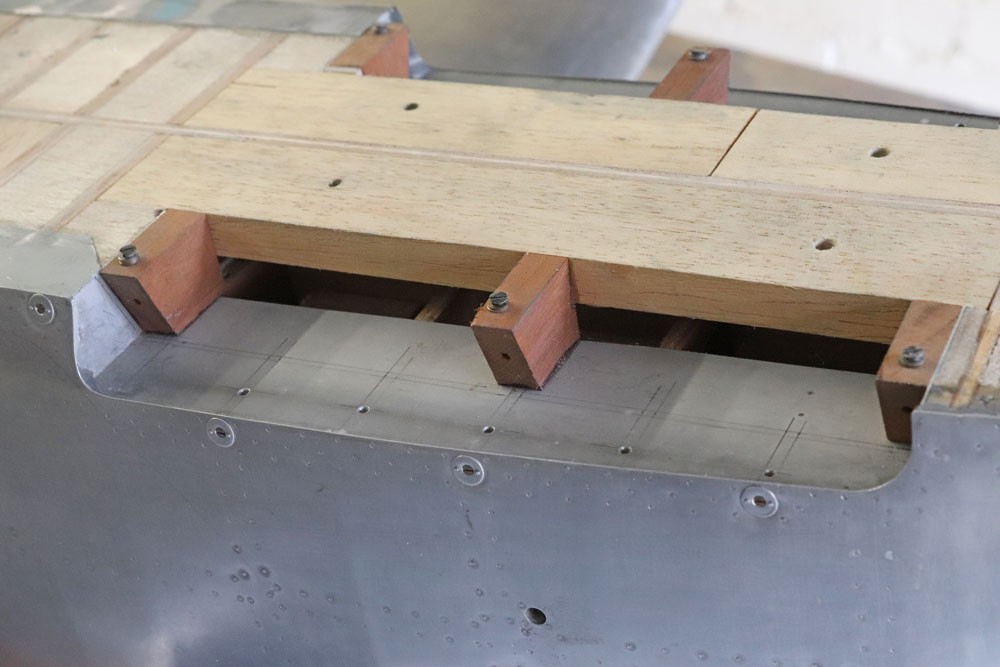
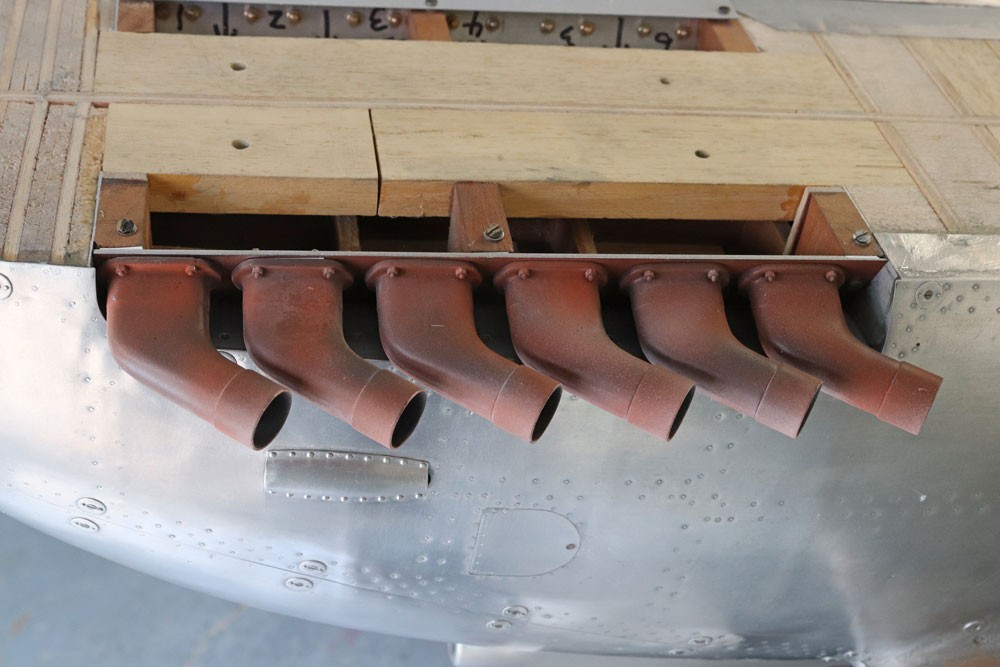
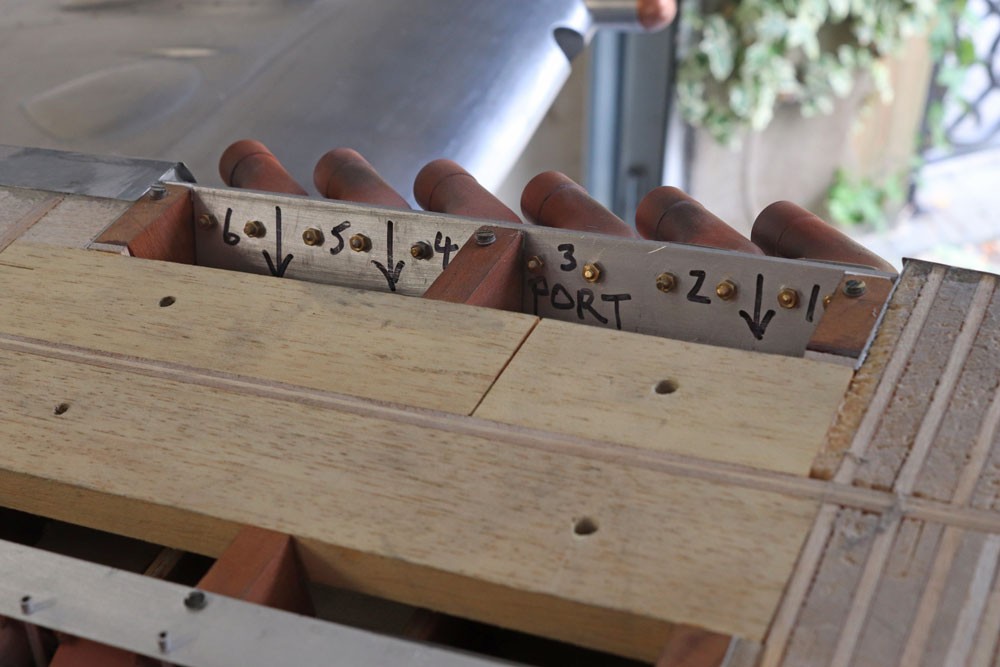
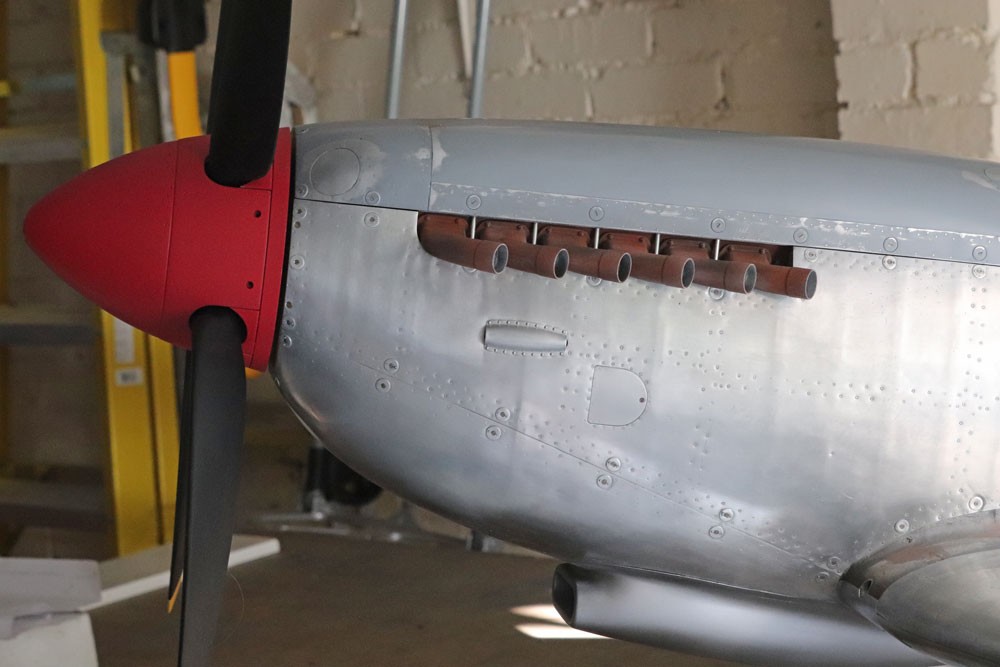
Each of the castings sports a pair of 8BA embedded brass studs, by which they are bolted to an aluminium backplate. The backplate in turn is drilled for three small wood screws which locate into canted mahogany bearers in the nose section of the model.
In the full size aircraft the serried exhaust chambers are housed within an open lattice exhaust shroud, but since very little of this is visible behind the close cowlings, I was able to represent the visible stays in a simplified form by five short lengths of 1/8-in diameter aluminium tube. These locate at their lower ends into holes in the ‘floor’ of the exhaust stack cavity, and at their upper ends into similar holes drilled through a lightweight aluminium retaining plate (not shown in the photos), which is screwed to the top of the above-mentioned mahogany bearers. The photos show this more clearly than I can describe.
The entire process of fitting the exhaust stacks and their attendant aluminium stays took no more than a couple of hours, and much of this was occupied by the insertion of shims where necessary to correct a slight but perceptible discrepancy in the angle formed by the two stack assemblies relative to the side cowlings.