The Spitfire's tyres
Monday, 17th September, 2018
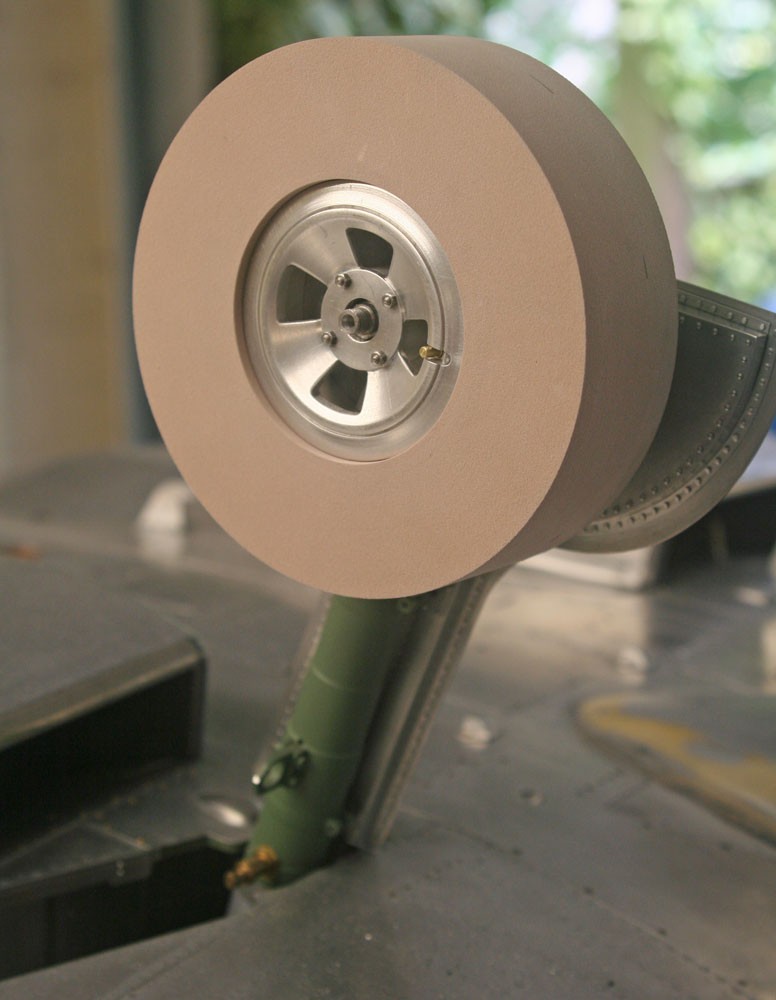
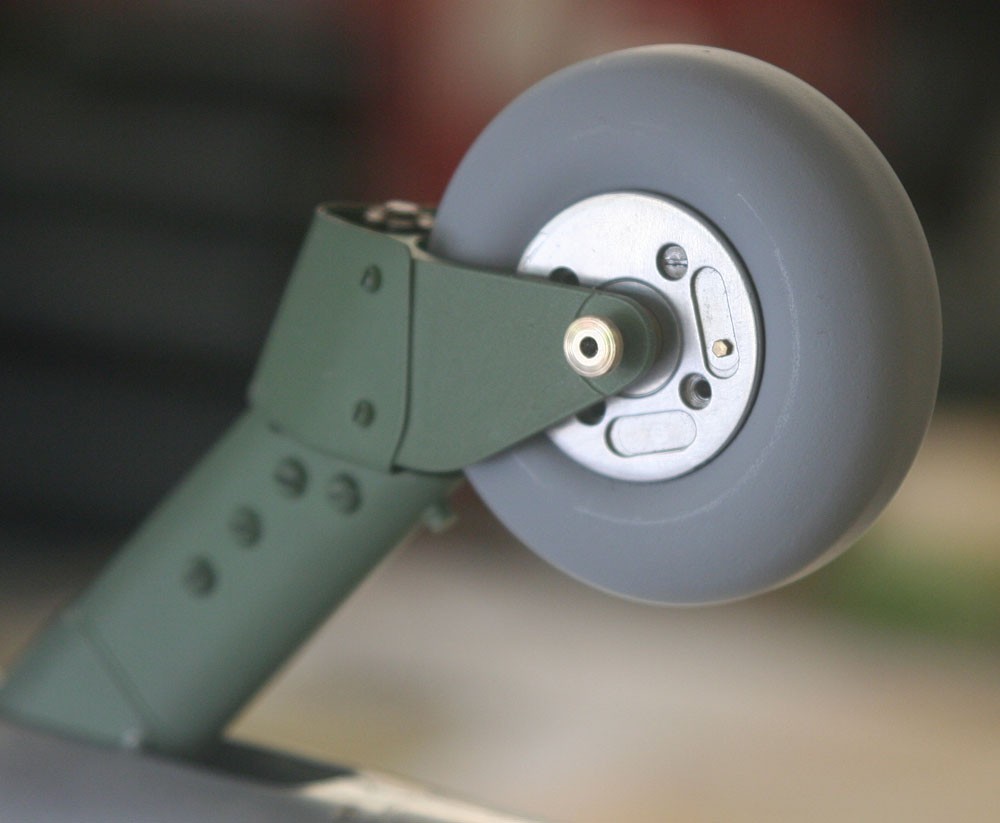
I have searched in vain for a simple way to cold cast my aircraft tyres, but to date I’ve found no ‘ruberised’ compound that gives a sufficiently realistic appearance. There is a two-part product available from Sylmaster (my favoured supplier), but it is rather too black and has a sticky liquorice look to it. The upshot is that for this model – and for its predecessor, the P-51D – I have contented myself to make and fit the tyres in what I would otherwise have used for their patterns – a smooth but dense model board obtainable from a company called Alchemie (see my links page). Suitably painted and ‘weathered’ they pass muster except, of course, for the subtle bulge.
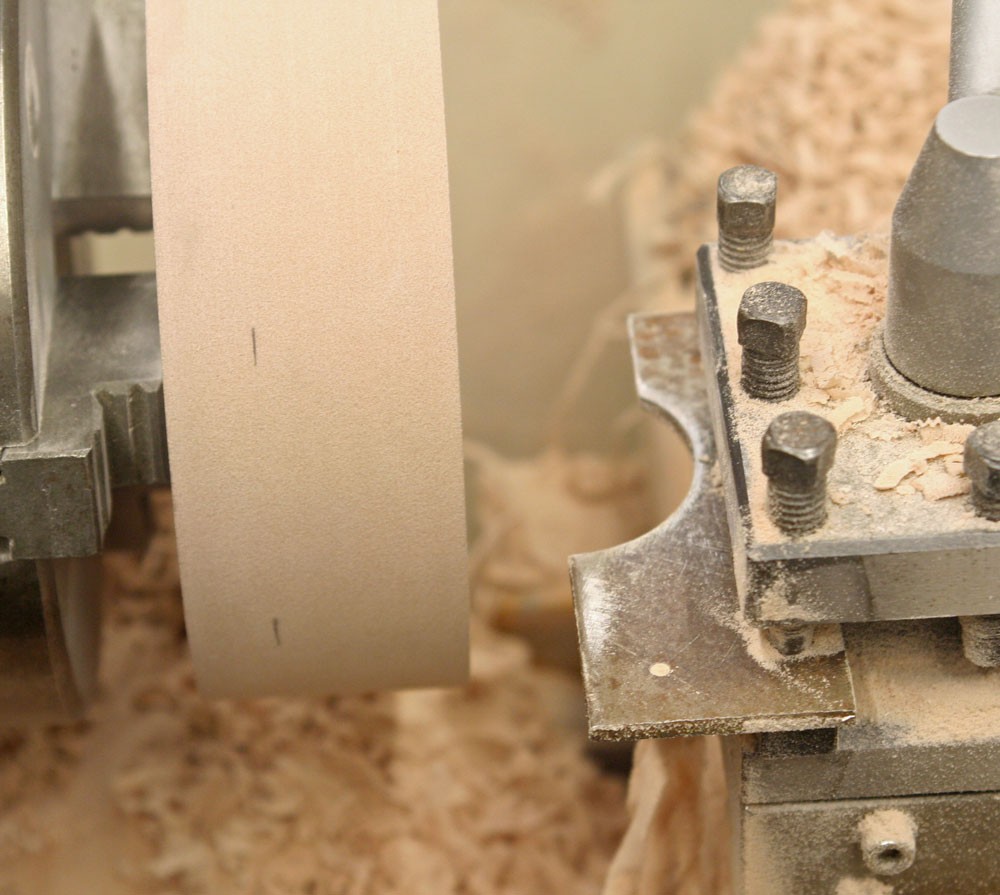
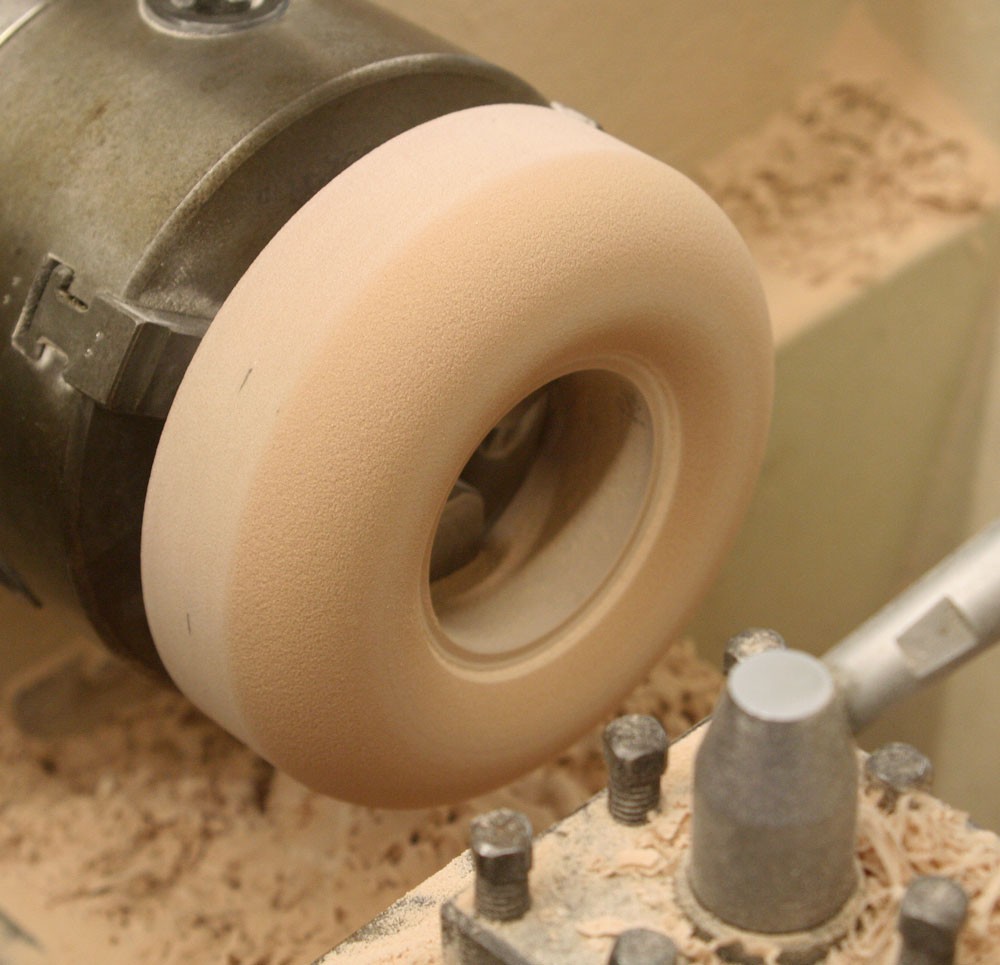
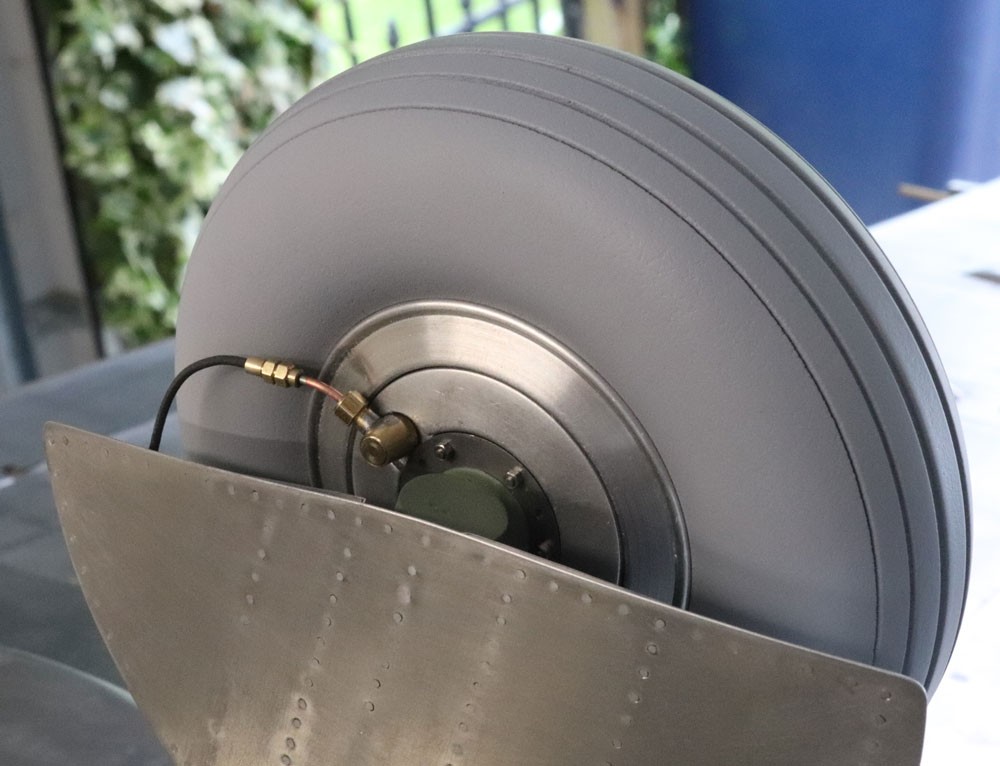
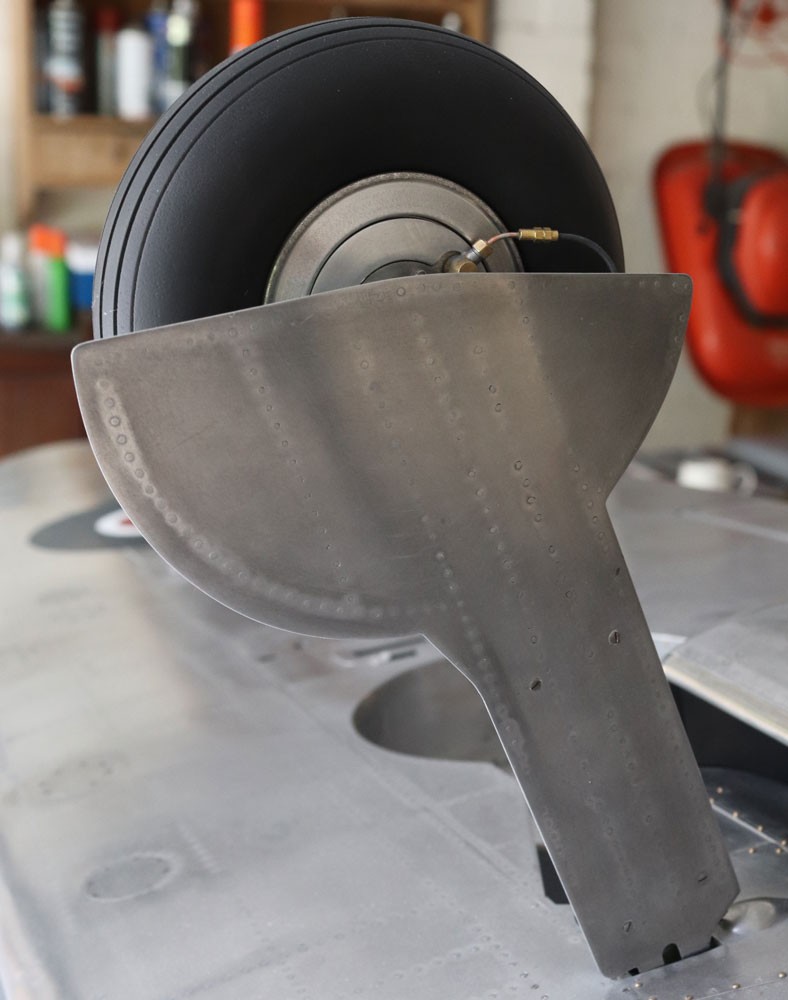
Here is a sequence of pictures to illustrate the machining of the main landing tyres for my Spitfire. The process is straightforward, as is the production of a simple ‘tool’ used to cut the donut shape, which can be cut in a few minutes from a scrap of 3/32-in. or thereabouts mild steel. The filed edge left on the steel gives sufficient sharpness, so long as a gentle but steady feed is used at a relatively low lathe speed.
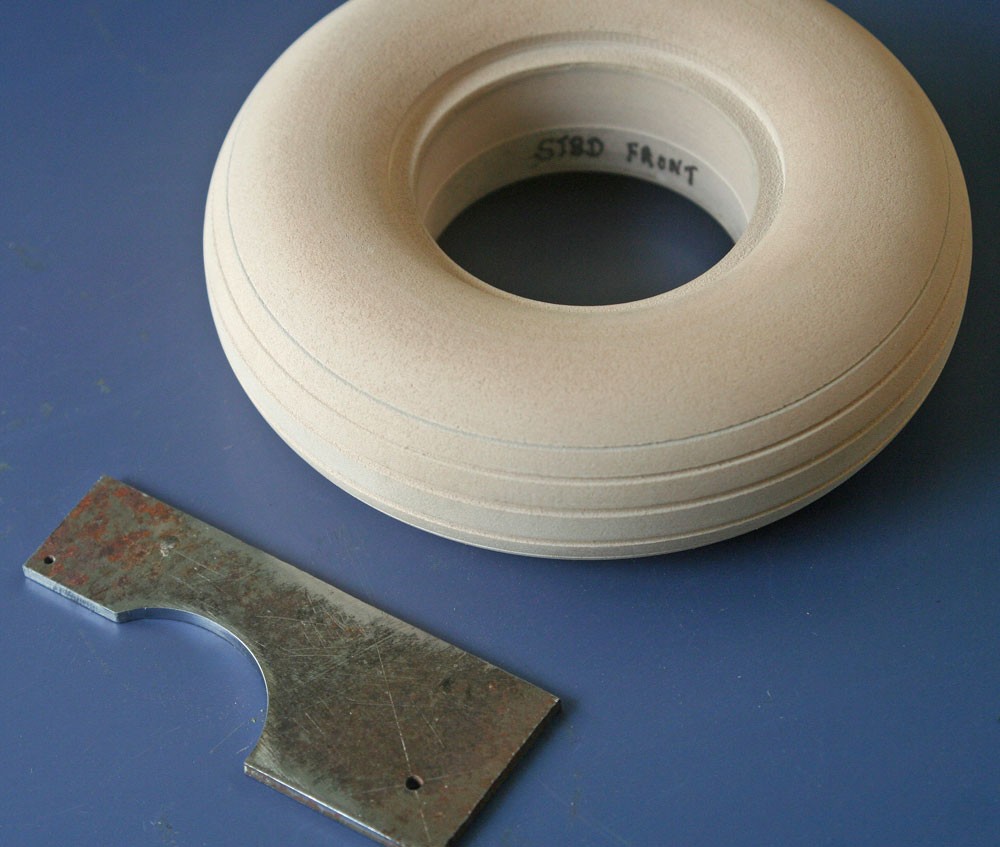
There are several correct options for the tyre tread, and I chose the concentric ring pattern, since this was by far the easiest to cut in the lathe using standard parting tools of three different widths.
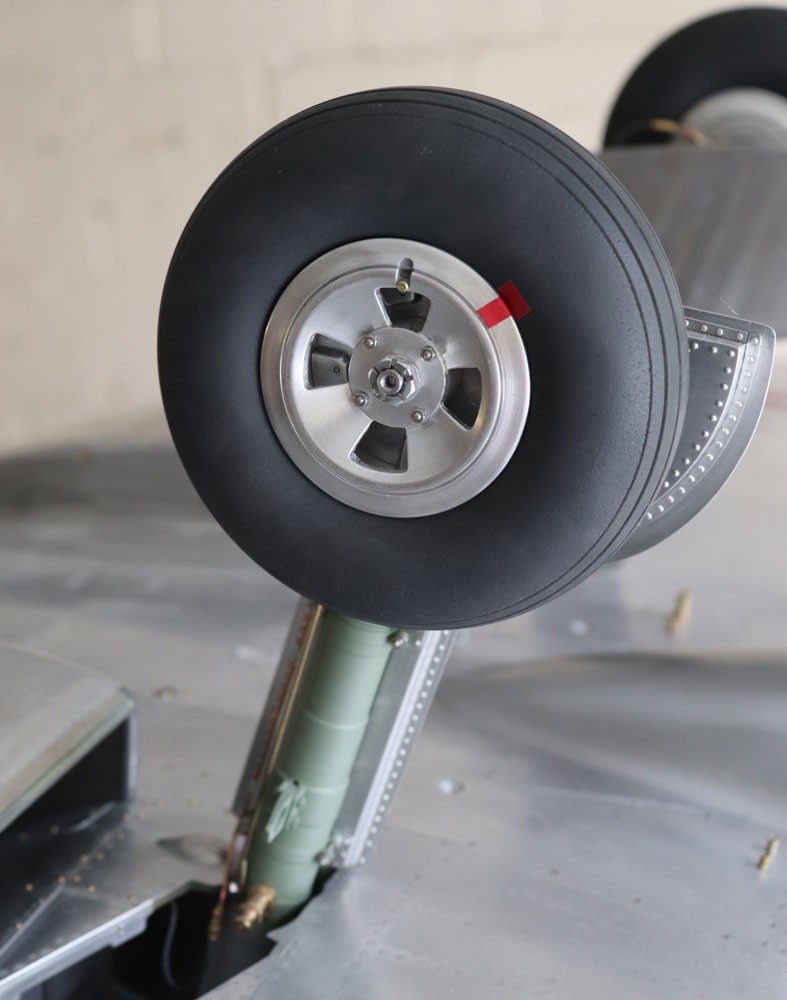
When I made my Mustang tyres I used a simple but effective method to replicate the manufacturer’s logo and data, for both the main landing wheels and the tail wheel (see my blog relating to the P-51D). However, the ‘Dunlop’ logo on the Spitfire’s tyres is represented as a thin outline, which raised doubts that my multiple-layer dry transfer method would work. So rather than risk it, and without an alternative option, I decided to omit the raised lettering altogether.
I used Tamiya ‘tyre black’ for the spray painting, adding the ‘creep’ markings on the tyres and wheel rims in a Tamiya red.