'Printed' pilot's seat
Thursday, 20th December, 2018
Anyone who has read my book, ‘Spitfire in my Workshop’, will know that I made the pilot’s seat of my 1:5 scale MkI from sheet brass parts soft soldered together. The result exceeded my expectations. Fast forward to the current model, and things have not been as straightforward, the main sticking point being the trough-shaped and conical-ended depression in the seat pan as fitted to the Mk IX, a feature that I knew would tax my skills to achieve. So, with the end of the project in sight, I turned down an avenue that I have hitherto and rather sniffily eschewed – 3D printing!
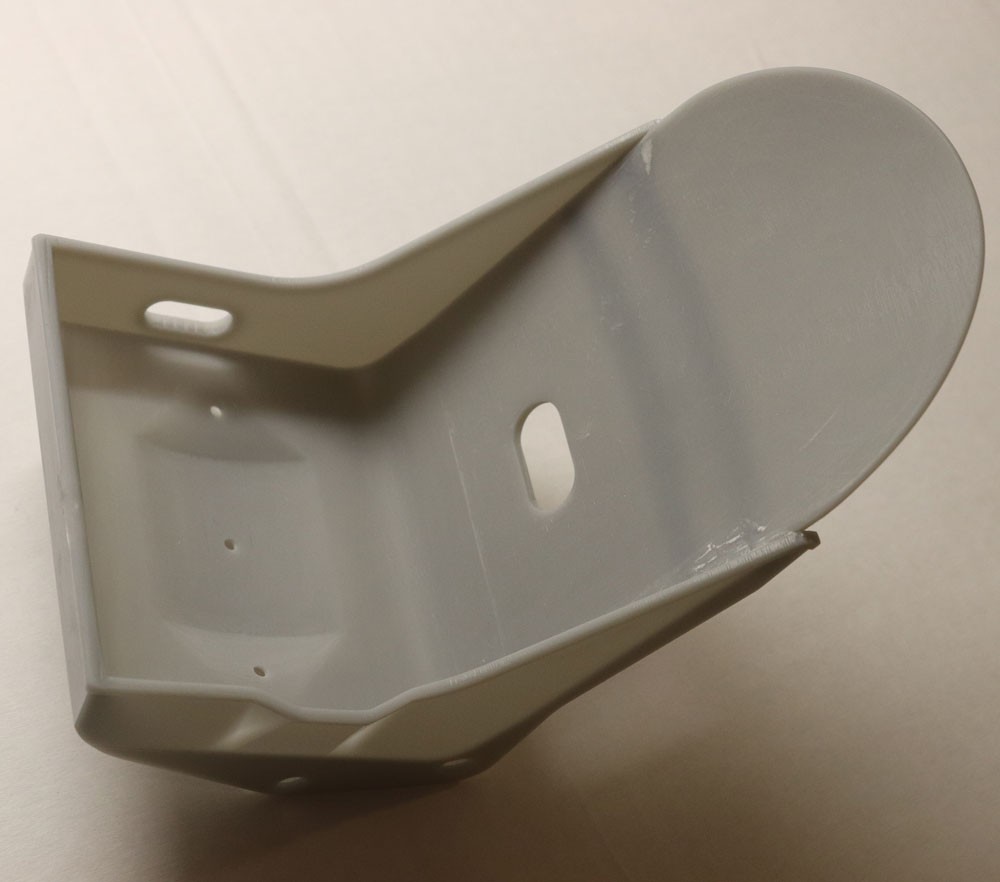
The idea occurred to me while having my pinked rib tapes (for the fabric covered empennage) laser cut at Prototype Products in Royston. Be it project fatigue after six long years of toil or simple impatience to get the job done, I found myself prepared to pay a tidy sum for the CAD origination and production elements of the job. My sole input was to provide PP’s CAD expert with copies of Paul Montforton’s multi-view drawings of the seat and a brief of my requirements in terms of exact dimensions, together with a couple of very minor modifications made in areas where additional strength was desirable. A few days later I received via email a three-dimensional rotatable model of the seat for approval, and two or three days after that I collected the finished item.
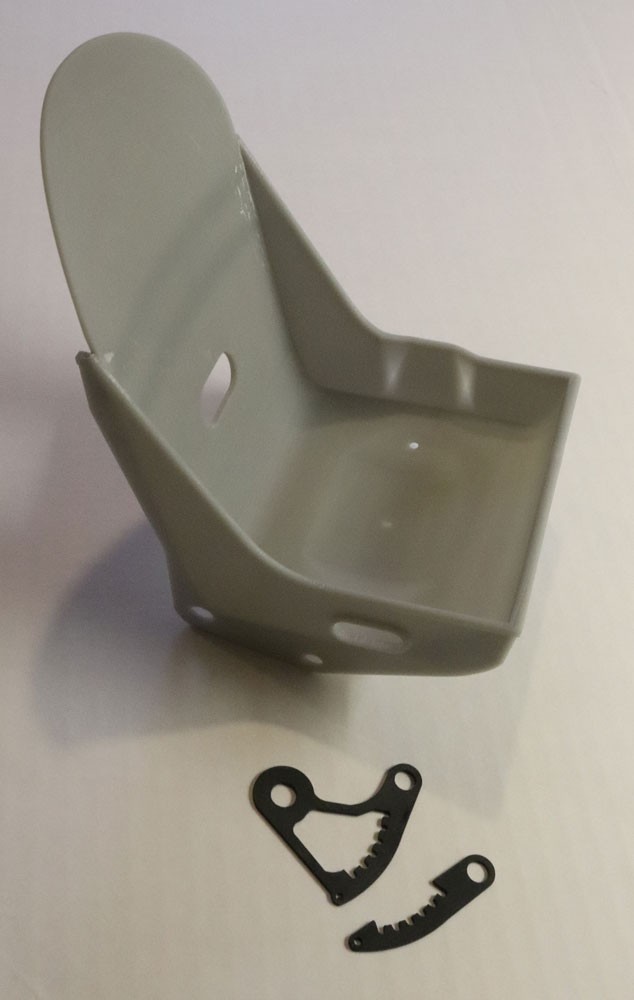
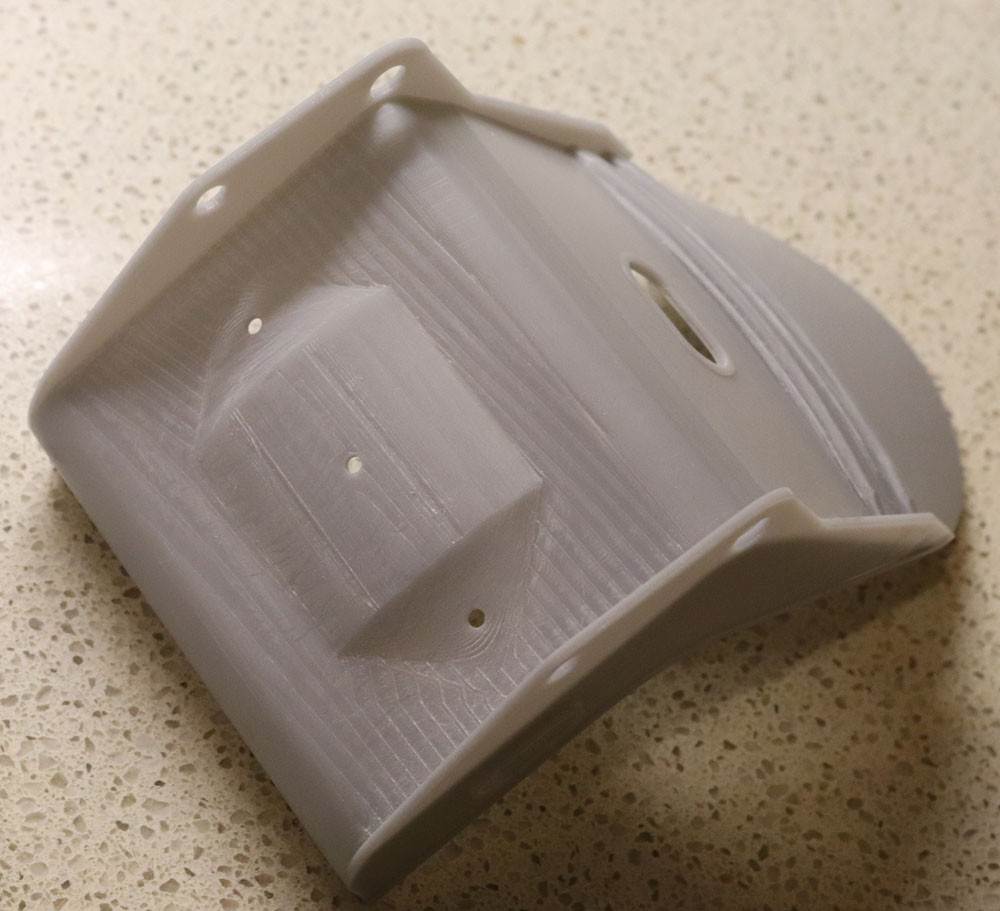
And very nice it looked, barring one very concerning flaw: The bottom of the seat pan – while capturing the required geometry – was marred by a pattern of surface corrugations. Curbing my instinct to ask for a ‘reprint’, I set out to restore the seriously flawed surface with 400 grade wet and dry paper. Nothing ventured, nothing gained. However, to my surprise and relief I salvaged the job as shown in the photograph, albeit after several hours of painstaking work.
To simplify the design and printing stage, I briefed PP to omit some of the fine detail that I could readily add myself – items such as stiffeners and angle plates, all of the nut, bolt and screw detail and, most obviously, the entire apparatus for raising and lowering the seat – with the sole exception of the two notched quadrant-shaped parts, which I had laser cut by PP.
All being well, I will make a start on this early in the New Year. With the seat installed, the model’s cockpit will be very close to completion.


