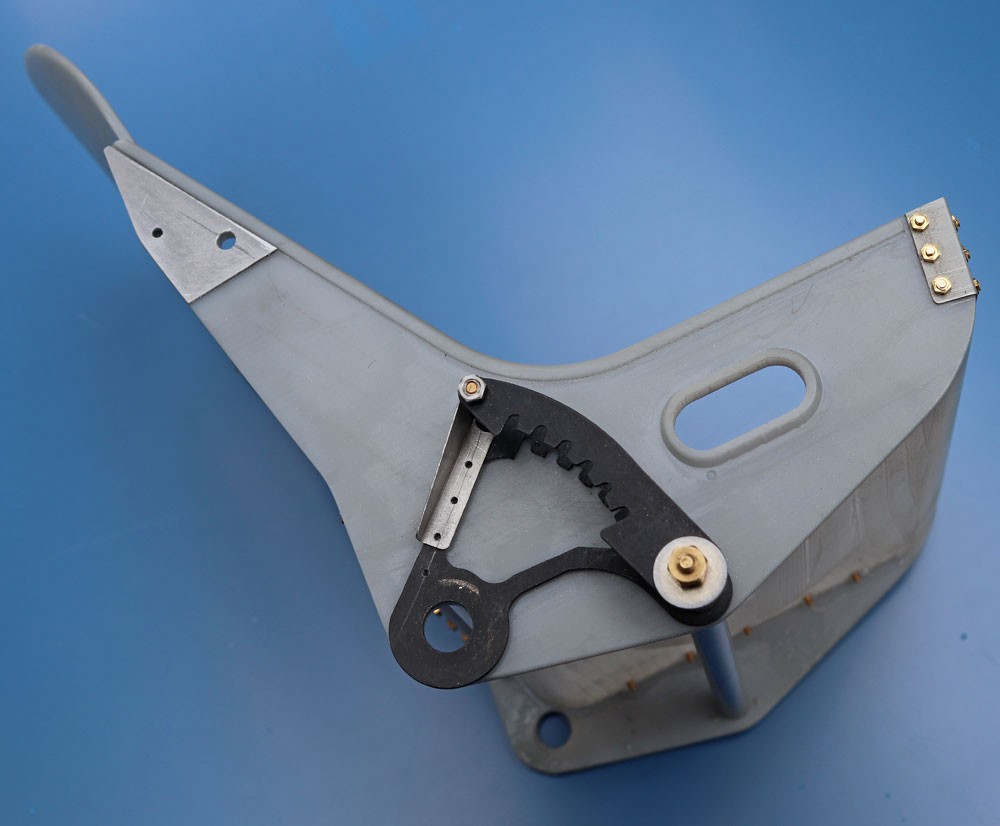
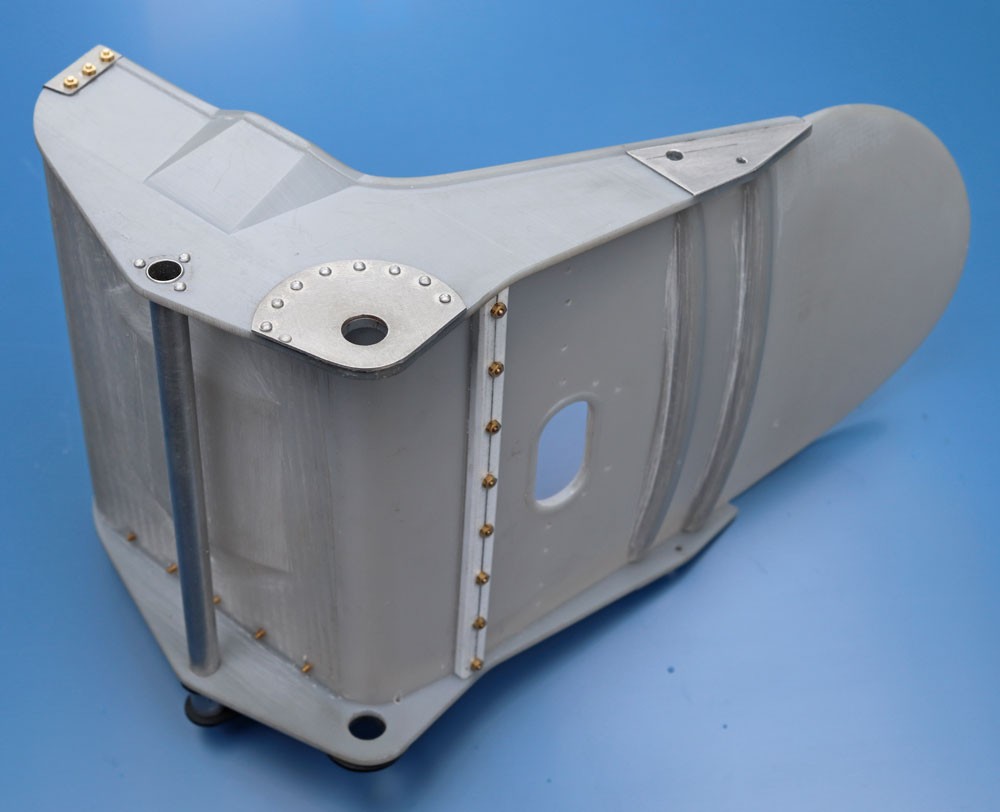
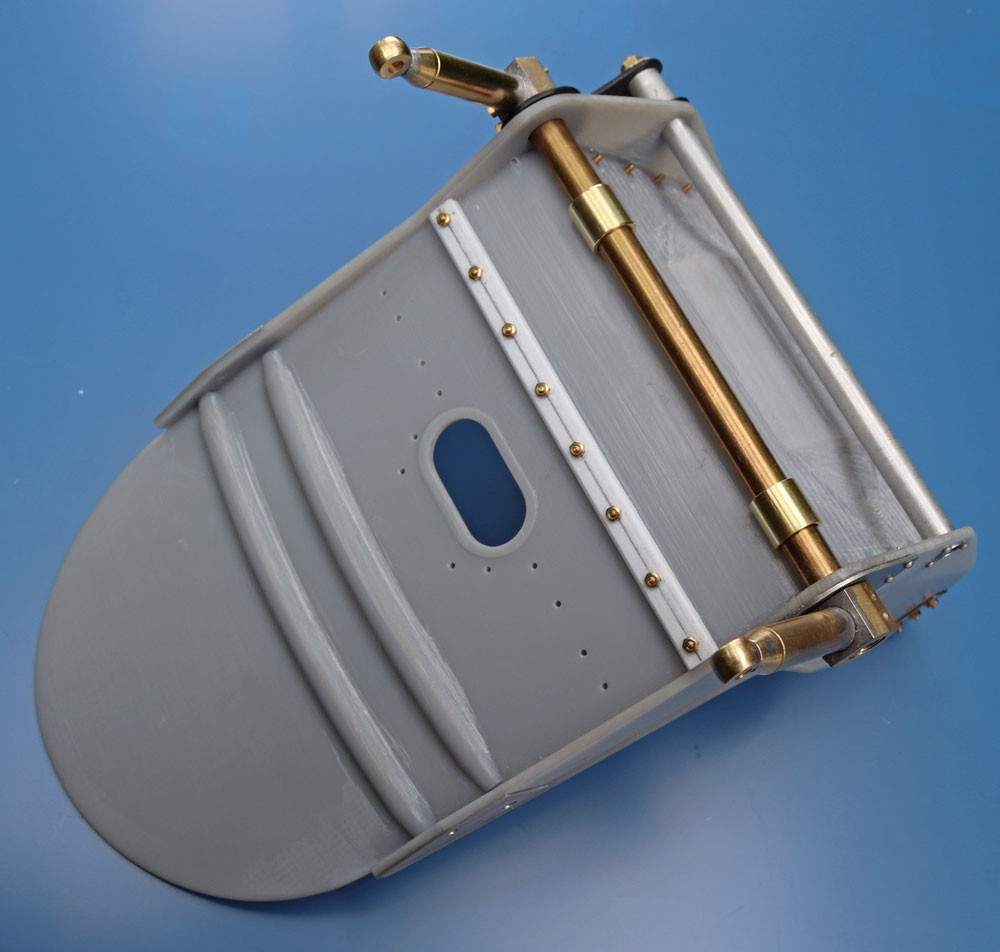
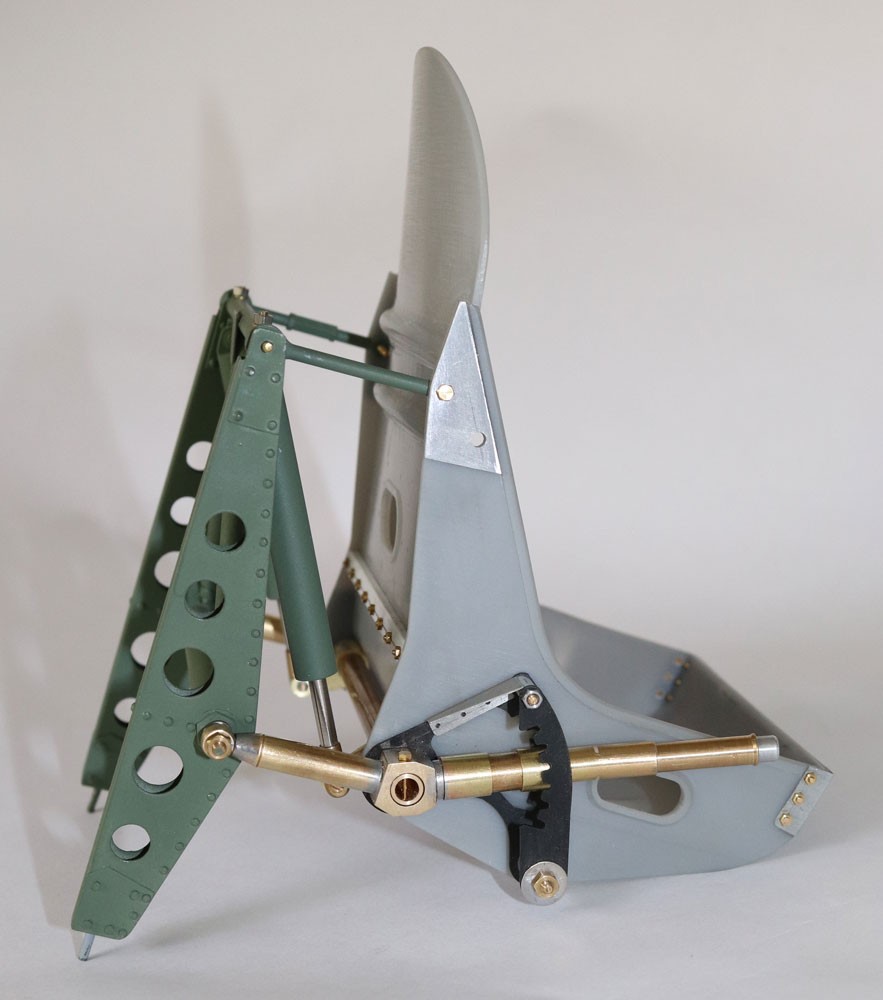
The pilot's seat completed
Tuesday, 11th June, 2019
Back in December last year I commented on my decision to have the pilot’s seat of my model 3D printed, thereby skating around some particularly problematic features of its design, notably the conical-ended depression in the seat pan.
It was not until a week or two ago that I began work on transforming the printed piece into a scale replica, both with respect to the fine surface detail and, more onerously, to the heavy lever and ratchet assembly used by the pilot to adjust his elevation in the cockpit.
The details were easily taken care of with a few scraps of litho plate, some styrene strip and a few dozen tiny countersunk screw sets, most of which are visible in the accompanying photographs. I saved further time and effort by choosing to omit the bulky flare rack from the front of the seat. This had the benefit of preserving detail of the cockpit floor that otherwise would be permanently obscured. Doubtless ‘project fatigue’ also figured in the corner cutting.
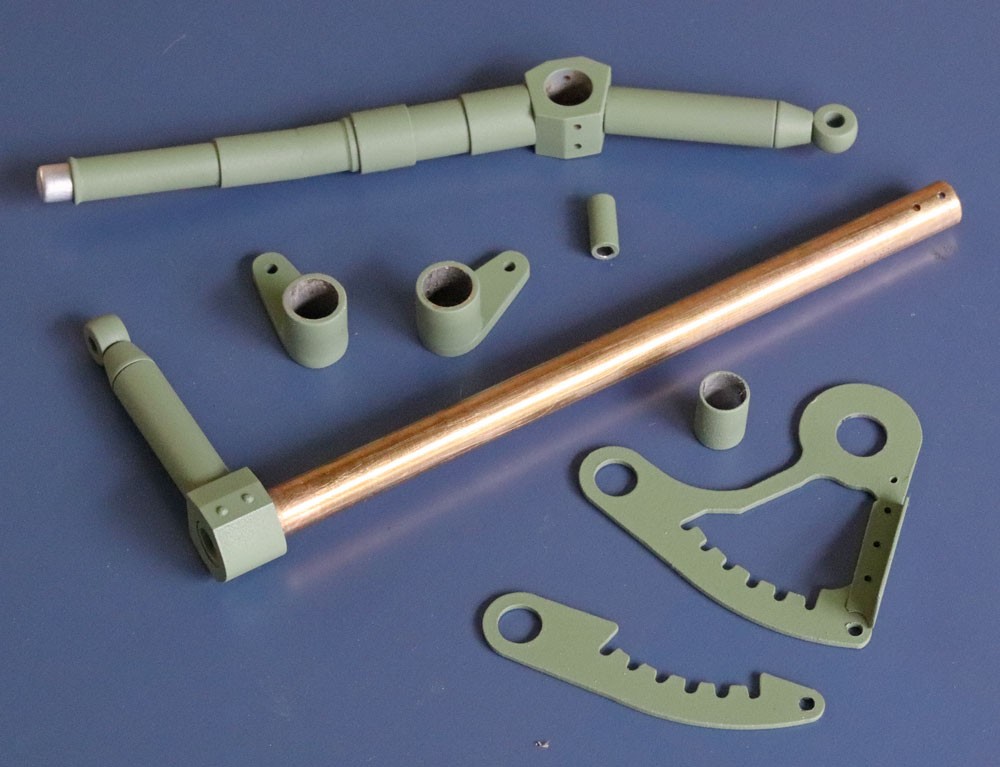
By having had the paired parts of the arc-shaped ratchet assembly ‘printed’, I saved myself a fiddly job of marking, cutting and filing all those tiny notches! All I had to do was to lathe-turn the two cross shafts that pass close under and immediately behind the seat, and to provide a third fixing point at the apex of the triangle in the form of a 10BA countersunk screw, alloy sleeve and nut.
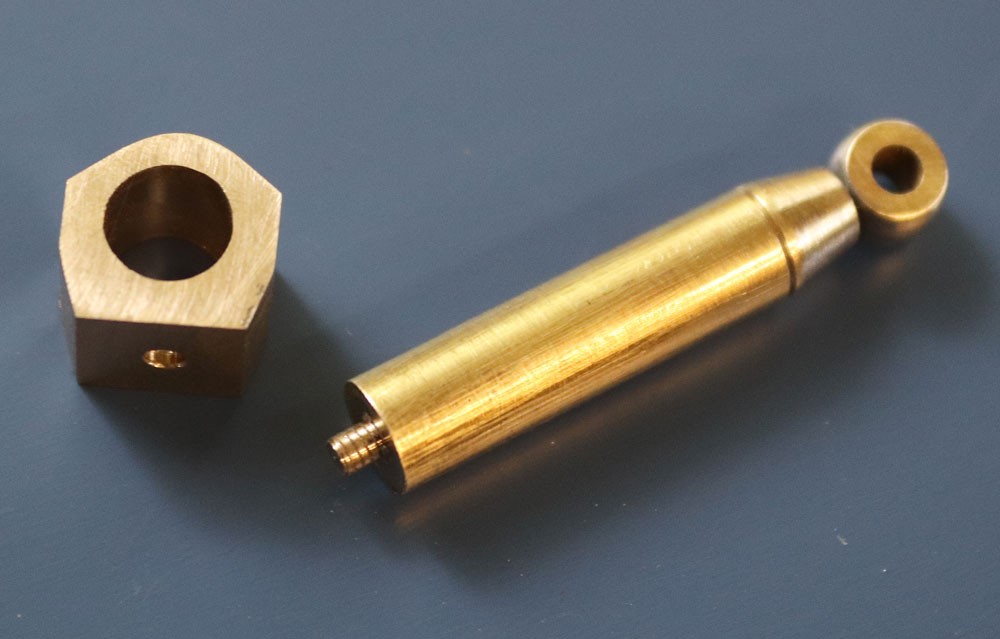
As inferred in the photographs, the big adjustment leaver, along with the two much smaller rearward projecting shafts for attachment to the seat support frame, were made of turned brass, soft soldered into a pair of quasi-octagonal bosses. Both bosses, made with the help of my bench-top milling machine, are cross drilled for two 12BA bolts that retain them at either end of the rear cross shaft.
This shaft also carries a pair of sleeved lugs to which the piston rods integral with the seat support frame assembly attach. These were fashioned from turned brass tube and brass sheet soft soldered together.
As can be seen, the operating lever terminates with a turned aluminium insert representing the spring-loaded locking/release button. Less obvious from the photos is an outward crank midway up the leaver which subtends an angle of about ten degrees in plan view. I copied this by simply cutting part way through the brass and bending the piece to the required angle. The resulting wedge-shaped gap was simply filled with a sliver of soft styrene and Superglue. Carefully cleaned down and painted, the result was a very neat job indeed.
My photos show the completed, but yet to be painted, seat after test fitting to its support frame assembly. Once assured of alignment and fit, I dismantled the parts again ready for spray painting, which brings me to a caveat:
Seats routinely fitted in most Spitfire marques, including the IX, were moulded from a composite material coloured a rather lovely mottled chestnut red. These seats were routinely fitted unpainted. Some, however, were made of metal, including restorations, and these are commonly painted black. Since I was by no means sure of achieving the very characteristic and subtle chestnut mottle, I decided on the safe option, using MRP acrylic lacquers.
