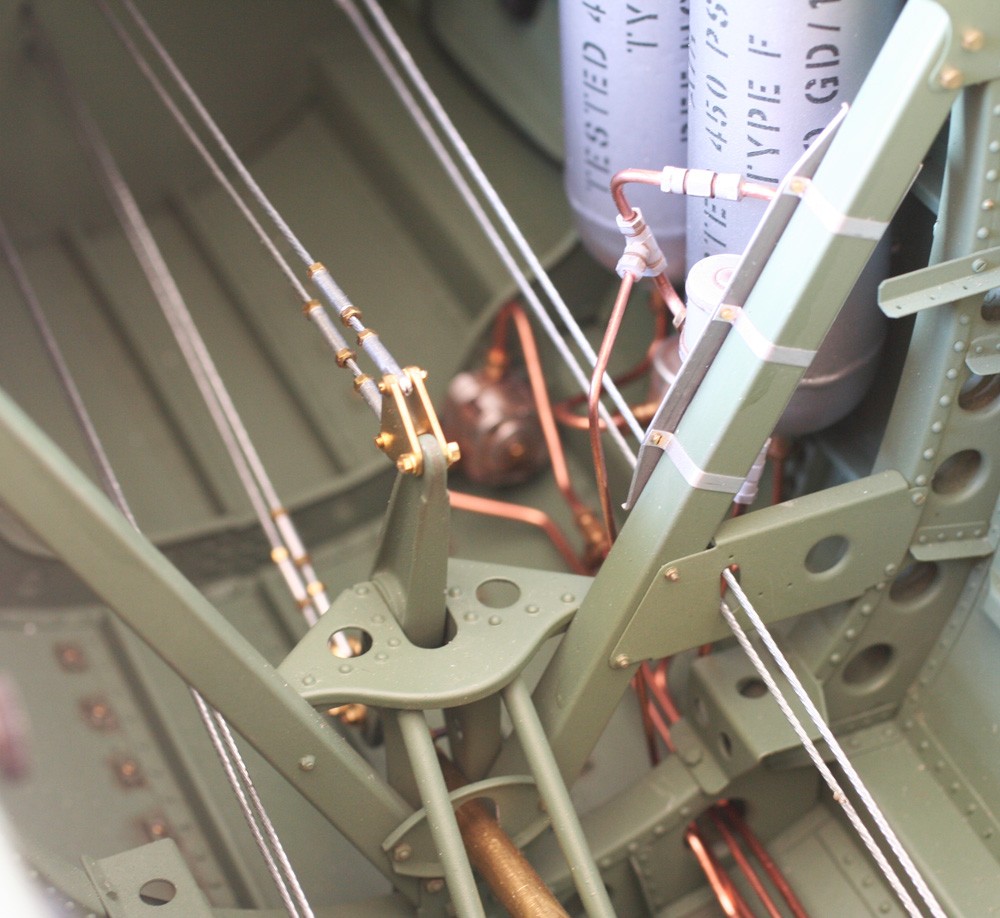
Rudder and elevator cables
Tuesday, 8th July, 2014
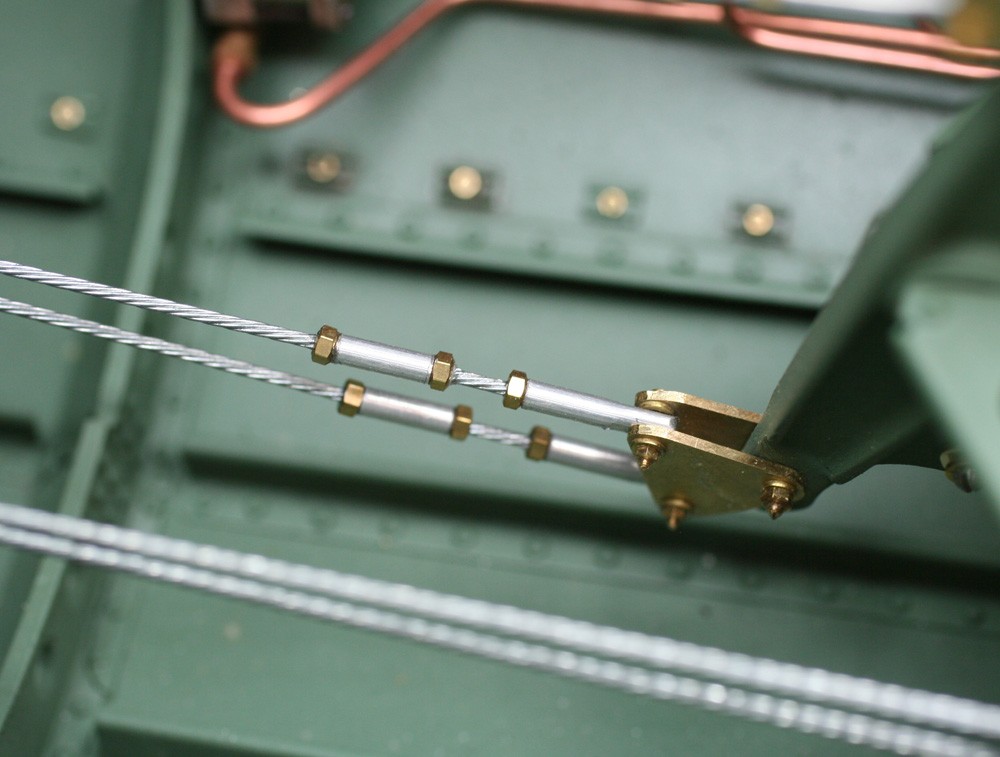
Installation of the pneumatic system, plus the addition of a couple of minor electrical boxes, left most of the work in the void behind the pilot’s seat complete, with the notable exception of the empennage control cables. There are four pairs, two for the rudder and two for the elevator, and they run aft from the rudder bar ends and elevator control lever forks respectively.
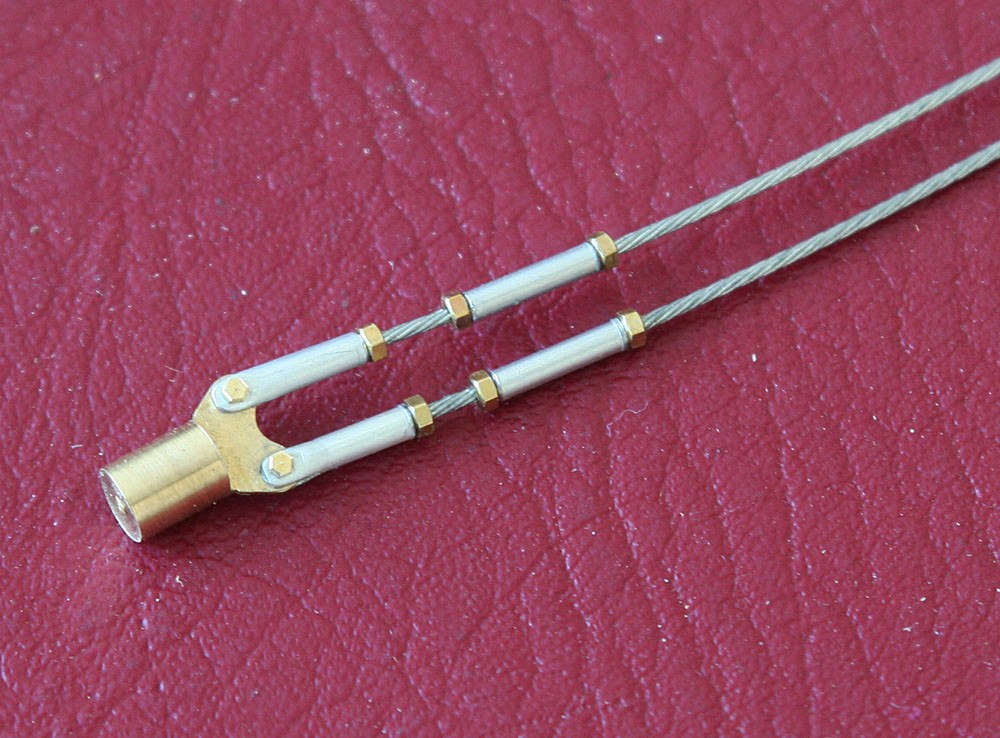
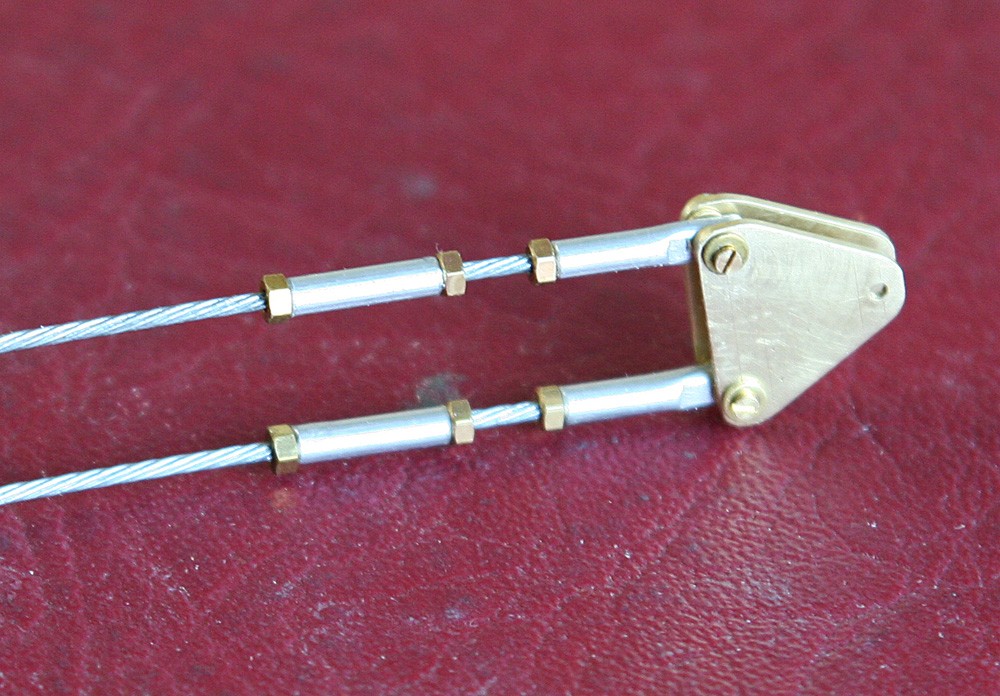
I keep a stock of fine gauge braided stainless steel cable, and for this particular job I used 0.038-in. as closest to scale (this is noticeably thicker than the trimmer tab cables installed last year). I made the brass butterfly shackles for the rudder bars some time ago, but I still needed to do their triangular shaped counterparts used on the elevator control lever, two for the top and two for the bottom. Cutting and filing them from scraps of brass sheet was simplicity itself; fitting them was another matter entirely, leaving me cursing myself for permanently installing the inaccessible lever without them. It took well over an hour and a half working with tweezers and probes to get the lower of the two bolts into its hole and to tighten up the nut.
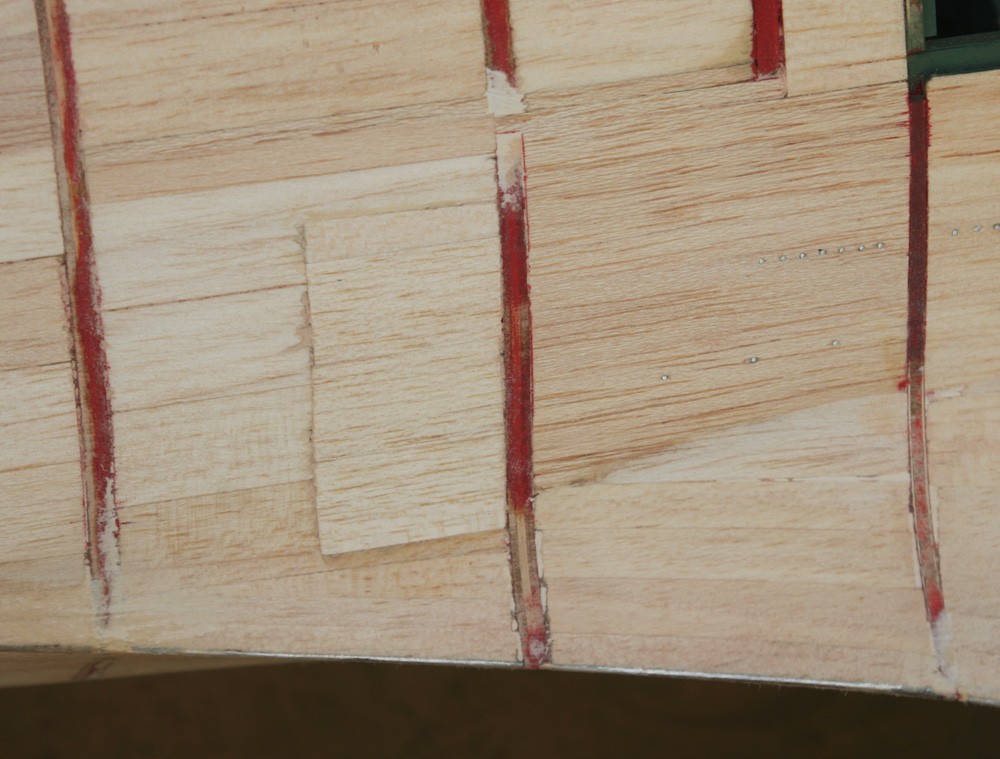
But my troubles were just beginning: Having balsa blocked the entire fuselage I now found myself without means of tensioning and securing the eight installed cables where they run aft – a further oversight, and one which I paid for by having to excavate a large hole in the pristine balsa infill between frames 12 and 13. That said, the remedial work was not that onerous, and I soon had eight holes drilled in the ply bulkhead (incorporating in their positions the height differential between the cable sets and the strong port side and starboards bias of the rudder and elevator cables respectively relative to the fuselage centre line). Then it was only a matter of threading the steel wires through their respective holes and holding them under tension one by one while the superglue took hold. After that, the excess cable could be cut off and the wound made good with fresh balsa.
Finally a word about turnbuckles: These are a bane to most aero modellers, and I am not the first to fudge them. Mine are made from short lengths of alloy tube threaded onto the wire and embellished with 14BA nuts leaving the centre component omitted altogether. Occasionally I have gone as far as to machine fork ends, but bearing in mind that these particular turnbuckles will be next to invisible in the completed model I have made do by slotting the alloy tube, dressing the cut end and drilling it through for a 16BA bolt. The beauty of braided steel wire is that it provides a perfect key for superglue which is sucked in by capillary action, so under tension I am reasonably sure that the fragile alloy ends will give before the cable parts from its containing ferule. Yes, the turnbuckles are something of a compromise, but once installed their shortcomings are diminished relative to the overall feel they create.