Cladding the fuselage
Saturday, 4th June, 2016
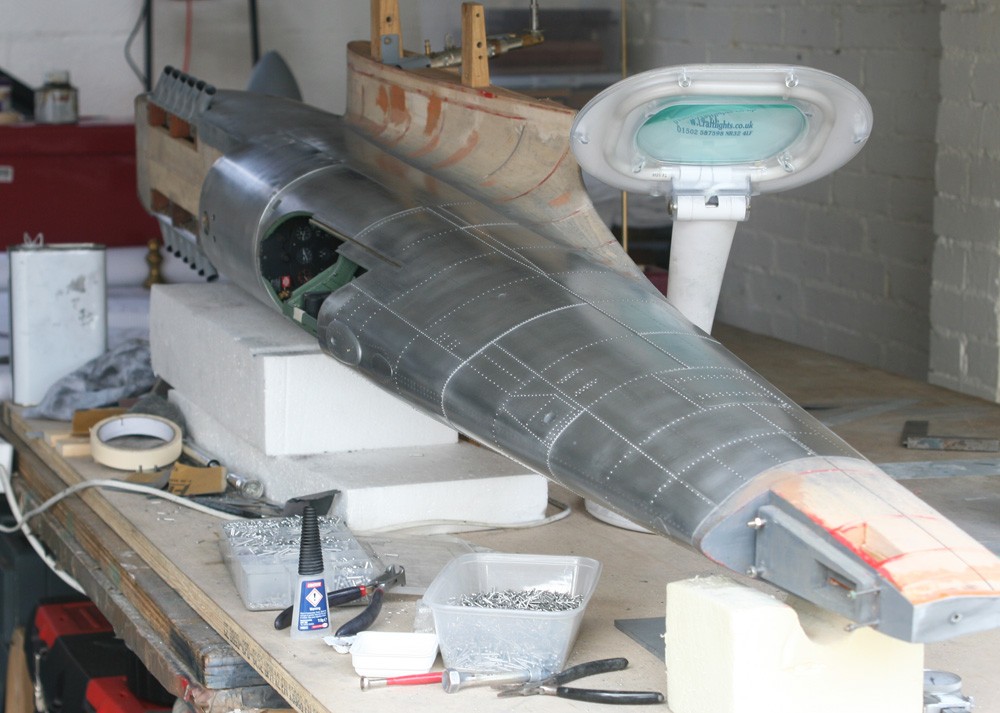
During December of last year I finally got down to the task of skinning the fuselage, or more accurately, that part of the fuselage aft of the engine cowlings and forward of the detachable stern section with its distinctive canted join.
The days were short and the weather damp and chill, and this was a job that required space, forcing me from the insulated comfort of my workshop to my adjoining unheated garage. To make matters worse, I was working to a deadline, for I had been unexpectedly invited by the organisers of the London Model Engineer Exhibition to occupy a stand at their three-day show in mid-January, and my objective was to show the fuselage as a work-in-progress exhibit, alongside my new book, Spitfire in my Workshop.
The first thing that becomes apparent at this stage is that there is a strict sequence necessary in applying the skin panels, without which it is impossible to achieve the correct combination of overlapped, underlapped or abutted panel lines. Paul Montforten has taken great pains to provide this detailed information in his book, Spitfire Engineered. Nonetheless, it took focus to trace the sequence back to panel number one!
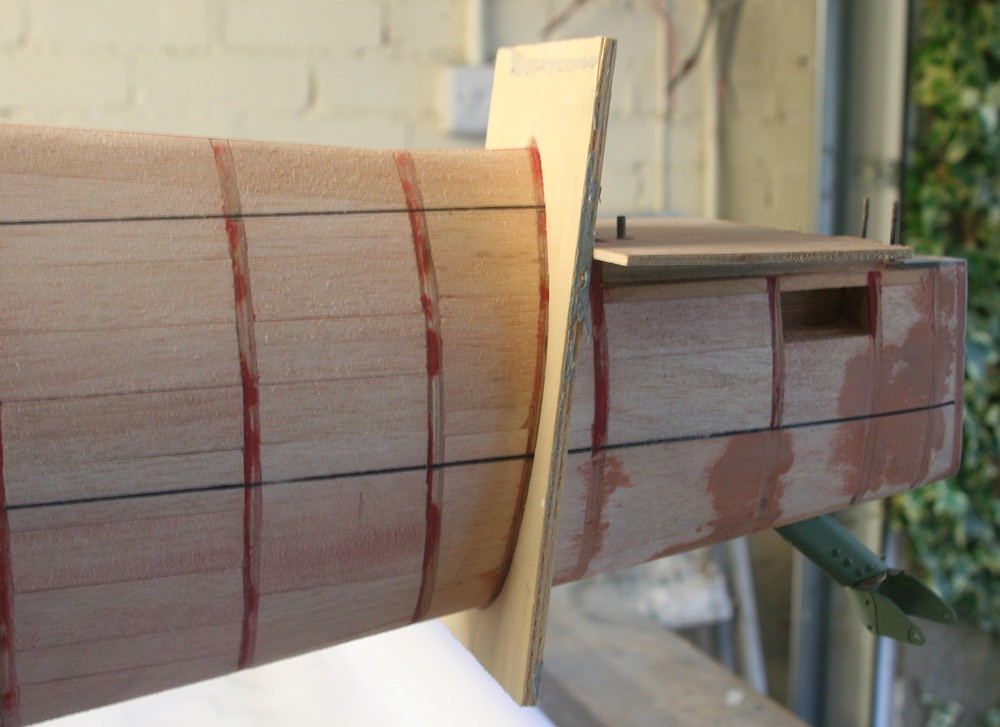
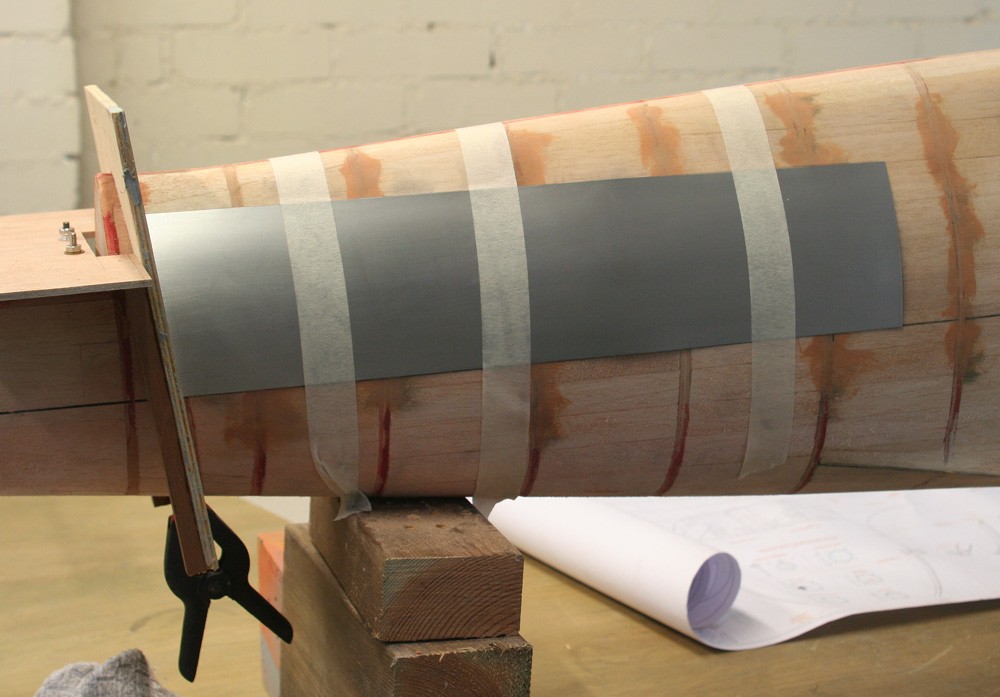
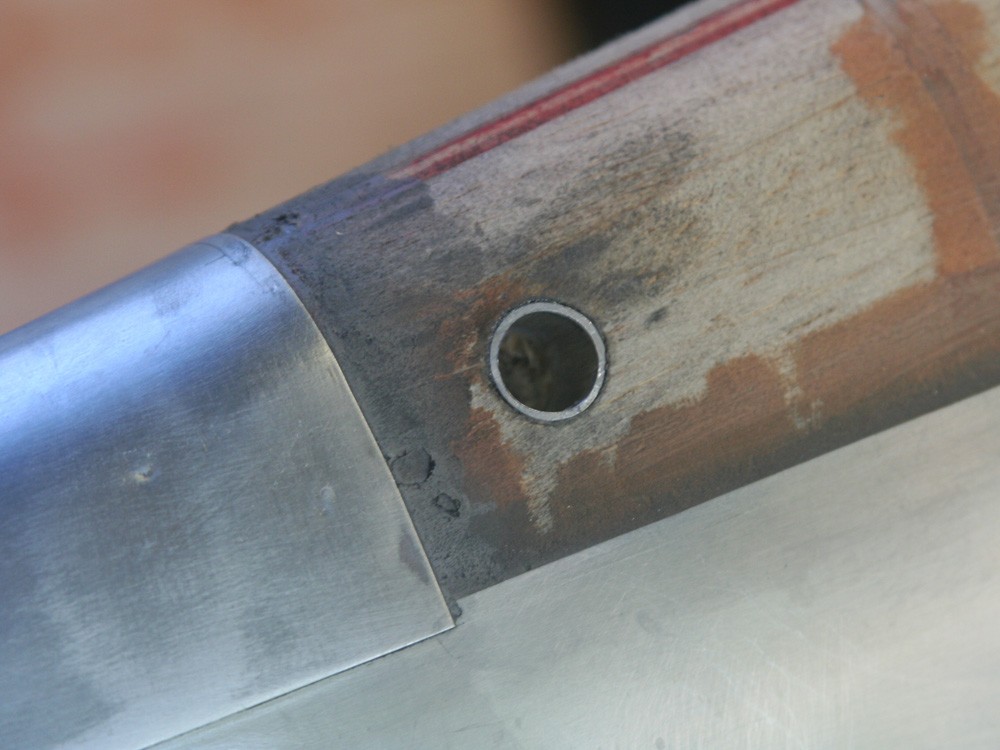
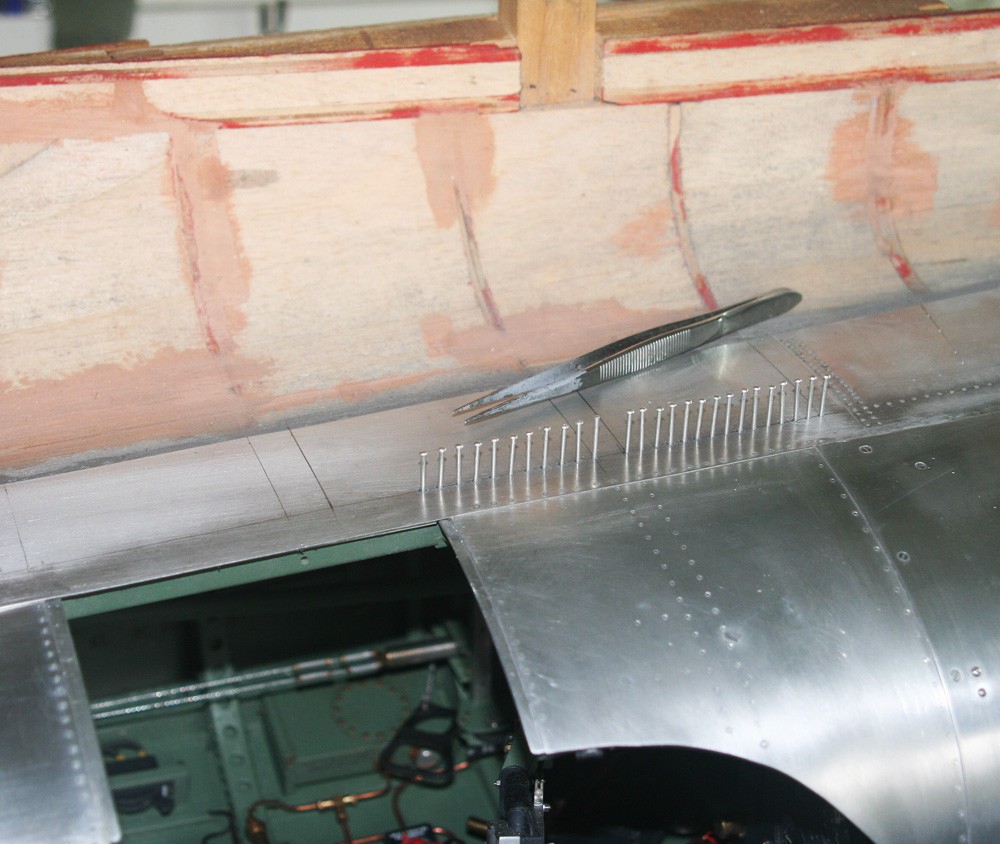
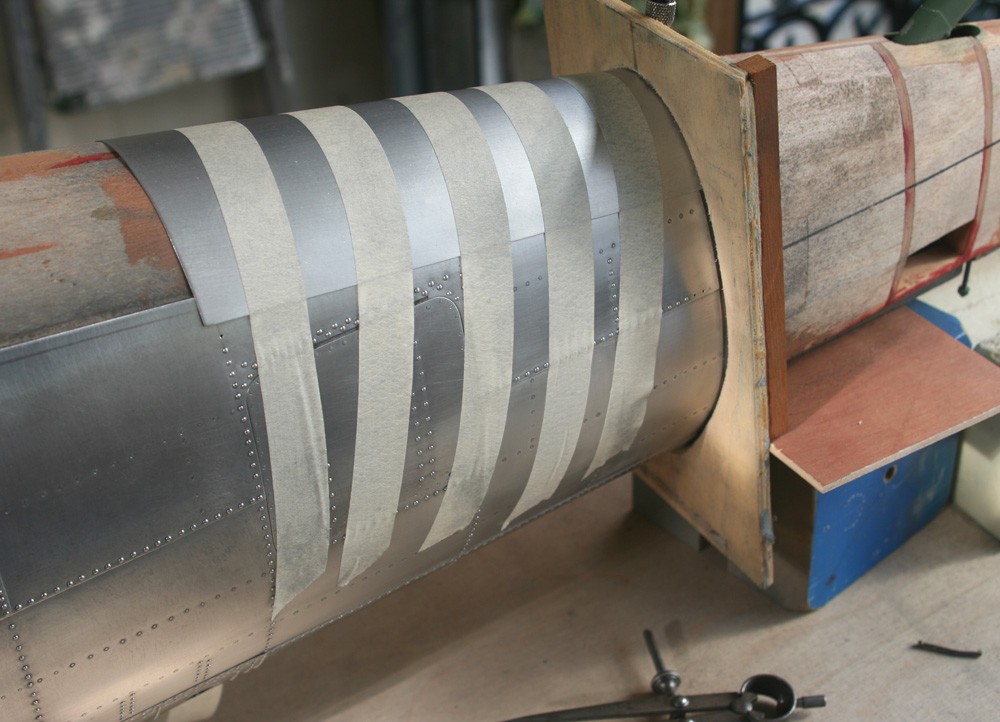
A further prerequisite was some kind of guide or template to enable me to accurately delineate the canted seam where the stern section bolts to the fuselage proper, for what is a simple straight line on the drawing is deceptively tricky to translate onto a parabola encompassed by six individual skin panels. My rather ad hoc solution is shown in the accompanying images.
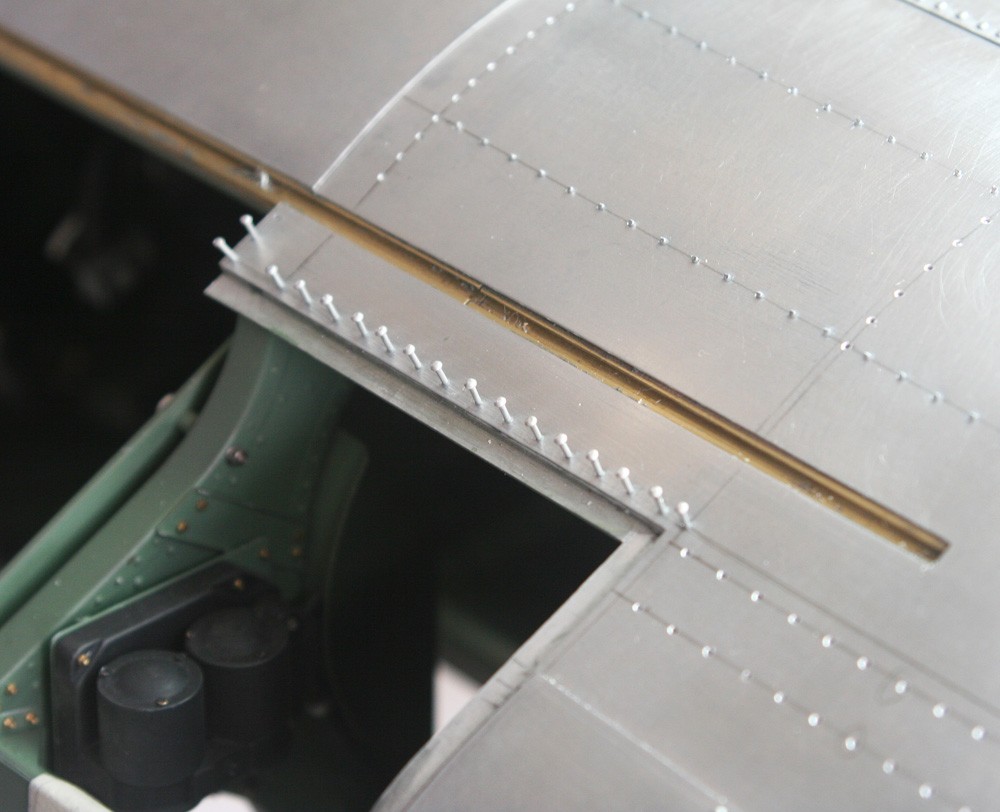
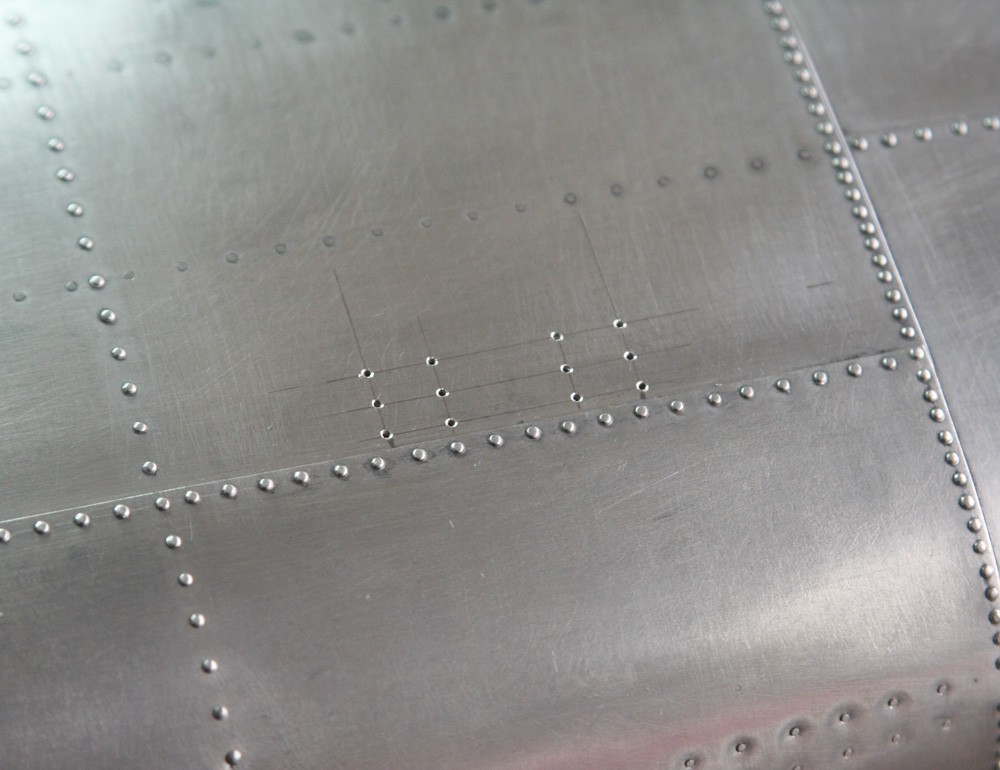
I will not go into detail about the metal cladding process here, or the rivet detail, for I have dealt with both elsewhere on this website and in my book. Suffice it to say, that in the main the fuselage is straightforward to clad and only some of the skin plates require heat annealing, most notably the small dorsal panel directly forward of the fin.
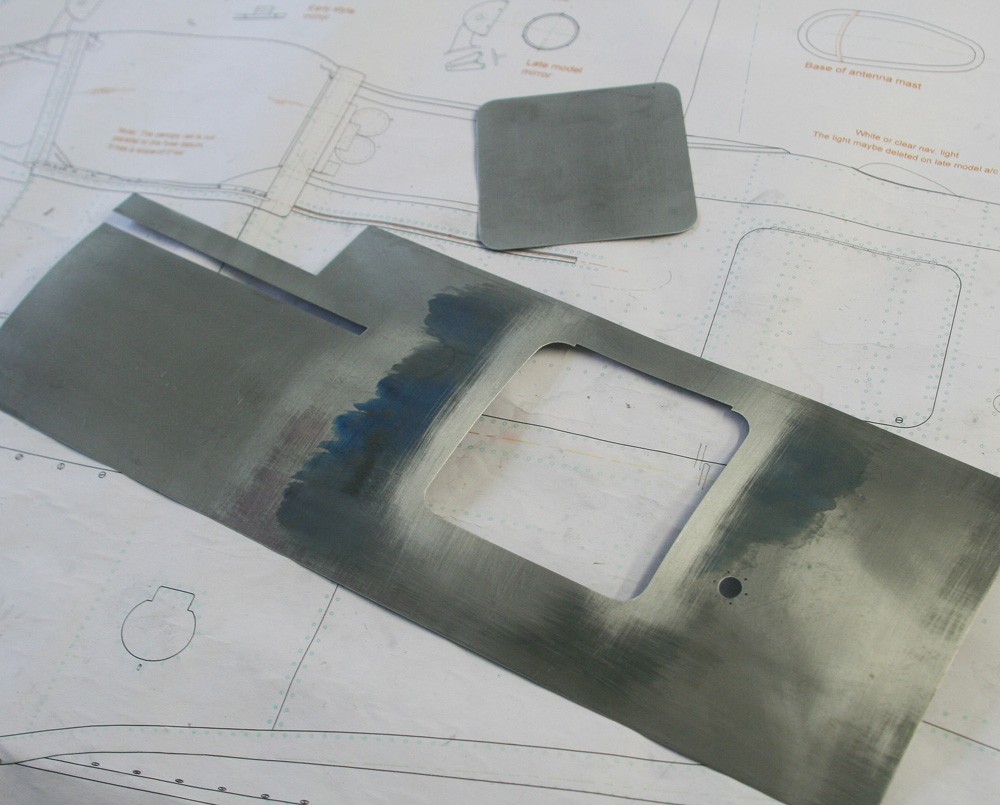
The annealing process makes it possible to achieve even without expert panel beating skills all but the most severe compound curvatures. However, the softened litho plate is extremely prone to damage, such that even a slight knock can leave an unsightly ‘dink’ in the hard-won surface that is impossible to remove except by adding filler. It can also result in unsightly dimples at the riveting stage that can be avoided only by extreme care. I assume that over time the metal reverts to its original temper, but I have no data on this.
One observation that may be useful has to do with the contact adhesive and cyanoacrylate (superglue) that I use in the skinning and riveting process. The latter is particularly difficult to remove if it strays onto finished skin or builds up in the little depressions around individual rivets, and particularly if it is allowed to dry hard. It has taken me until now to find a convenient solution: Acetone removes superglue from metal surfaces quite easily and without damage, especially if applied within hours rather than days. It also removes excess contact adhesive in a trice!
