A second near disaster
Monday, 6th June, 2016
I made mention in my last diary entry of exhibiting my Spitfire fuselage at the London Model Engineering Exhibition in January. By that time the port side, facing the public, was very nearly finished, including most of the rivet detail; the starboard side was only partly plated down to the main longeron. On the second day of the three-day event a knowledgeable visitor peered over the top of the model to examine the hidden side. “Shouldn’t there be an access door in the fuselage,” he asked.
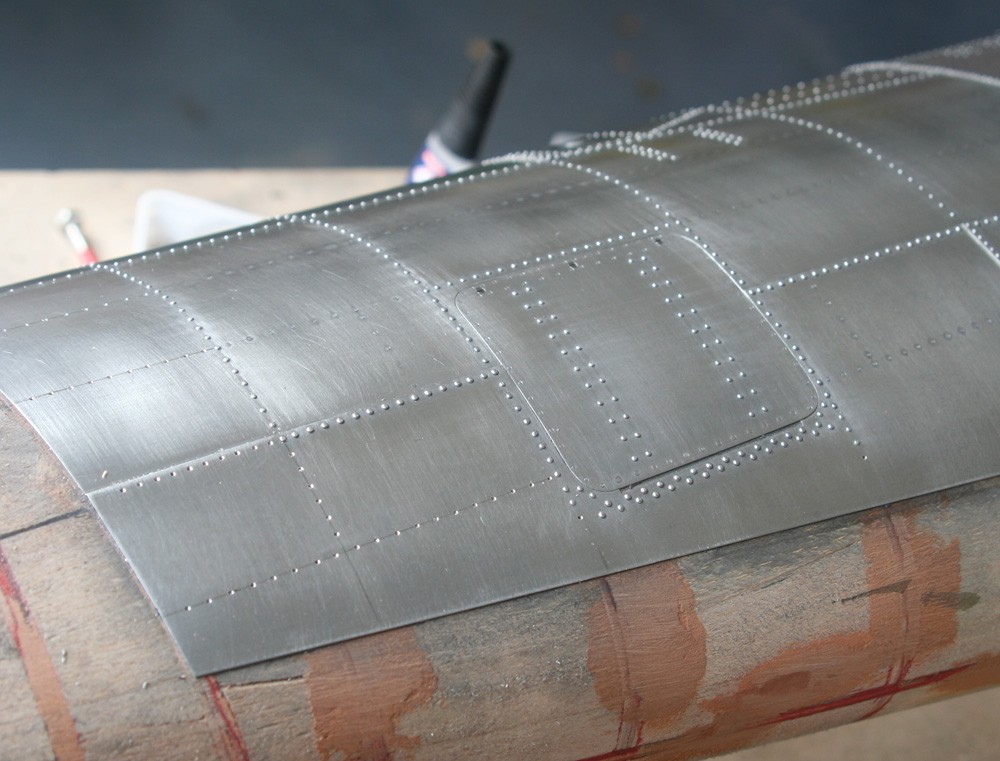
Had I not known of the glaring error, I would have been acutely embarrassed; but I had been painfully aware of it for weeks. In a moment’s lapse of concentration I had affixed a skin panel without cutting the very prominent round-cornered aperture for the battery compartment access door. Now, with the offending panel affixed and impossible to remove without serious damage to both the adjoining skin and wooden substrate beneath, I could see no way of cutting the unwanted metal away crisply and cleanly. On the other hand, ignoring the error and pressing on was not an option for what was to be a museum model!
My first glimmer of light came with the realisation that with a small brush and some acetone, I might be able to dissolve the EvoStik locally and effectively enough to preserve the sort wood surface below. That left the problem of making a perfectly crisp, clean cut. Somehow I knew that a scalpel blade would not serve because, sooner or later, however carefully used, it would dig in or slip or judder. Then I thought of sewing machine needles that come in various sizes and are very sharp. More importantly they are short, thick in the shank and therefore very rigid. It was worth a try.
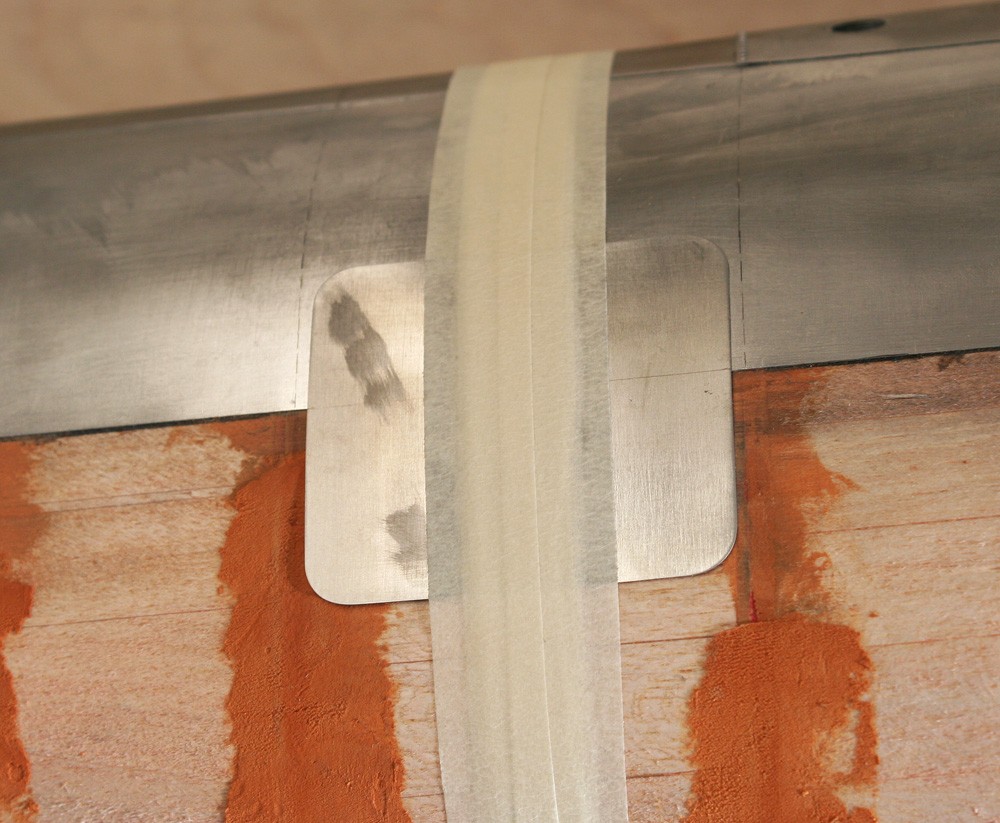
I cut a litho plate scoring guide to the exact shape and size of the door and taped it securely in position on the fuselage flank. I began in the full knowledge that if this experiment could be made to work, it would be an extremely slow and painstaking process; if it failed I had a lot to loose!
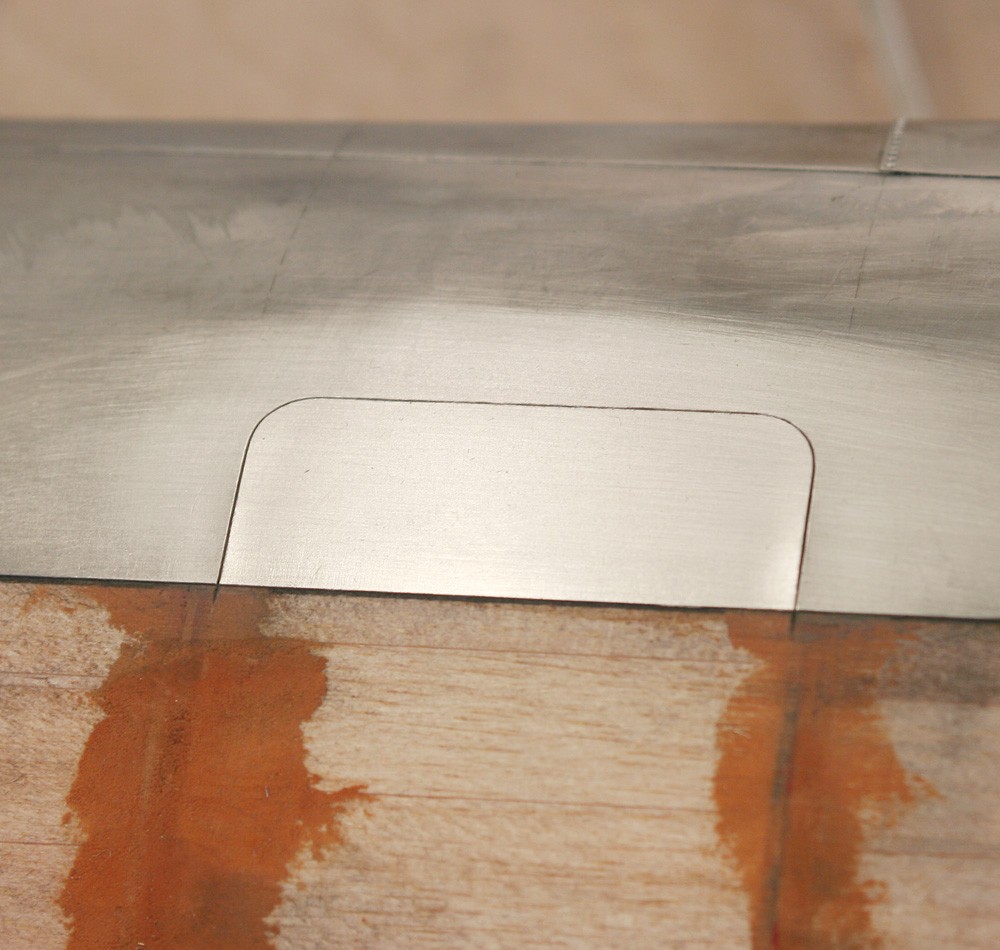
Slow it was: a full morning and part of the afternoon; painstaking light strokes with the needle point, first a scratch, slightly deeper each time, etching into the metal ‘molecule by molecule’. Yet slowly the etch line deepened and it remained exactly as I wanted it, crisp and clean. The final moments as the needle tip started to break through were the most testing, for now the possibility of a marred edge because of slip or judder became acute.
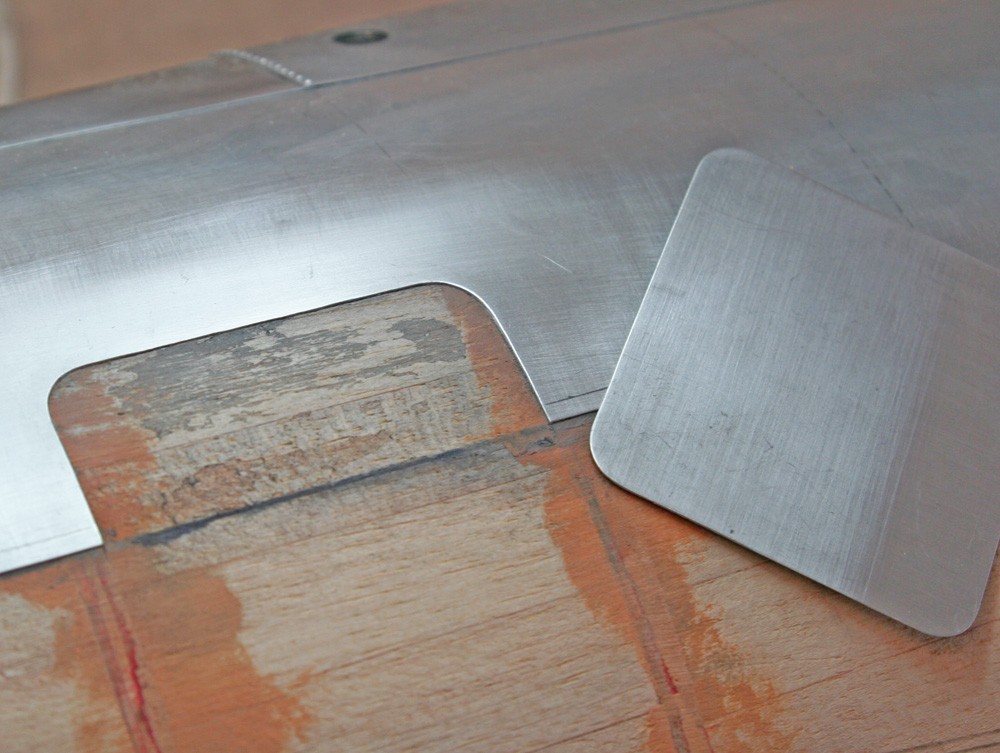
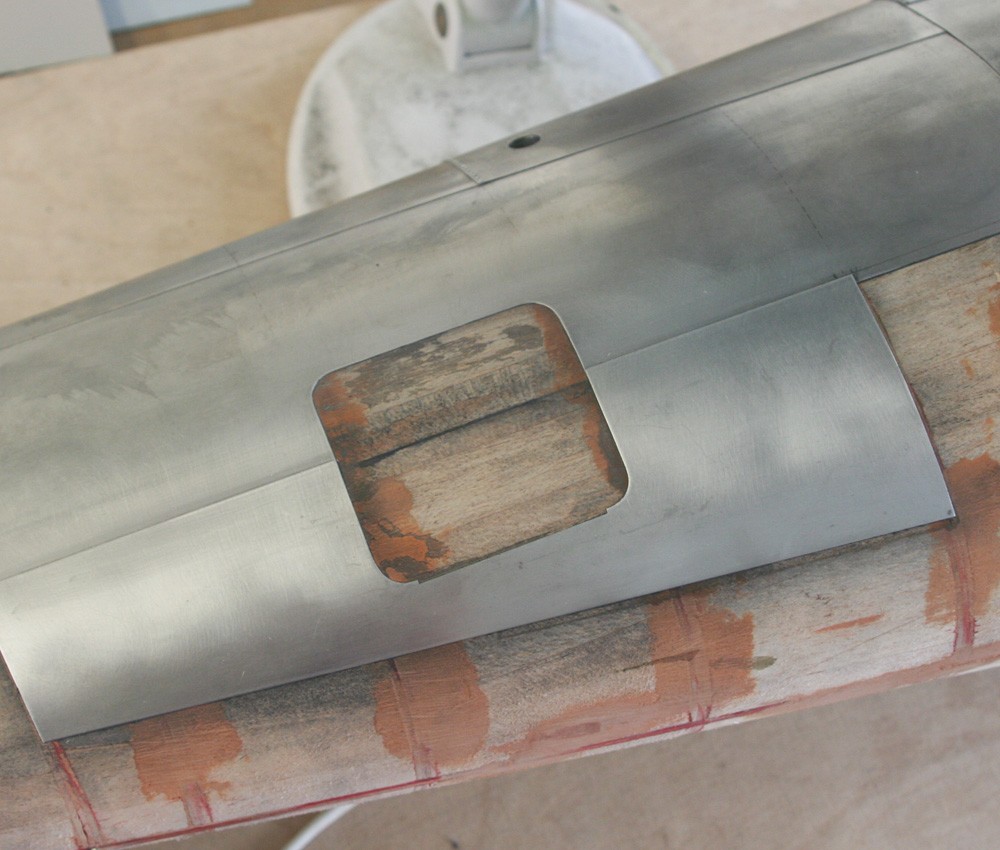
With the cut made, I allowed myself a huge sight of relief because now there was light at the end of the tunnel. I lifted a tiny corner of the unwanted skin with a scalpel point and introduced a drop acetone on the pointed tip of a small brush; a little more and then the scalpel again. Yes, the metal had yielded. More acetone and more gentle upward pressure and by now I had sufficient metal peeled back to grasp with tweezers. Compared to making the cut, the removal process took only twenty minutes or so, leaving the wood below totally clean of adhesive and entirely undamaged, as was the surrounding skin.
Crisis over. But will the next one yield so easily?
