Installing the empennage
Saturday, 18th June, 2016
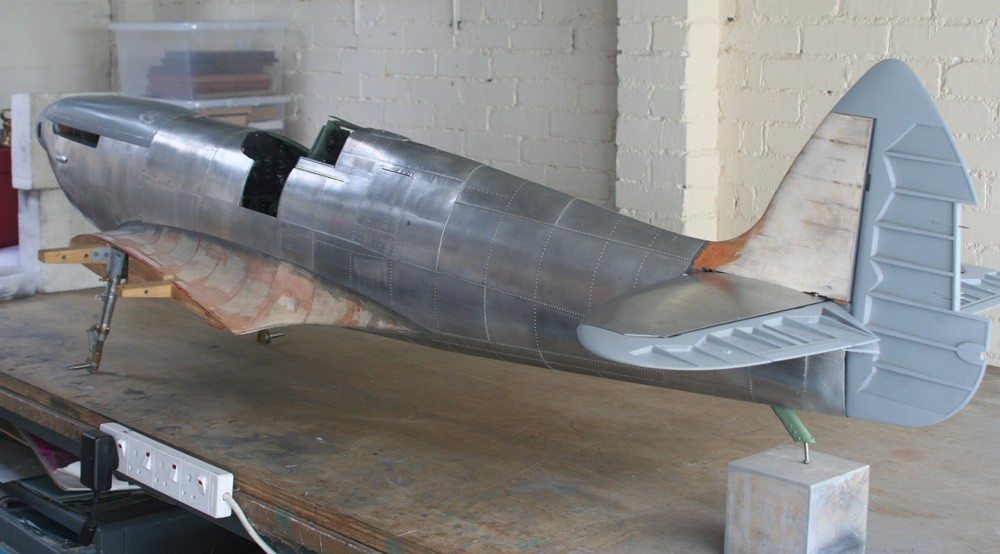
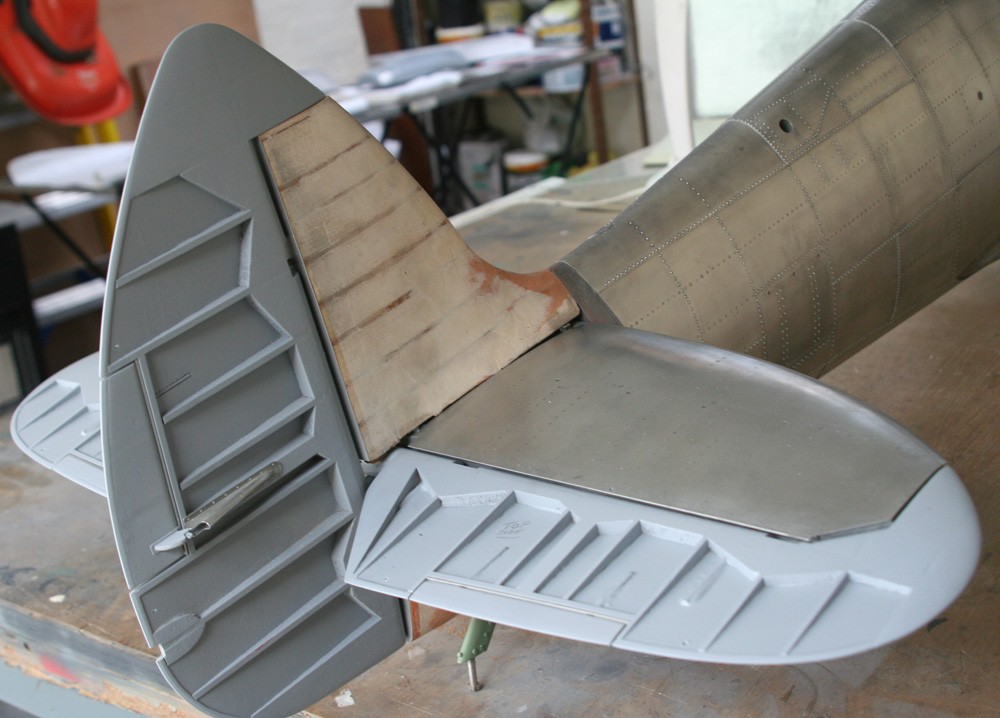
Completion of the horizontal stabiliser skin and its rivet and fastener detail opened the way for permanent installation of the empennage sub assemblies, something of a milestone for the model.
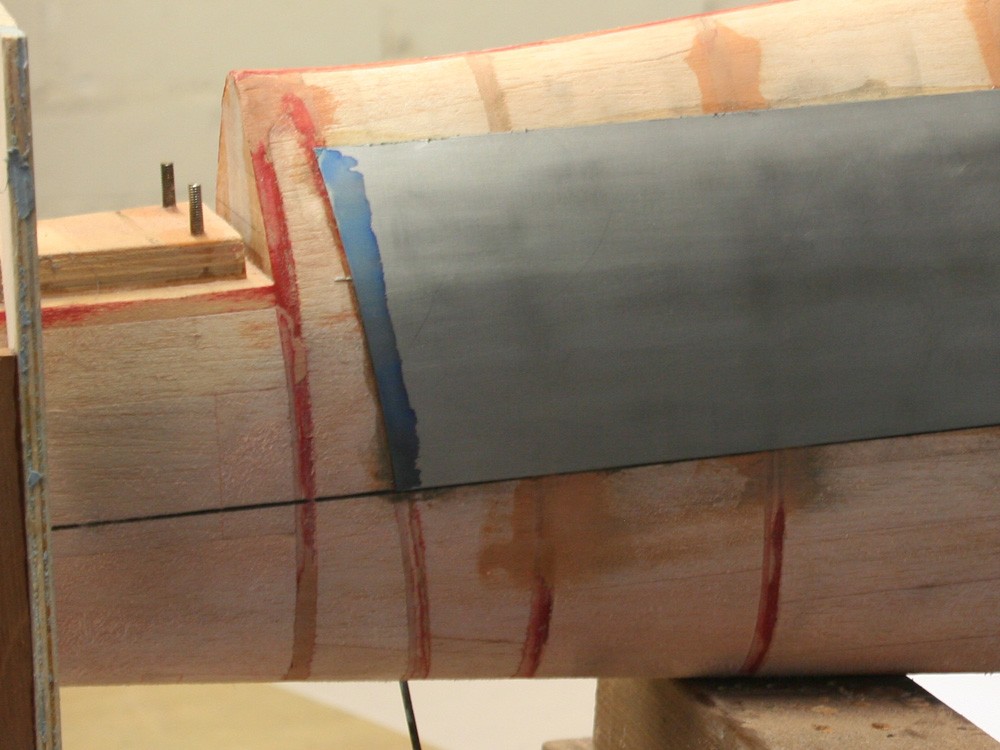
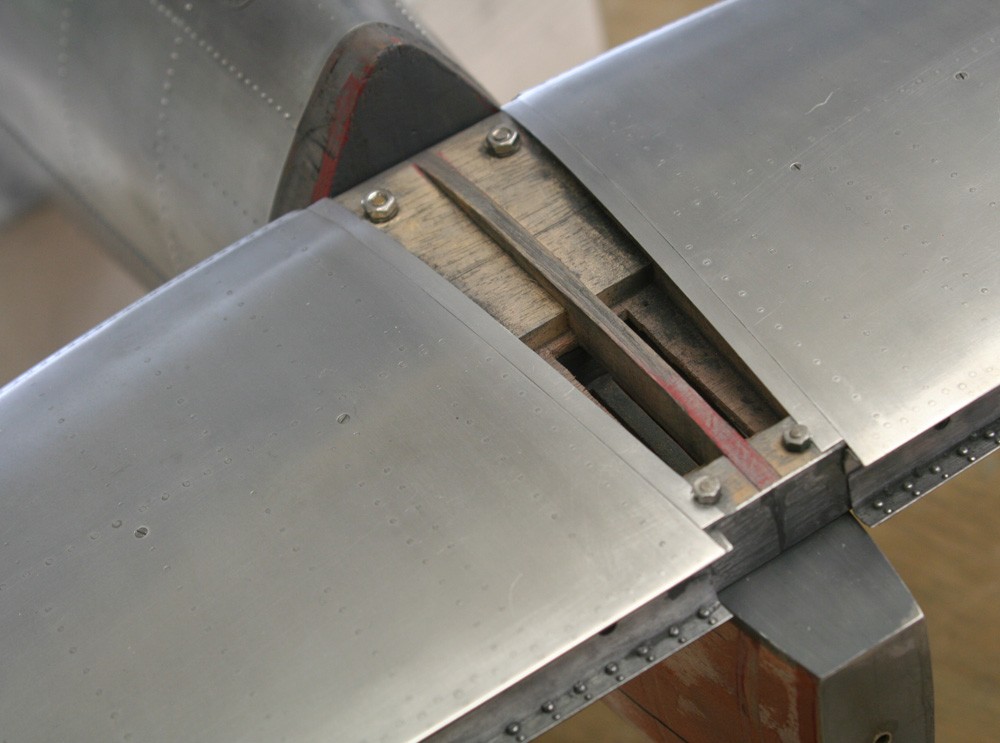
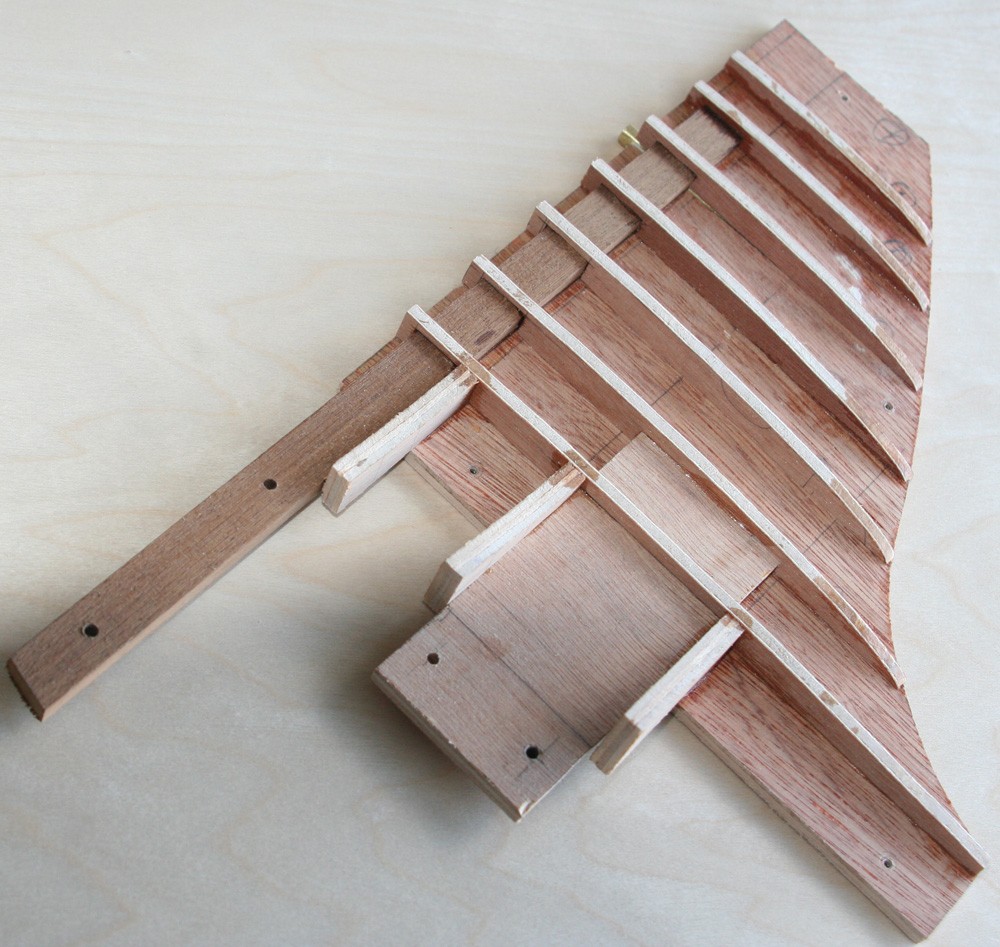
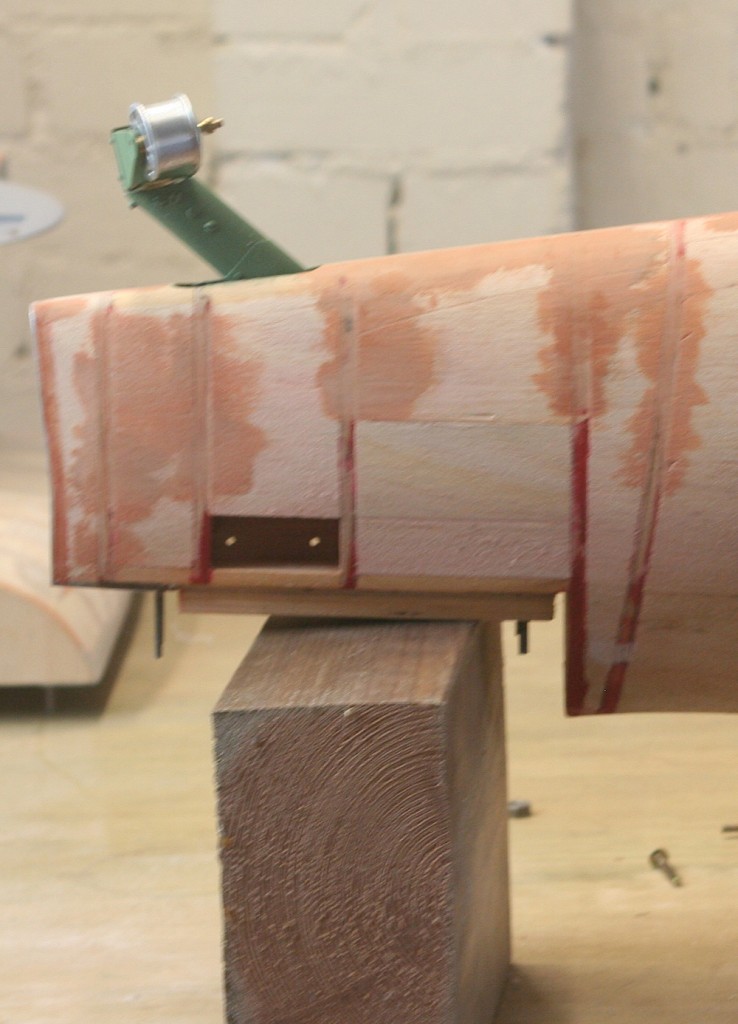
The pictures are self-explanatory: The tailplane bolts onto a thick plywood pad atop the fuselage stern section where it is held by four studs embedded into the fuselage structure, and the fin follows. The latter has a pair of ply plates projecting from its base. These pass through slots in the tailplane and downwards into the fuselage proper, where they straddle the plywood web that runs for-aft through the entire length of the model, the major structural feature. My pictures show how I left two small flanking apertures in the balsa fill to enable a pair of bolts to be emplaced.
No glue is used. The six bolts are more than sufficient for purpose, particularly since the alloy stabiliser fillets will provide further structural integrity in due course.
Once all the nuts had been tightened, I set the model up square on the building table and checked the fin in the vertical plane. Then I put a rule from the tabletop to stabiliser tips port and starboard. At this stage in the assembly of my P-51D Mustang, some adjustment was needed with shims, but this time everything proved accurate to within 0.5 mm… Close enough, I think!