Cladding the fin
Monday, 15th August, 2016
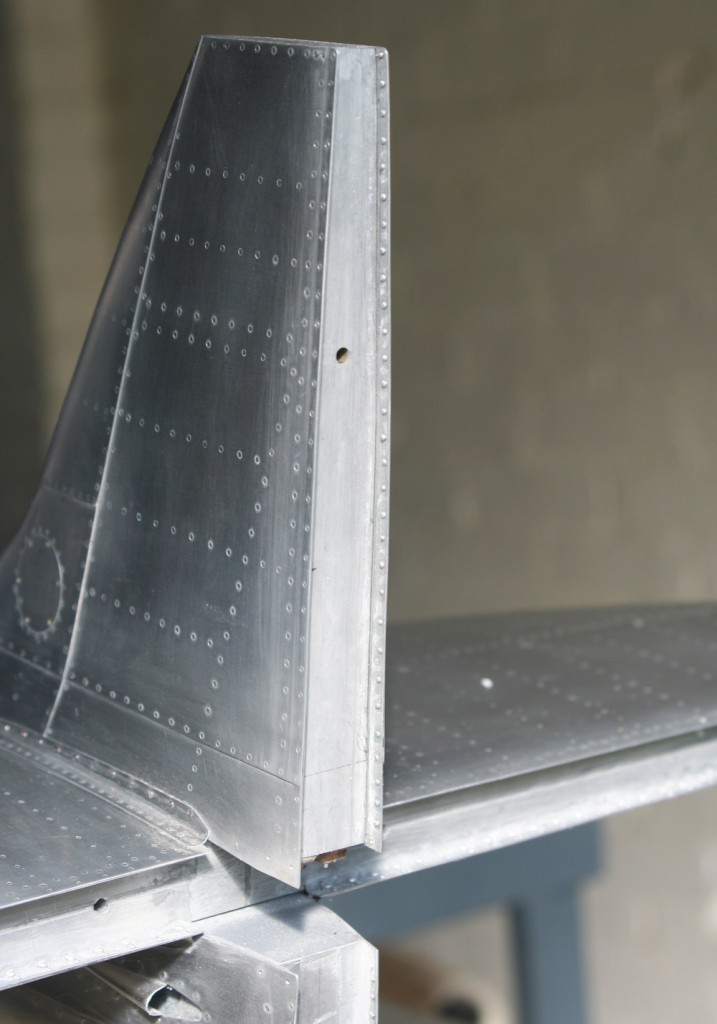
According to their embedded dates, I took these pictures around the middle of May, evidence of further woeful neglect of my web log, and at a landmark stage that effectively left the fuselage and empennage fully metal skinned.
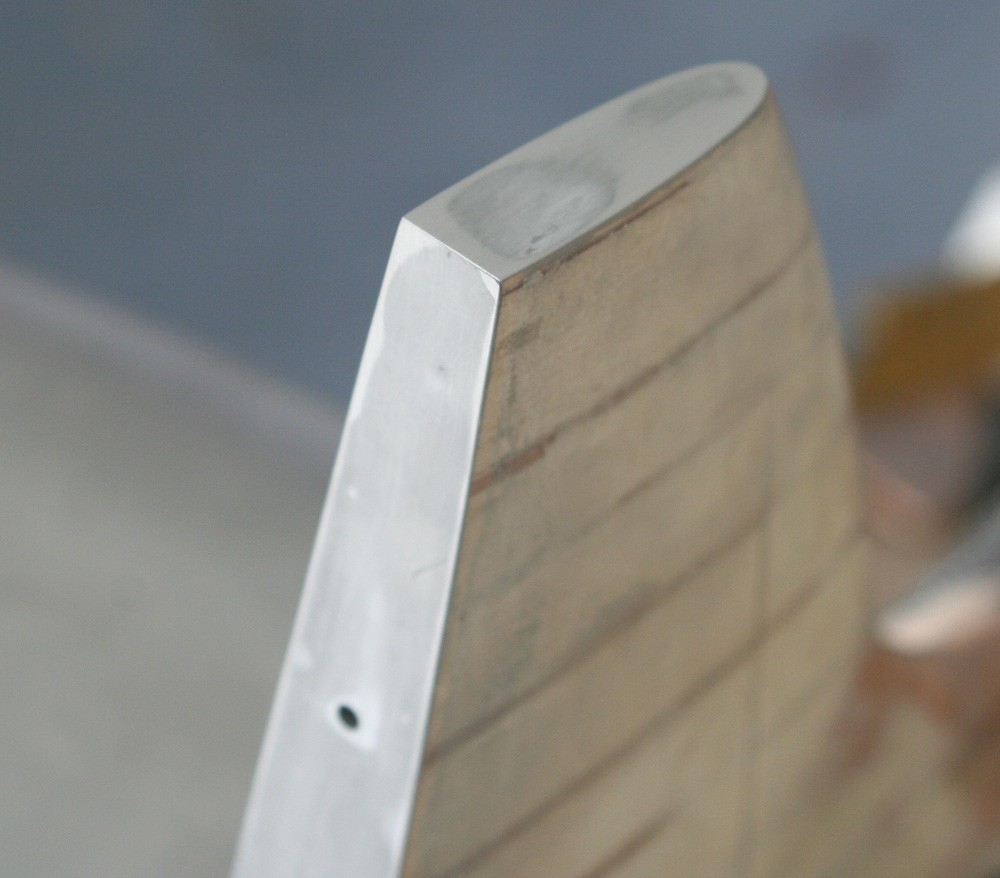
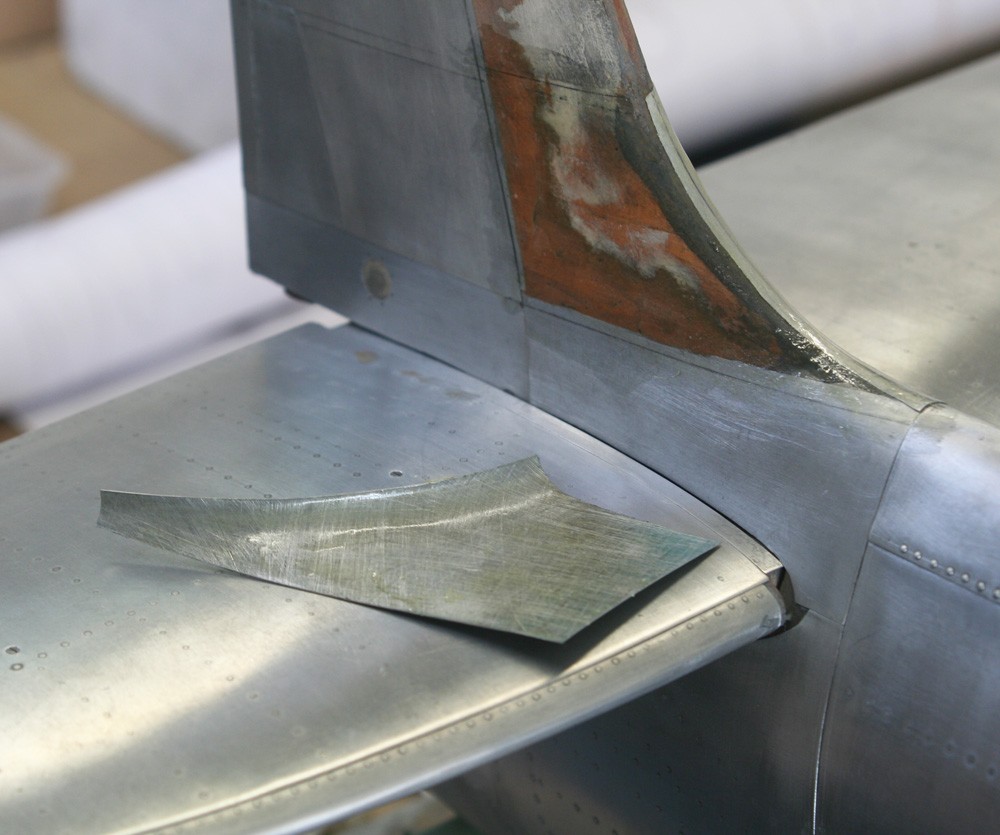
But before I could start work on the fin skinning there was a minor error to correct: With the rudder mounted in position it was painfully obvious that I had allowed insufficient clearance between it and the top of the fin. Fortunately, I was able to rectify this simply by scraping away a single lamination of the three-ply capping piece, thus allowing me to make the correction quickly and easily and without throwing the top of the fin even slightly out of square (Photo 1).
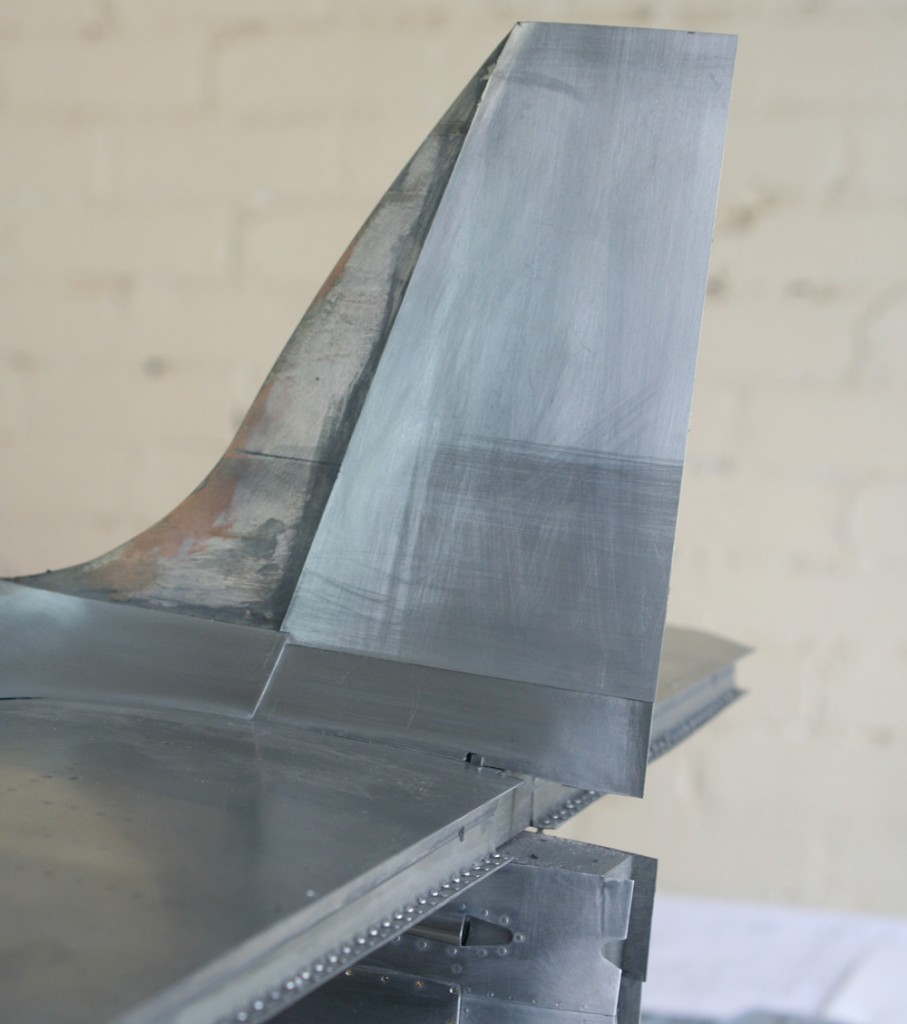
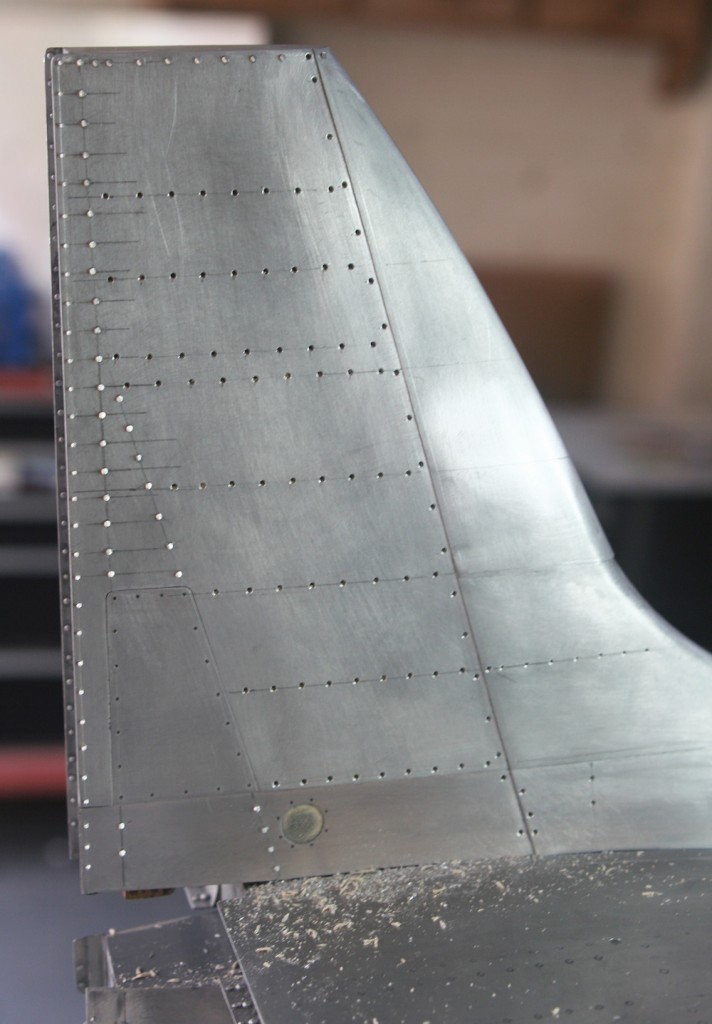
As with the rest of the model, the order in which the fin skin panels are applied is dictated by the nature of the abutments, which vary from overlap/underlap to flush, so some time has to be spent with the drawings to work out the sequence.
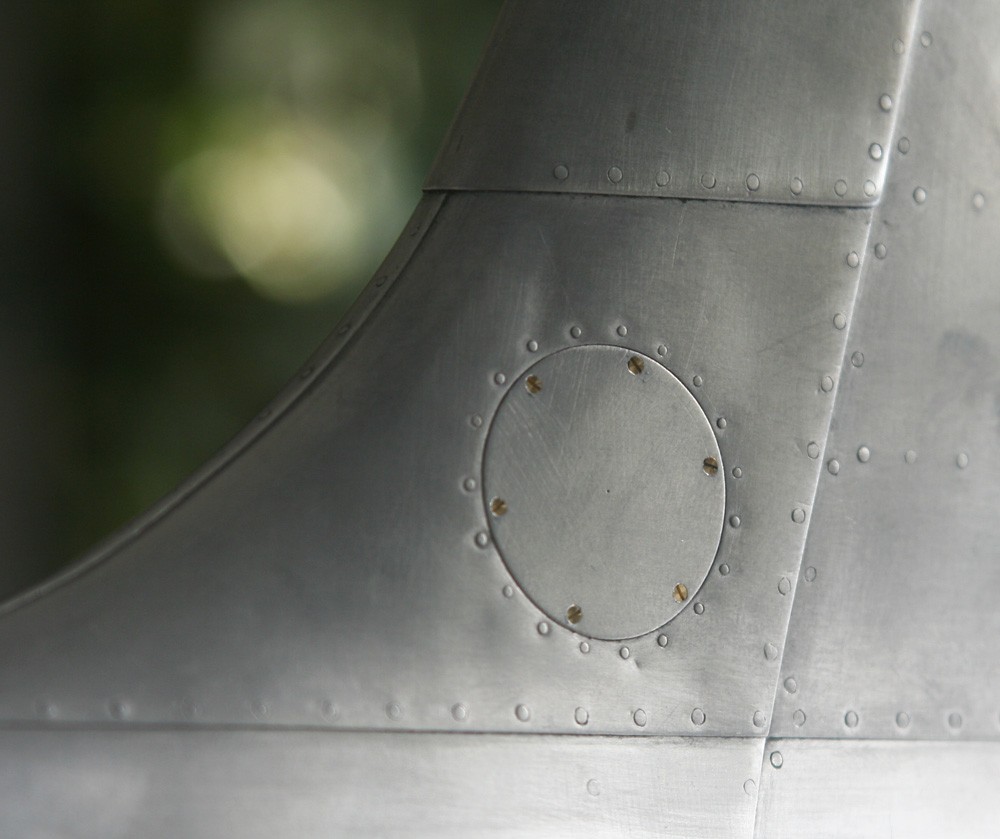
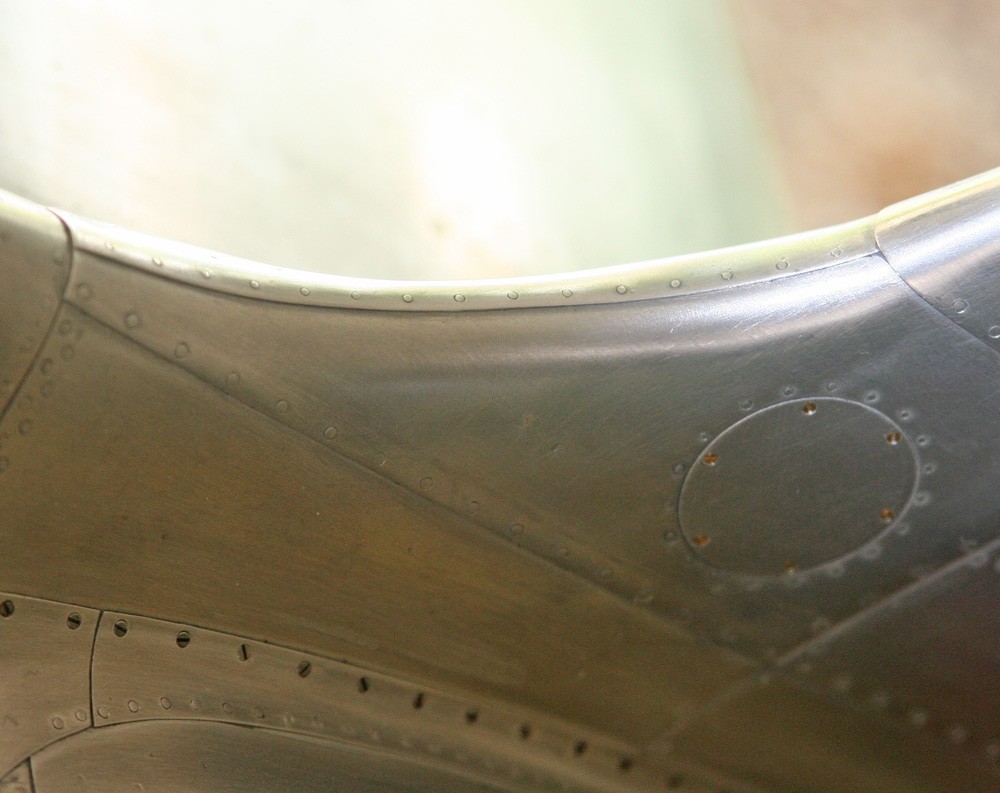
From then on cutting and fitting the very nearly flat pieces plus the three inspection panels could hardly be more straightforward. The taxing stage comes at the leading edge with its almost S-shaped profile. Despite my forebodings, the single ‘wrap around’ convex upper panel proved not too difficult to form in situ from well-annealed litho plate. I’ve found that the closer the piece is pre-cut to finished size in the flat the easier the job becomes, and a paper template is useful here. Fortunately, Supermarine’s designers – presumably presented with the same problems – facilitated the lower concave section of the leading edge by specifying it as two separate panels, one port and one starboard with a riveted overlap down the leading edge which is distinctly offset from the medial line of the fuselage*.
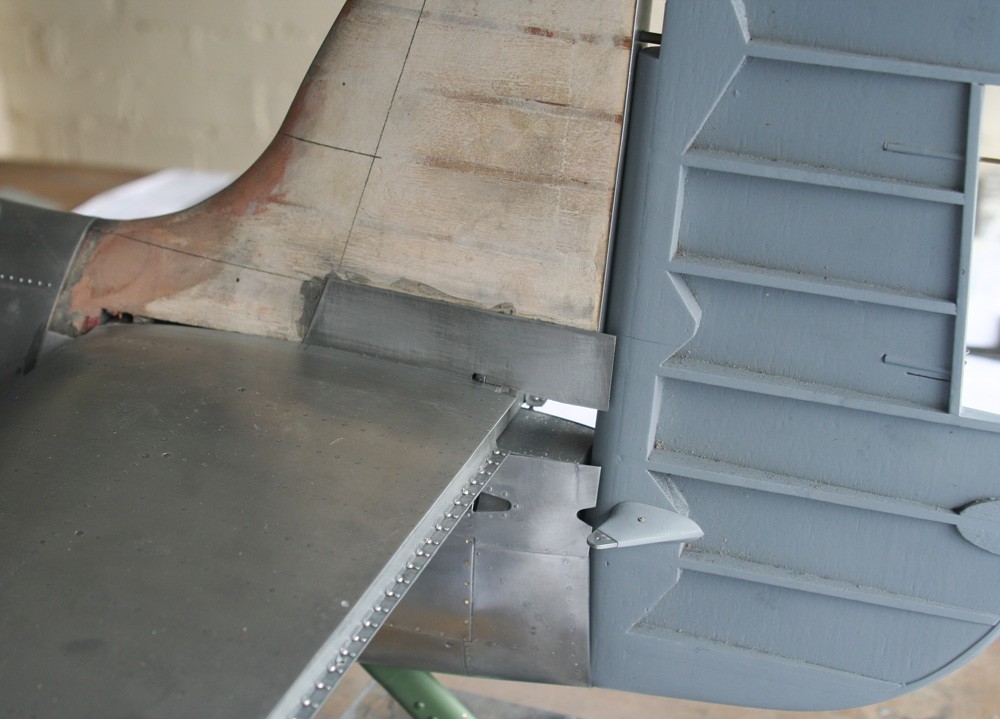
As can be seen from my pictures the fin skin extends aft of the trailing edge so as to form a channel for the rudder post, and this is strengthened and thickened in the model by L-section litho plate, initially glued in place with cyanoacrylate and then further reinforced at the riveting stage.
*Incredibly, I missed this detail entirely when I built my Mk I Spitfire, and spent many hours and much anguish forming the fin's lower leading edge panel in one piece!