Horizontal stabiliser fillets
Tuesday, 16th August, 2016
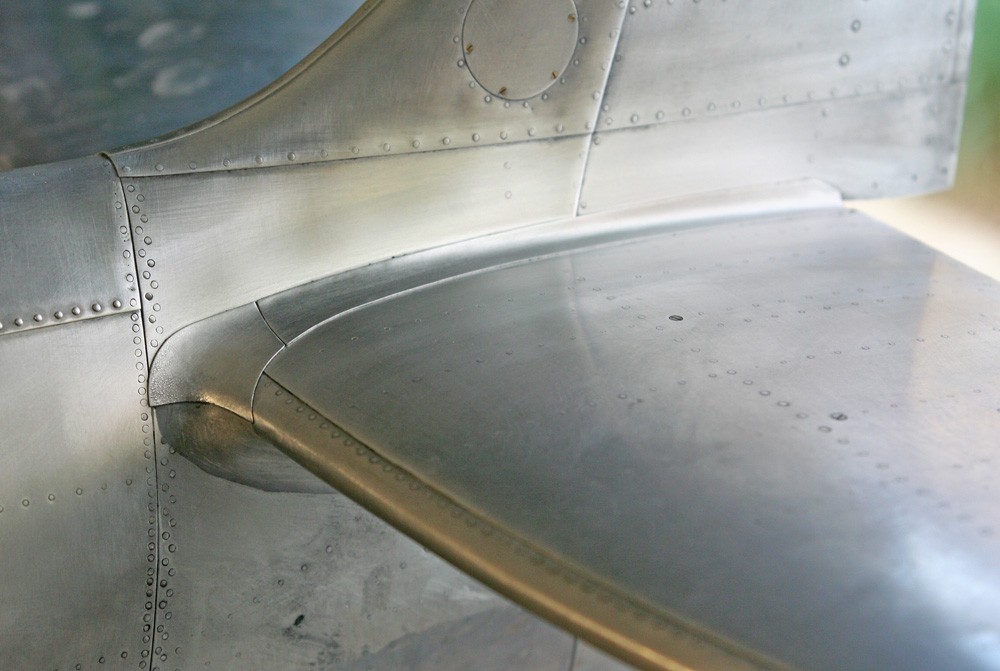
With the fin brought to life by its full complement of tiny rivets inspection plates and screw fastener detail, there remained but one further task before the month of May was out to complete the empennage: the elegant stabiliser fillets.
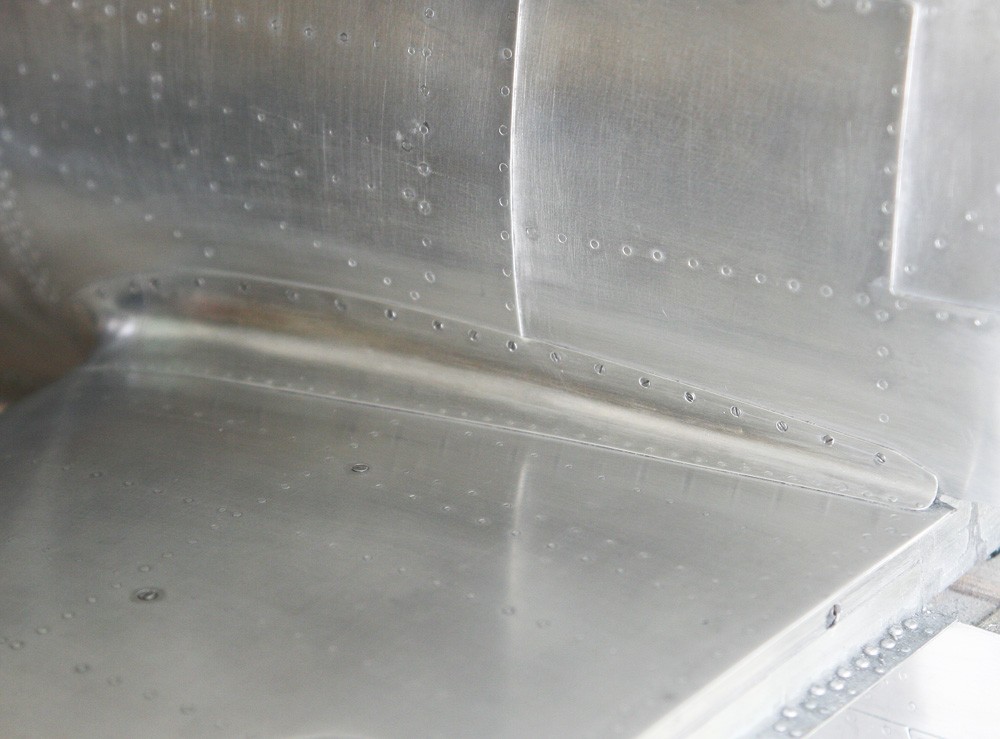
The easiest way to form these is to fashion then in situ from softened litho late. This requires the underlying curvature to be developed on the model itself with the aid of automotive car body filler built up gradually layer-by-layer. The best tool with which to apply the filler is the fingertip, not least since its curvature already approximates to the required radii. The exact radii are given in Paul Montforten’s drawings, and I cut male templates from these to use as a guide for building up and then cutting back and refining the shape with abrasive paper. Two sets of templates are needed, because the contours on the topside of the stabiliser differ markedly from those on the underside.
I used the hardening time between filler coats to cut an additional set of templates to establish the sweeping contours of the fillets as represented side-on and in plan view from both above and below the stabiliser. Thus armed, I was able to transfer the outlines directly onto the model in pencil, while also using my templates as a guide during the cutting and the shaping of the fillet pieces themselves.
The trick is the cut the litho plate blanks as closely as possible to finished shape in the flat using a flexible paper template. Then, once the piece has been thoroughly but carefully softened with a butane torch, it is offered up to the model and impressed into the ‘mould’ created by the filler. Normally, just running finger or thumb firmly up and down with gentle pressure is sufficient, but it’s good to have handy a stock of soft wood dowels with rounded ends to work the metal tightly into the smallest radii.
Once satisfied with the fit the piece is taped securely in exact position and the fore-aft contours are transferred from the templates onto the work-piece with a pencil or scalpel point. The rest can be achieved with sharp scissors, files and abrasive paper.
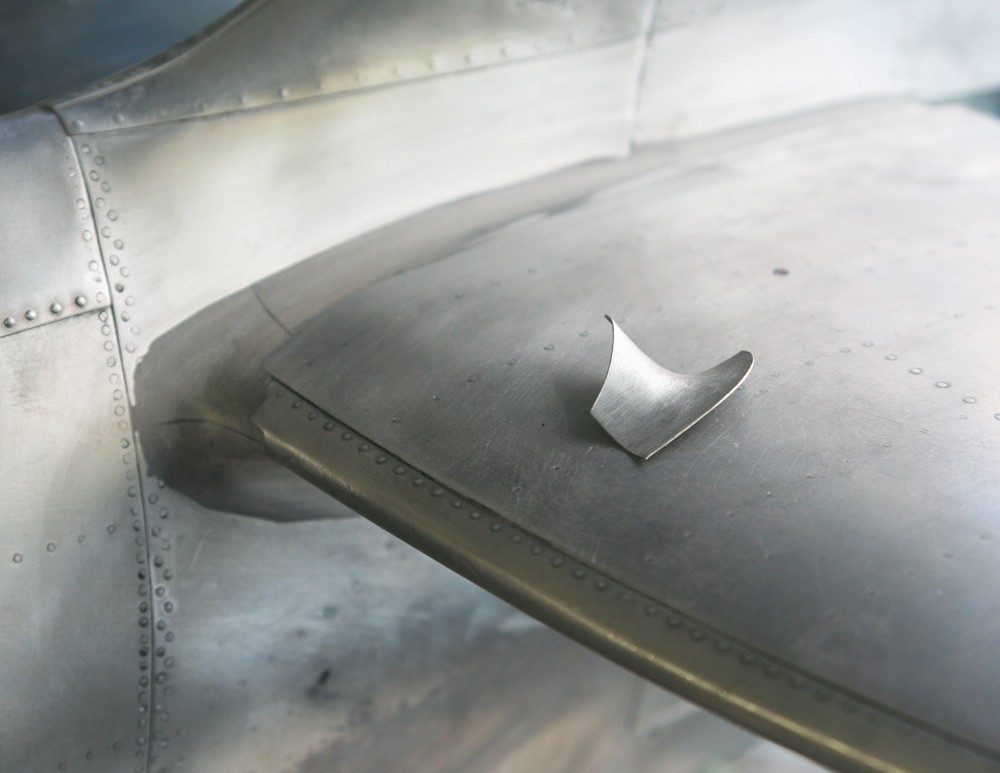
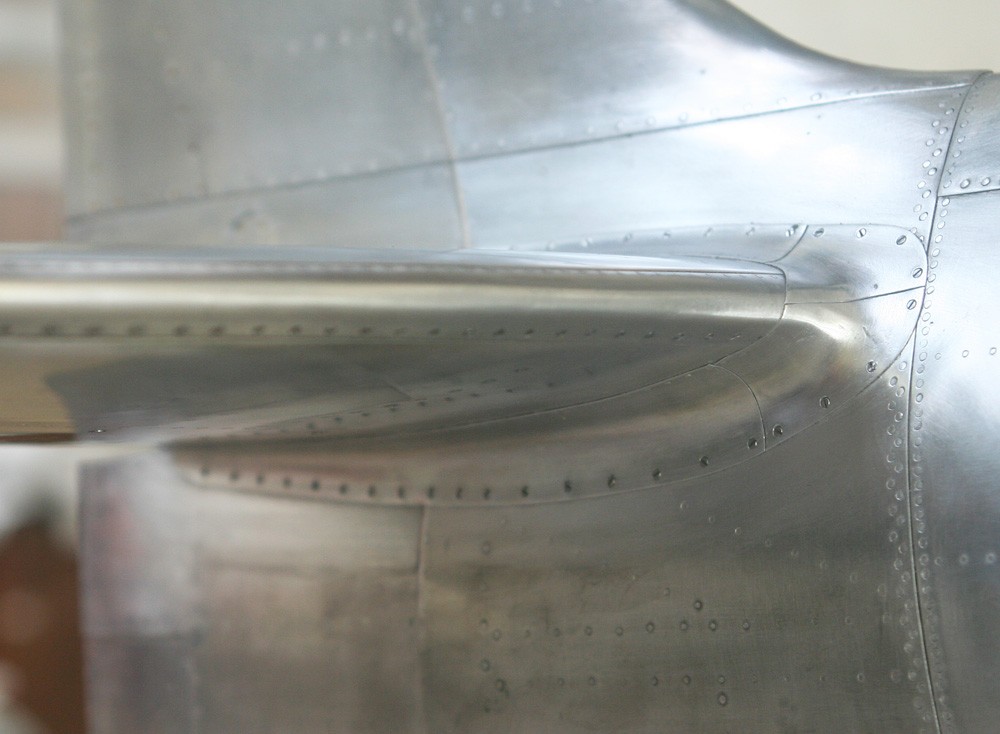
The two small nose fillets that wrap tightly around the stabiliser leading edge are an altogether different challenge, and one that I unashamedly shied away from. Those familiar with my Mk I Spitfire will know that I cheated by making these as two separate parts rather than one. I repeated the compromise this time, yet even so I still struggled for a full day or more before achieving a passable result port and starboard.
Wooden dowels are a must for this job, and it’s a case of cut, anneal and work, then anneal again and re-work, and for as many times as it takes for the tight shape to begin to emerge. The secret is not to give up on the work-piece, even when it appears to have degenerated into an irretrievable crumpled mess, yet you must also to be prepared to scrap the piece and start all over again. The second half of each pair is, if anything, more taxing, since the abutted fit along the horizontal seam line must be exact. I applied a little thick Humbrol enamel to the mating edge of the fitted half then offered the partner up to it, such that a line is transferred from one to the other along which to cut. The method is crude, but it works after a fashion. It would be easy enough to disguise the seam beneath more filler and a powdering of Alclad spray, but I decided to leave it be: If a ruse, then at least let it be an honest ruse!
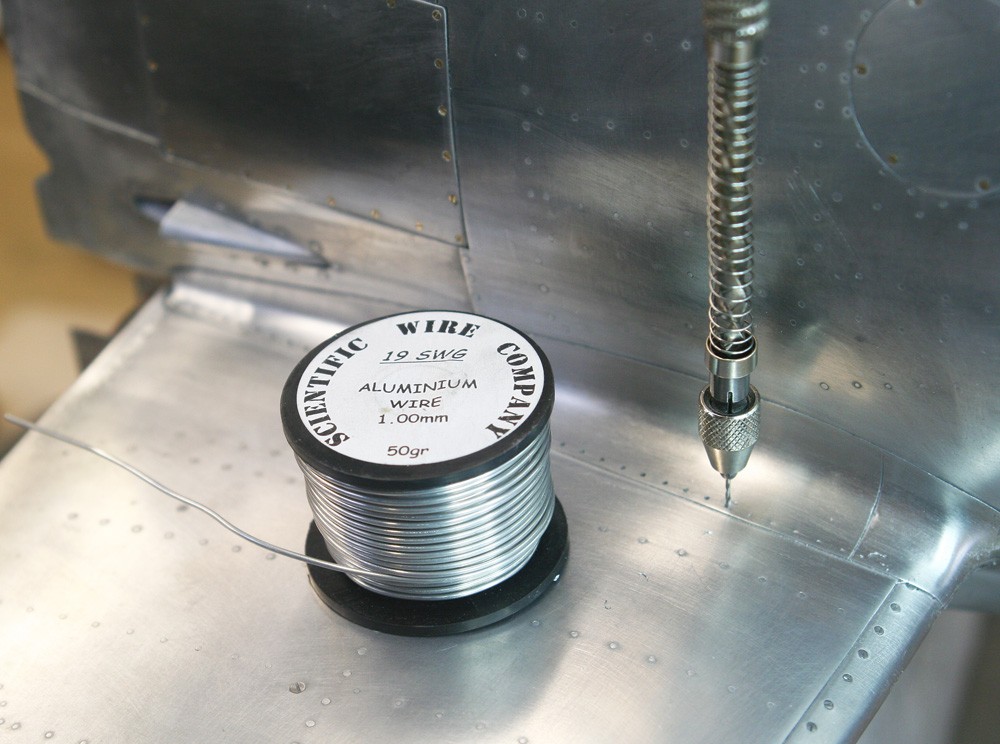
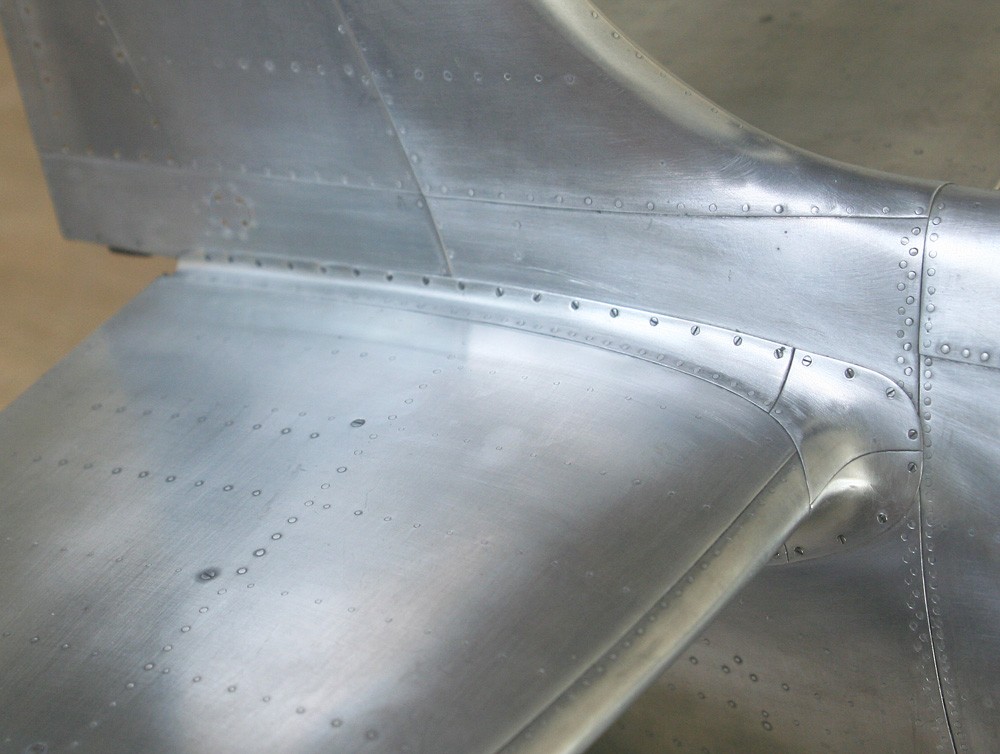
Like the rest of the litho-plate skin, the stabiliser fillets are secured in place by EvoStik contact adhesive, then detailed with a combination of flush head rivets along the stabiliser edge and with steel screw fasteners self tapped into the fuselage.
Countersunk screw fasteners
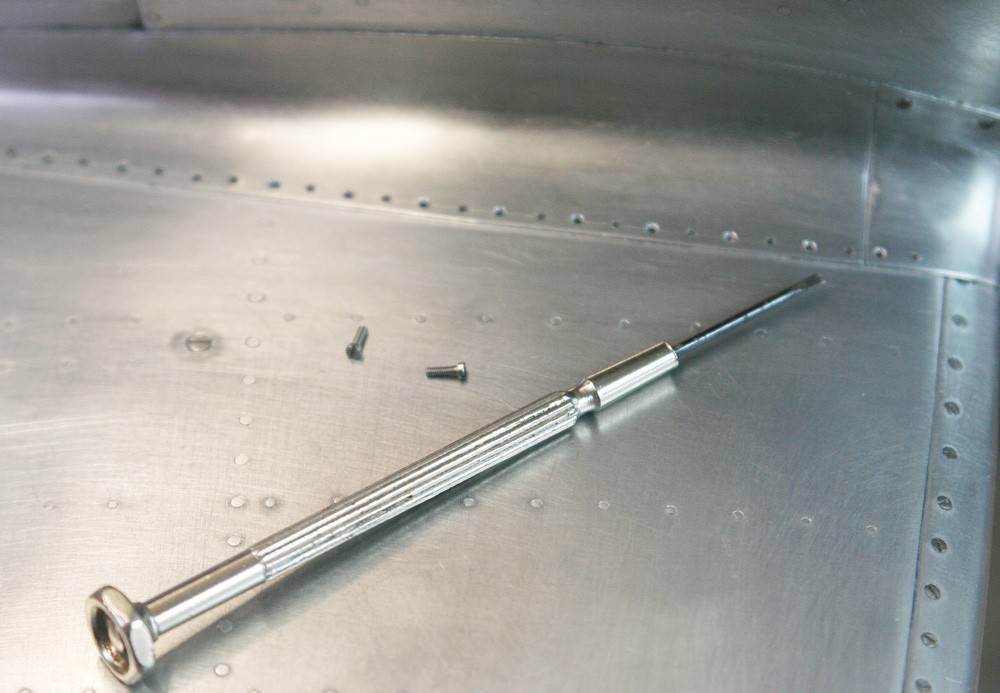
Before concluding, a brief note of caution: It is very difficult to form countersunk holes crisply and cleanly in thin, soft printer’s plate, particularly when it is used as a single layer only. Poorly made countersunk holes can totally mar the appearance of an otherwise pristine line of screws. If twist drills are used to form the countersinks, a poor result is almost inevitable: the drill bites too hard and irregularly. Tiny spherical burrs are better, perhaps used in combination with the twist drill.
But there is another way entirely, and that is to replace countersunk screws with cheese head screws. By this ruse only a single clean hole is required the exact diameter of the cheese head. The screw is then tightened down exactly flush with the metal surface, thereby giving the ‘appearance’ of a countersunk fastener. The method works, as you can see from the photos.