The Spitfire's armament
Friday, 19th August, 2016
As May rolled into June I felt the need for a break from sheet metal work - some light relief, let’s say – and for the want of better I decided to turn a hand to the Spitfire’s armament.
The Browning machine guns are completely hidden within the wings of the Mk IX and therefore of no concern, but the 20 mm Hispano cannons could hardly be more prominent. Clearly, this would be a job for the lathe.
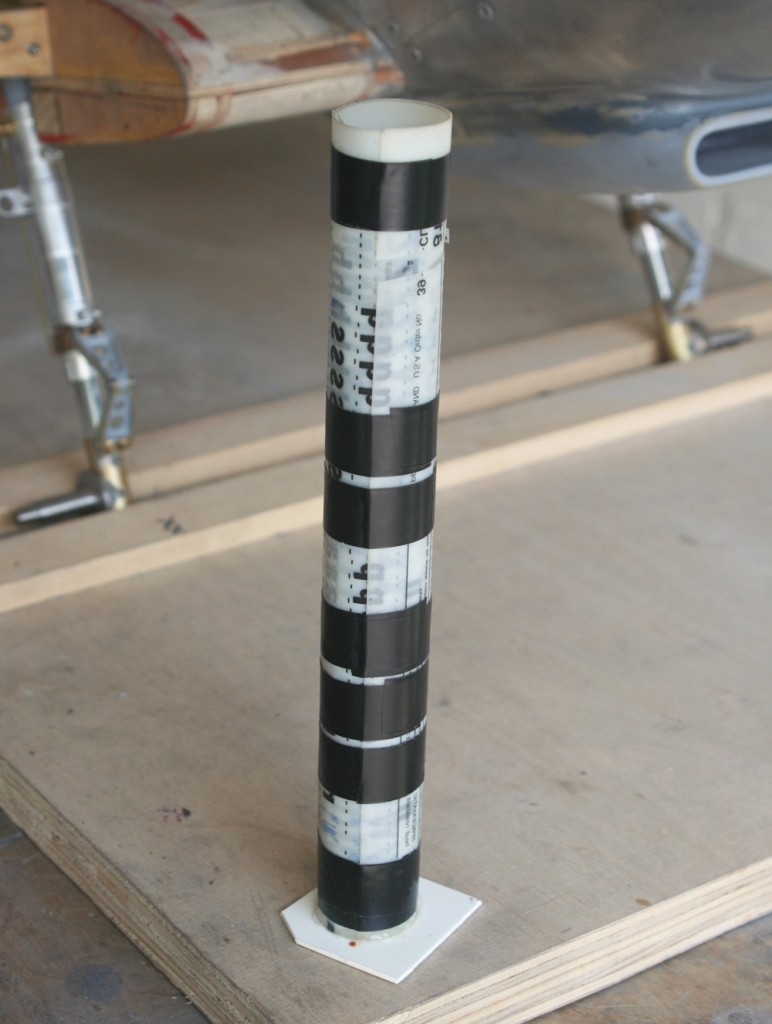
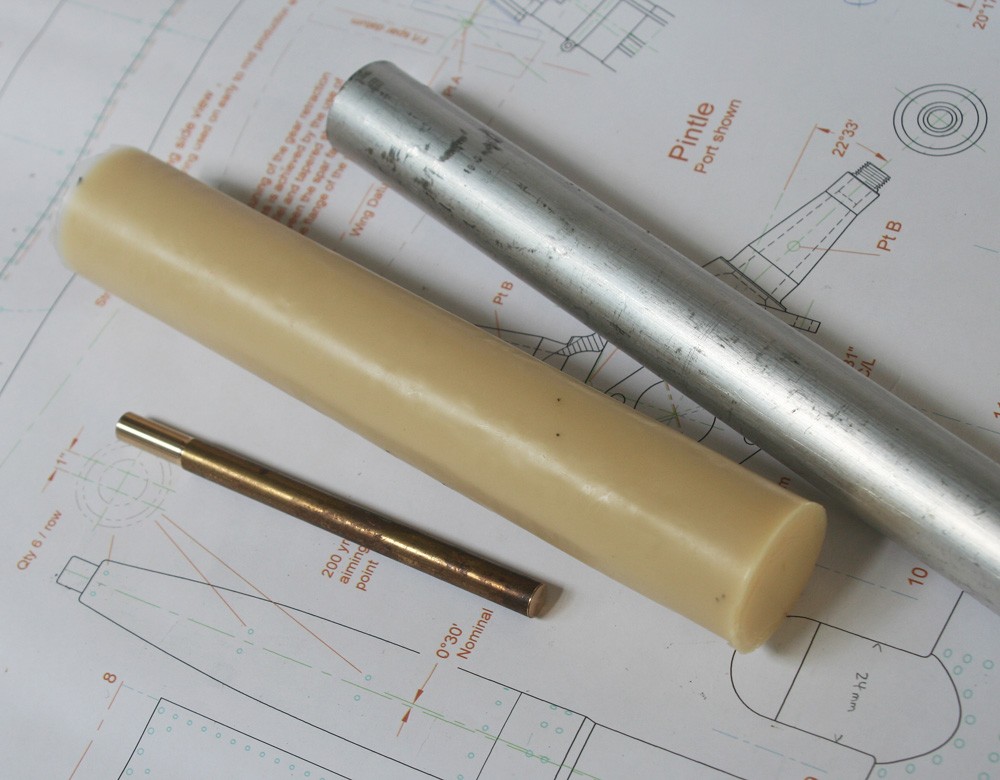
I began by turning and boring all parallel components from thick-walled aluminium tube. I made them a tight push fit into the alloy ‘sleeves’ so long ago embedded into the ply/balsa fabric of the wing leading edge. I also turned and drilled a couple of short lengths of brass, which would become the protruding muzzles of the cannon.
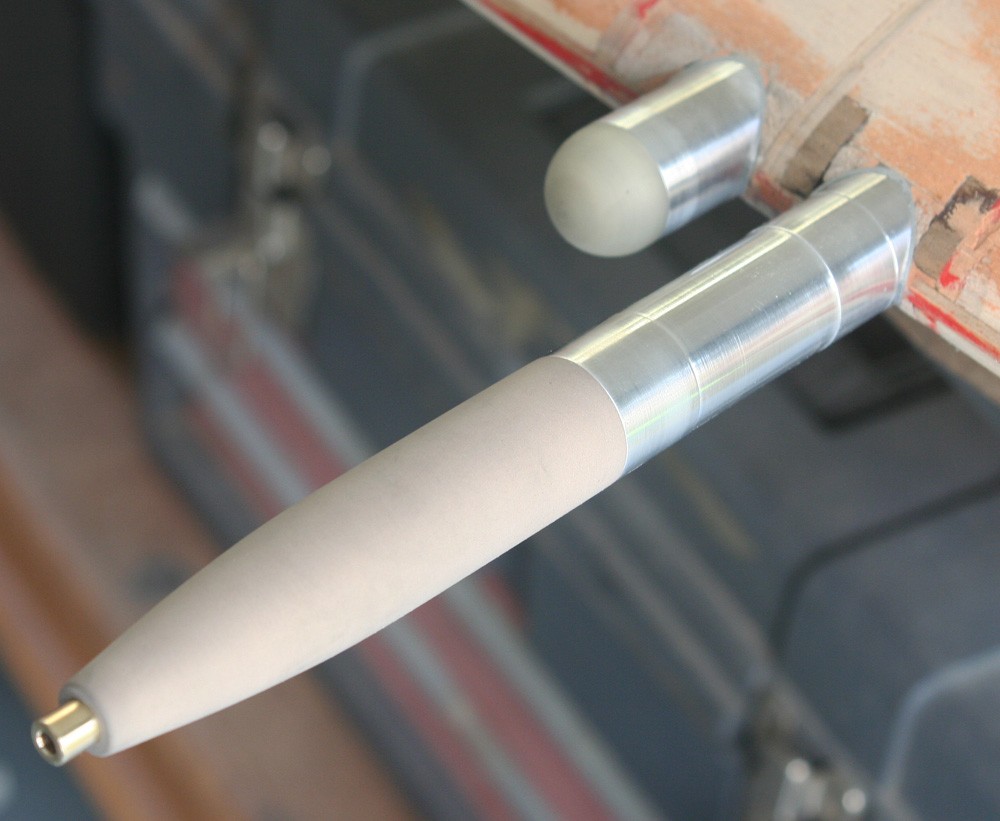
From then on, things became trickier: In C-wing aircraft the Hispanos were sheathed by a graceful tapering and distinctly curved fairing. And whilst most Mk IXs carried two Hispano cannons, the wing provided the option for four, as evidenced by the adjacent stubby ports with their dome-shaped cap. For both the domed caps and the tapered fairings I would need some kind of bespoke cutting tool. Moreover, to avoid involvement with tool grade steels and unfamiliar tempering and hardening techniques, I would need to choose a material that would be very easy to cut!
First the tool: I began with a small rectangle of 1/8-in. mild steel, into the corner of which I marked and cut the quadrant of a circle representing the dome. This I ‘sharpened’ by filing a slight undercut and by honing the topside flat on a whetstone.
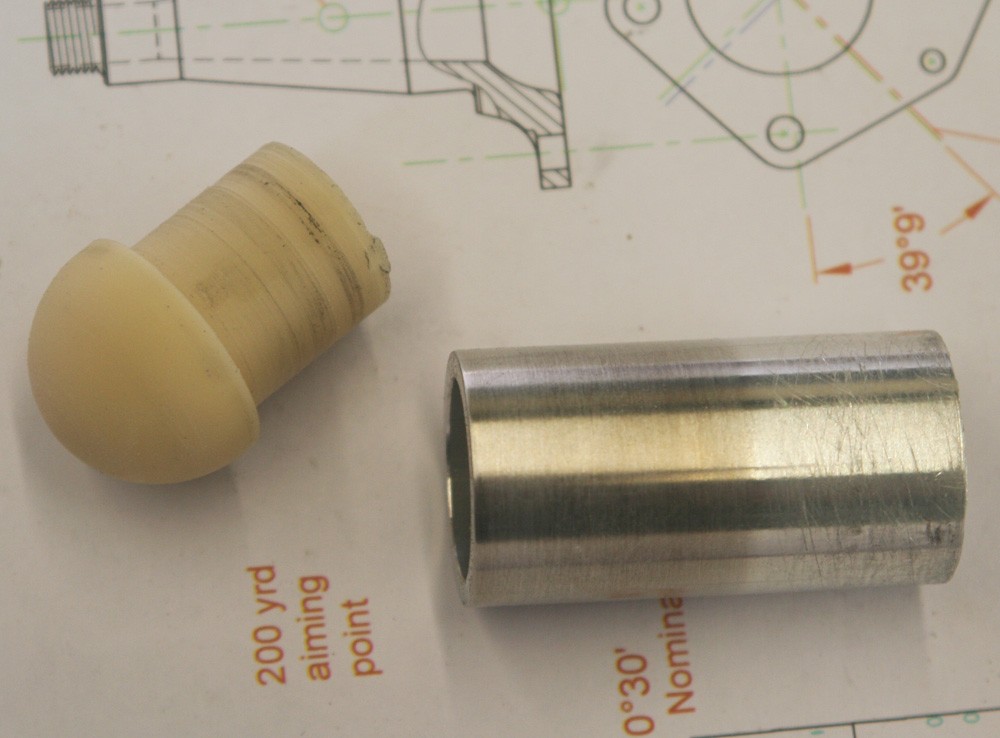
Next I chucked a stub of scrap resin, an off-cut from previous casting operations, and turned the outer diameter. Then, with my makeshift cutter clamped to the tool-post and checked for square I set about forming the dome, using repeated light, gentle cuts and finishing with medium and fine abrasive paper at a slow lathe speed. The result was a complete success. Switching to a parting tool, I made a quarter-inch or so long rebate at the rear of the dome to snugly fit the internal diameter of the aluminium body and parted the piece off. Then I made the second dome cap in hardly any time at all.
This was encouraging, and since I had no resin scrap nearly big enough for the Hispano fairings, I set about casting two bespoke blanks. I fashioned a second cutting tool in much the same way as before, except that this time it was about six inches long!
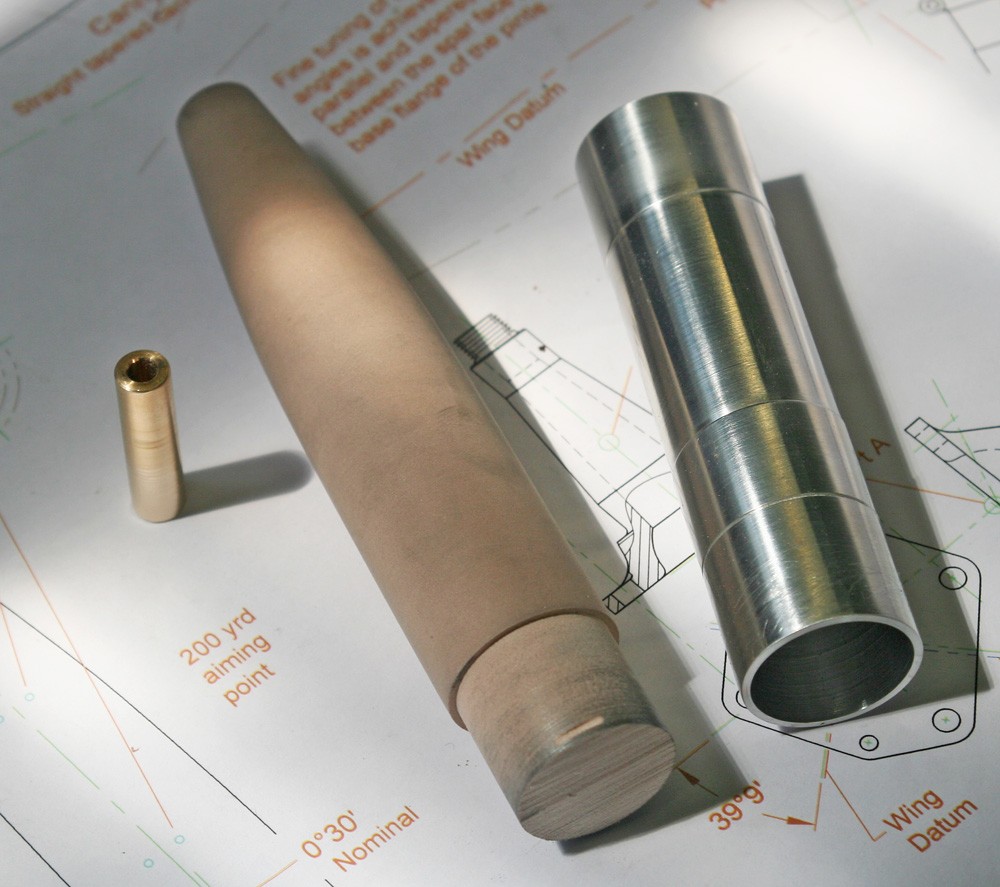
I started by chucking one of my two resin blanks and turning the end square, which I then centre-drilled and opened up to size for the brass cannon muzzle. Then, with a fixed centre in the tailstock to support the work-piece and the cutter set up in the tool post, I began to form the long, tapering profile. The work went well with the thin curling wafers of resin becoming ever broader as I traversed the cross-slide and more of the cutter engaged along the length of the piece. Then, just as I was beginning to congratulate myself, the cutter dug in, jammed and with a crack the thin end of the work-piece snapped in two!
Somewhat philosophically I placed the second resin blank in the chuck and started over again … with the same result. Clearly, for this was not a job for resin! After a little thought I decided to try again, and this time with high-density model board. I had used this material for the tyres of my P-51D Mustang and it machines in the lathe beautifully. I hope my photographs bear testimony to that and to the model maker’s mantra, “if at first you don’t succeed”.
I still have some minor rivet detail to add to the Hispano fairings, but I’ve set that aside for later.