Frog-eye nav light fairings
Sunday, 6th November, 2016
Before proceeding to skin the wing tips, I needed to provide for the navigation lights and their distinctive frog-eye fairings.
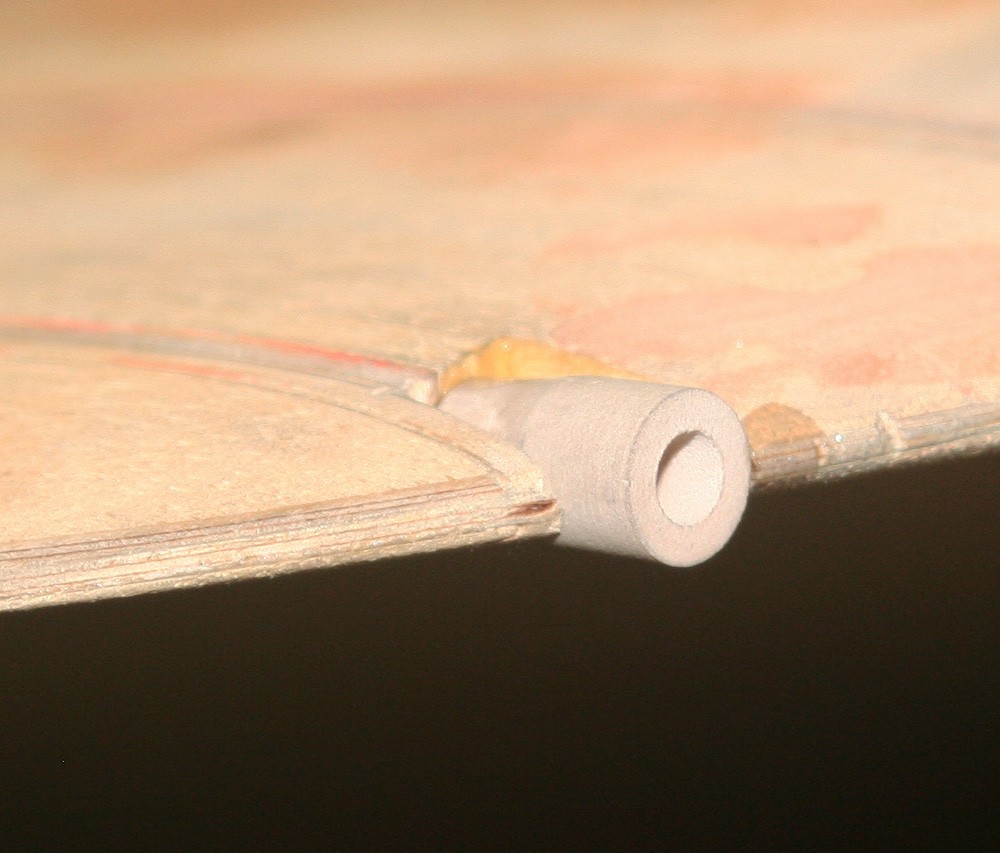
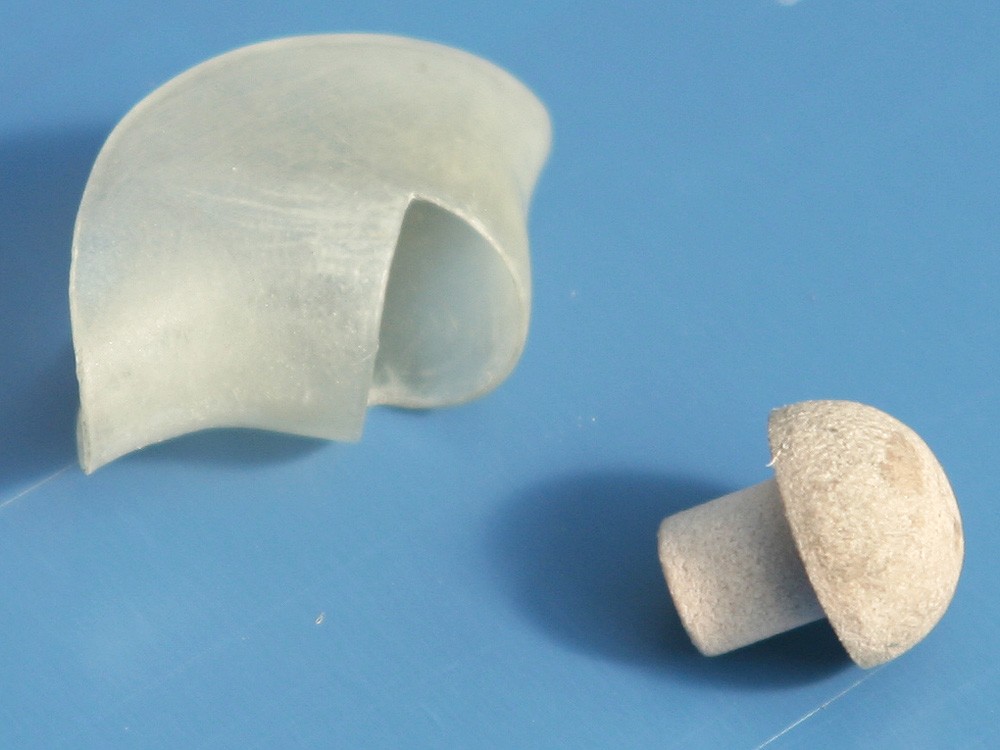
It took just a few minutes to lathe-turn and drill the cylindrical nav-light casings from scraps of high-density model board, and about the same time to cut a recess in each wing tip to receive them. As can be seen in the photos, I also turned two mushroom shaped plugs to act as surrogate clear parts (which would come later).
Anyone familiar with the story of my first Spitfire may recall that I used milk bottle tops as the basis for the frog-eyes; this time I decided to follow a rather more conventional pathway by using a lay-up of fine-grade glass cloth and two-part resin.
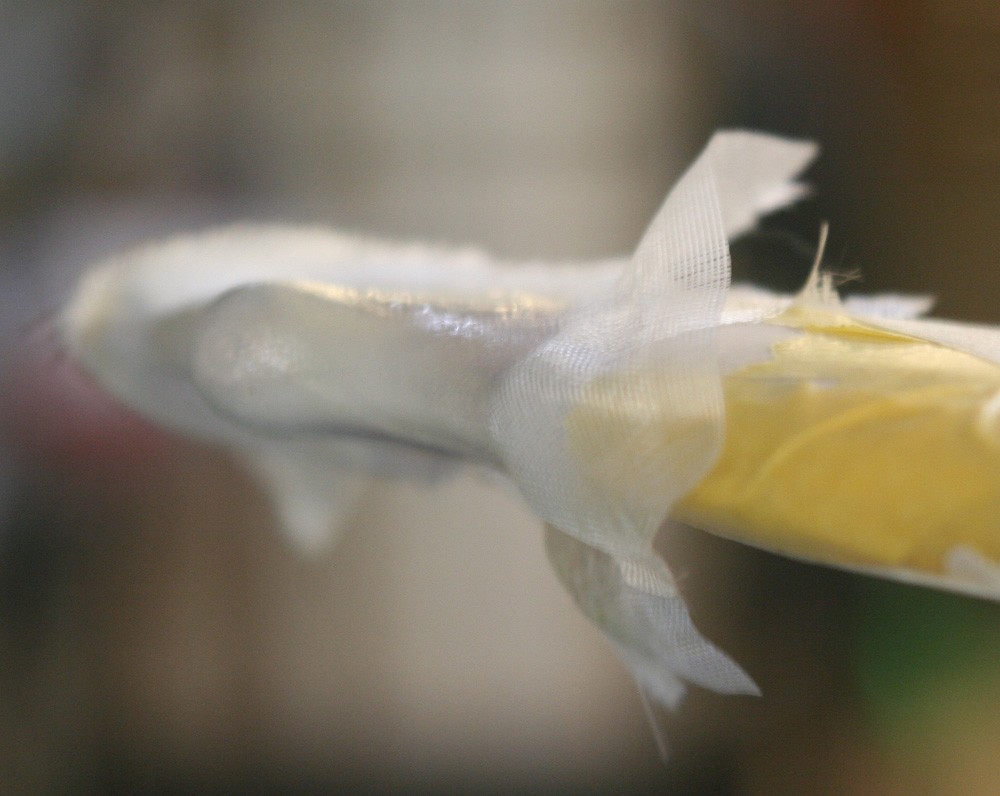
The pictures of the lay-up stage make clear the purpose of the mushroom plug and how I stretched a thin latex membrane (cut from a surgical glove) over the assembly. The membrane serves the obvious purpose of preventing the resin from sticking, but it also very effectively transforms the sharp angularities either side of the casings into the smooth fluid contours characteristic of the finished part.
I used three layers of glass, alternating the direction of weave and stippling in the resin sparingly. This is standard practise, although four or five layers of glass might have been preferable in hindsight.
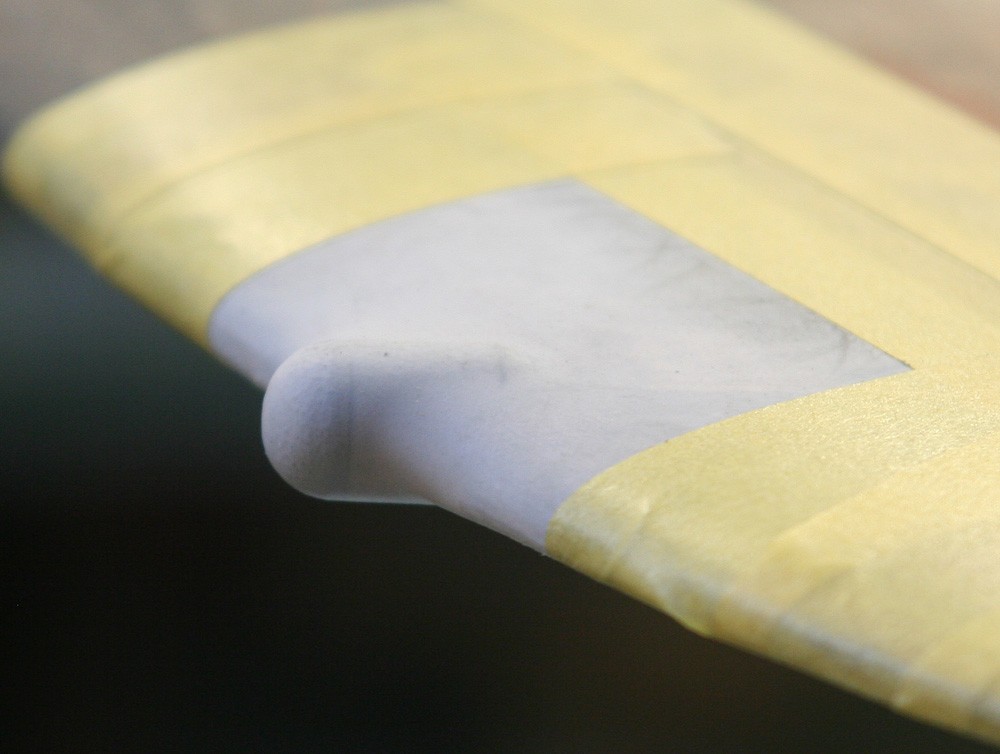
After hardening hardening overnight, the mouldings came away easily and were just as easily cut to shape with small, sharp scissors. The 90-degree notch for the light took more care but was simple to cut with the help of a set of needle files. Three or four coats of grey automotive primer finished the job.
It will be some time before I have to make and fit the clear red and green nav light ‘bulbs’, but their frog-eye covers will be needed very shortly when I come to cutting and fitting the wing tip skin sections.
