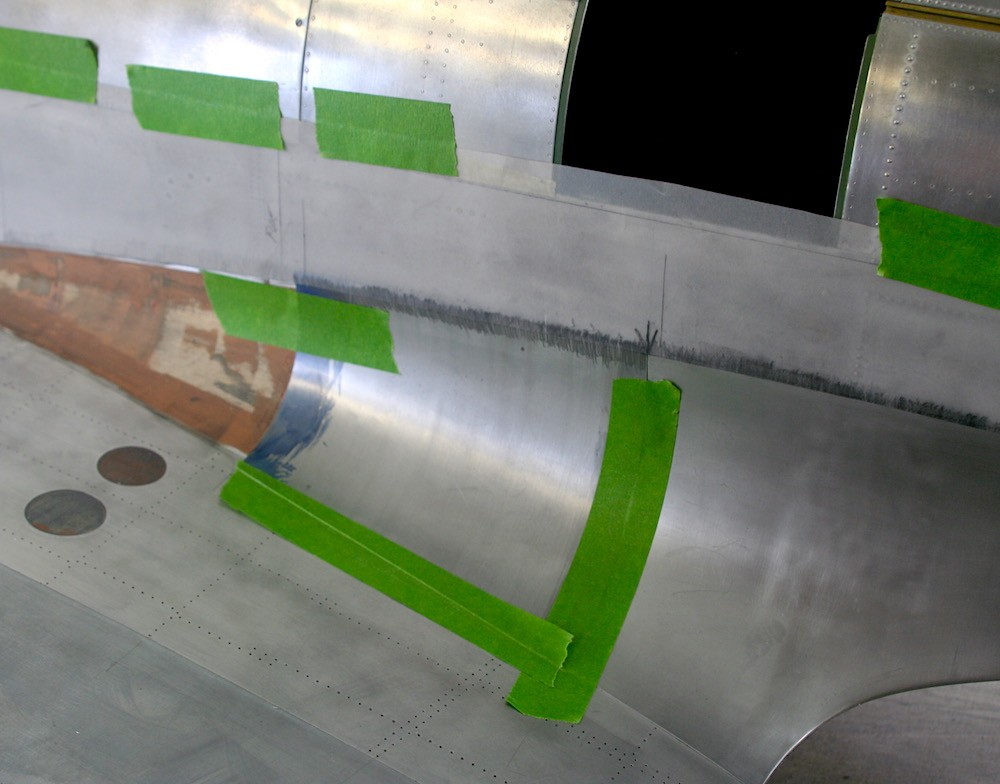
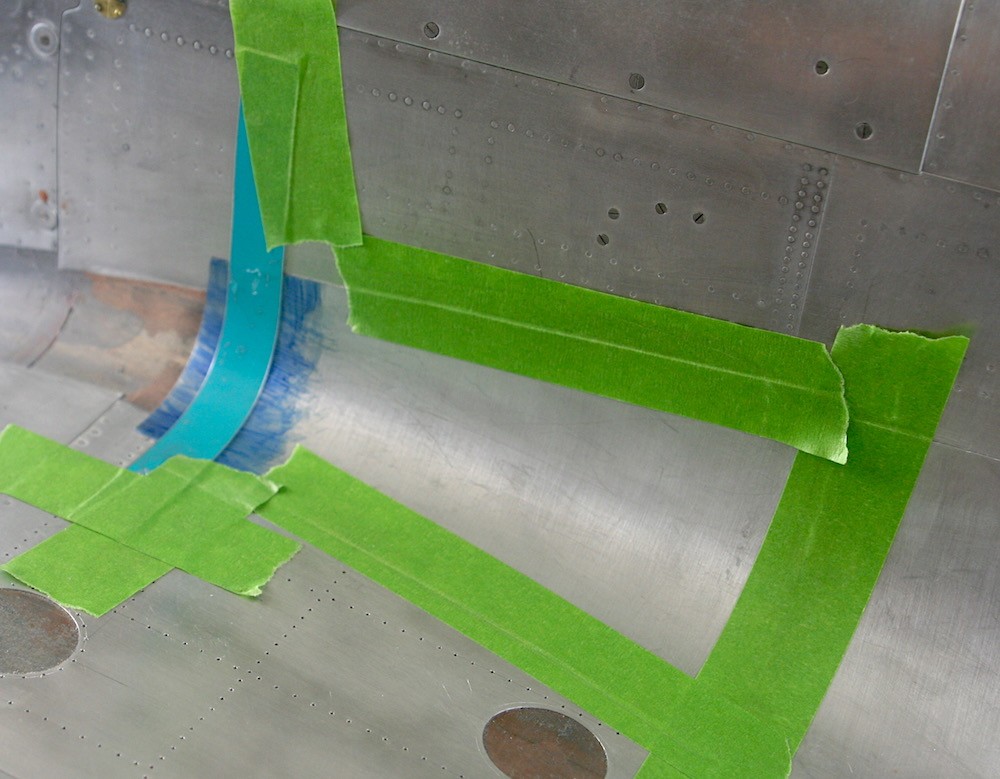
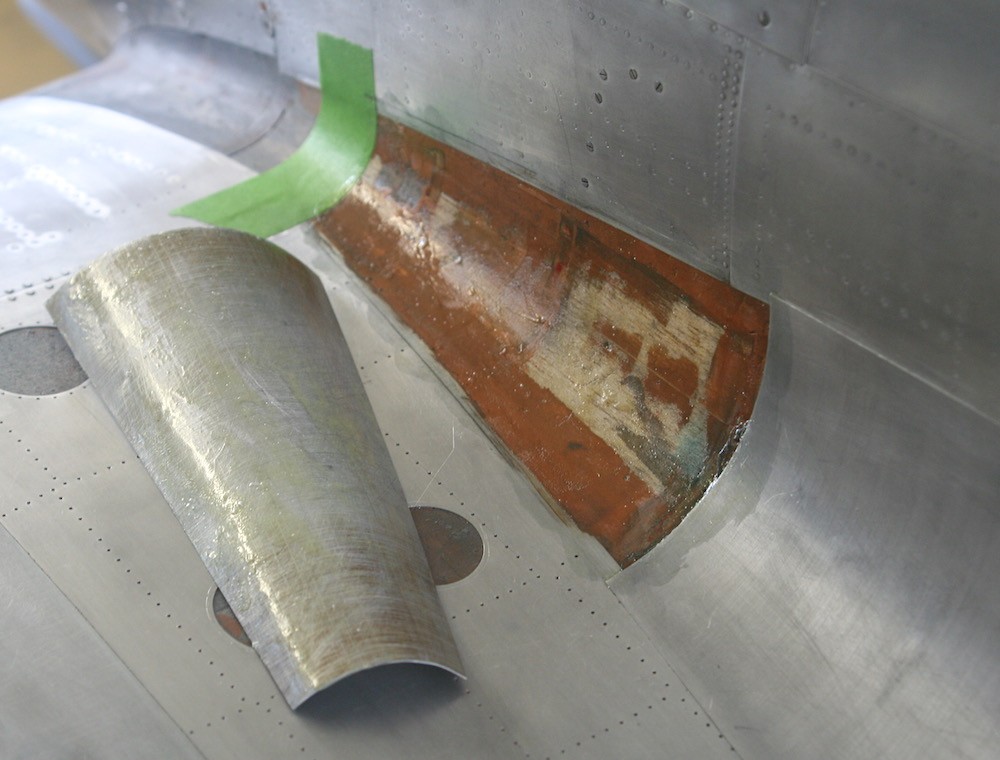
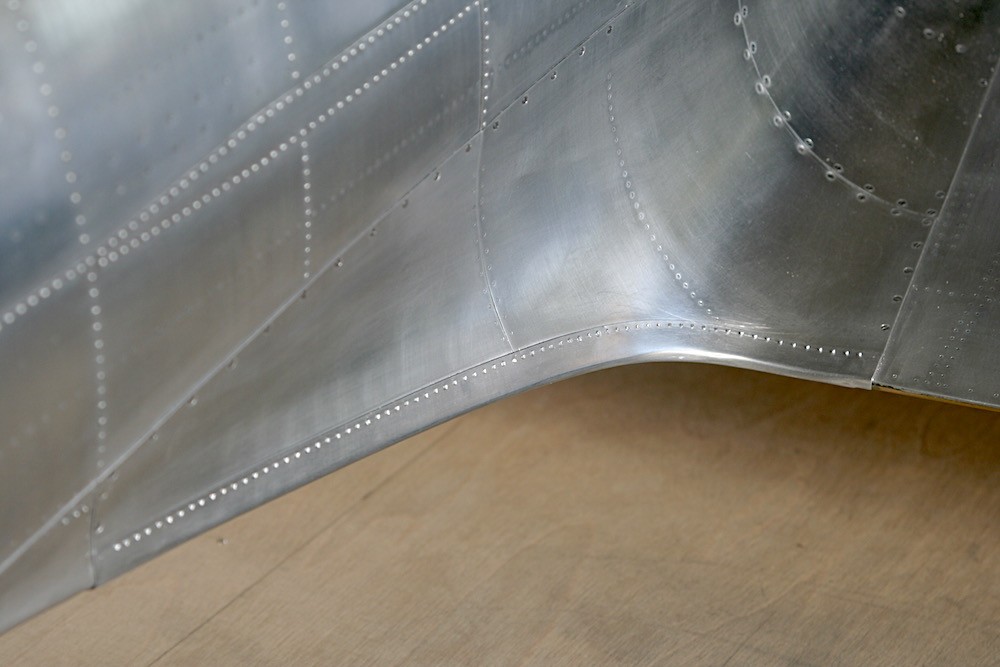
Wing root fillets (upperside)
Wednesday, 26th April, 2017
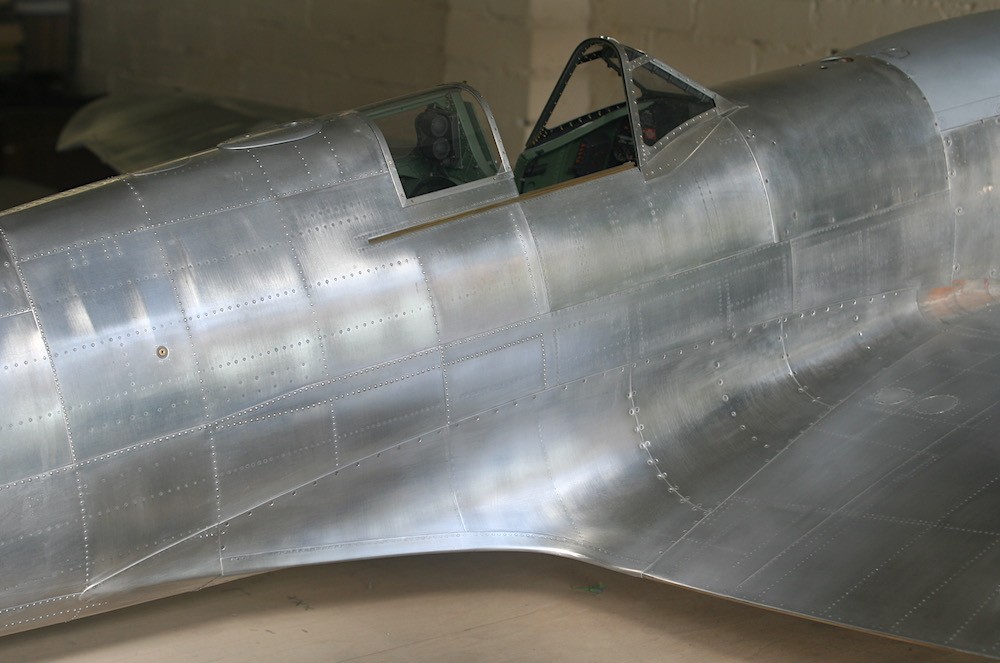
After a winter of inactivity, the model has progressed during the past month or so, my reward for a period of sustained work on it, despite this year’s chilly spring temperatures. What is more, my web log is up to date – possibly for the first time since I began it!
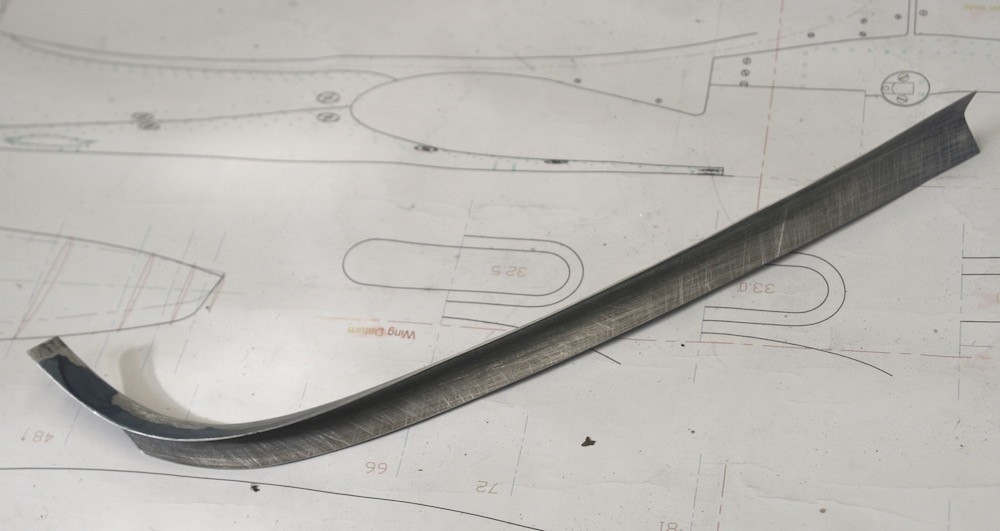
The overall procedure for the upper fillet panels is much the same as that described in my last entry, so I will leave the pictures to speak for themselves and focus instead on the crowning element of the fillet assembly, which is the V-shaped capping strip that reinforces its trailing edge.
At first sight, this might seem a challenge too far, yet it speaks volumes of what can be achieved with annealed litho plate and crude tools, primarily fingers and thumbs.
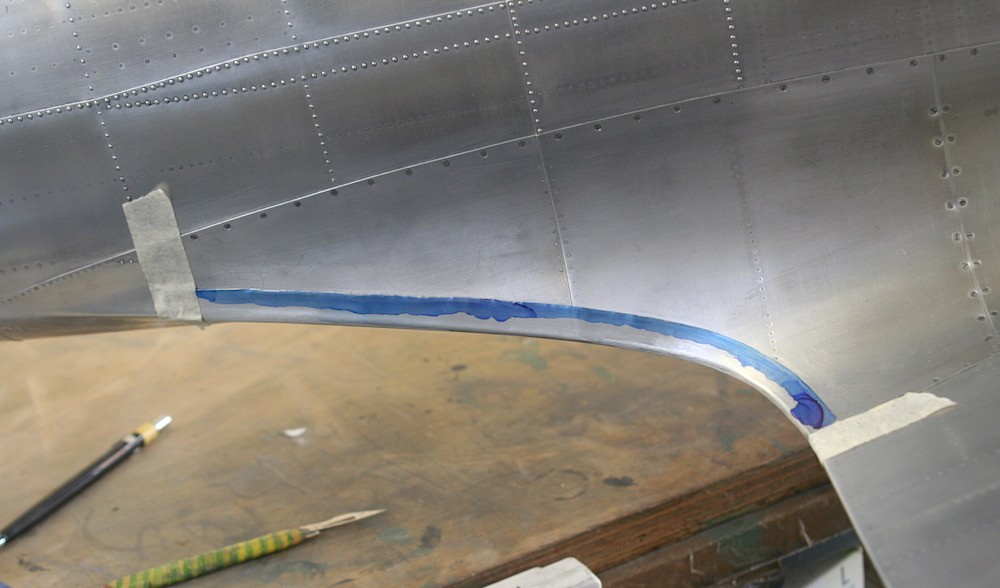
I started by cutting two parallel strips of litho plate, each about 1.5-in. wide. Being small, these must be annealed with care or they can easily succumb to the torch and shrivel at the edges and corners.
The strip, cut to over the required length, is offered up along the curved trailing edge on the model and pinched between finger and thumb progressively and evenly along its length. At first it yields quite easily then tightens as the metal resists further stretching. Another annealing and more pinching follows, and slowly the material yields and the angle of the V closes up. Simultaneously, by firmly pressing down with the thumbs along the trailing edge curvature, the piece is coaxed to conform in that dimension also.
As the shape develops it helps to use sharp scissors to trim off the excess aluminium from the width of the piece, because the narrower it is the more workable it becomes. The final final scale width of the strip is approximately 13 mm and this line can easily be scribed top and bottom along its length using dividers on engineer’s blue dye. The finished profile is achieved with the scissors and a flat file, although great care is needed to avoid the softened piece becoming distorted.
It is inevitable during the forming process for some minor lumps, kinks or even creases to develop, but this is not fatal, since they can be erased with a little more annealing and some careful burnishing work using a hardwood dowel or the handle of a file. For these finishing touches it is best to tape the workpiece down onto the model. The final task, of course, is to mark and trim the piece at both ends before it is fixed in place with contact adhesive and then further finessed with abrasive papers. The ensuing rivet detail acts as belt and braces, because each rivet is fastened with a tiny blob of cyanoacrylate glue.
I have gone into some considerable detail in describing this single operation only because it is a perfect illustration of how, with care and perseverance, seemingly extreme shapes can be formed relatively easily in litho plate.