Wing undersurfaces: Leading edge
Monday, 24th July, 2017
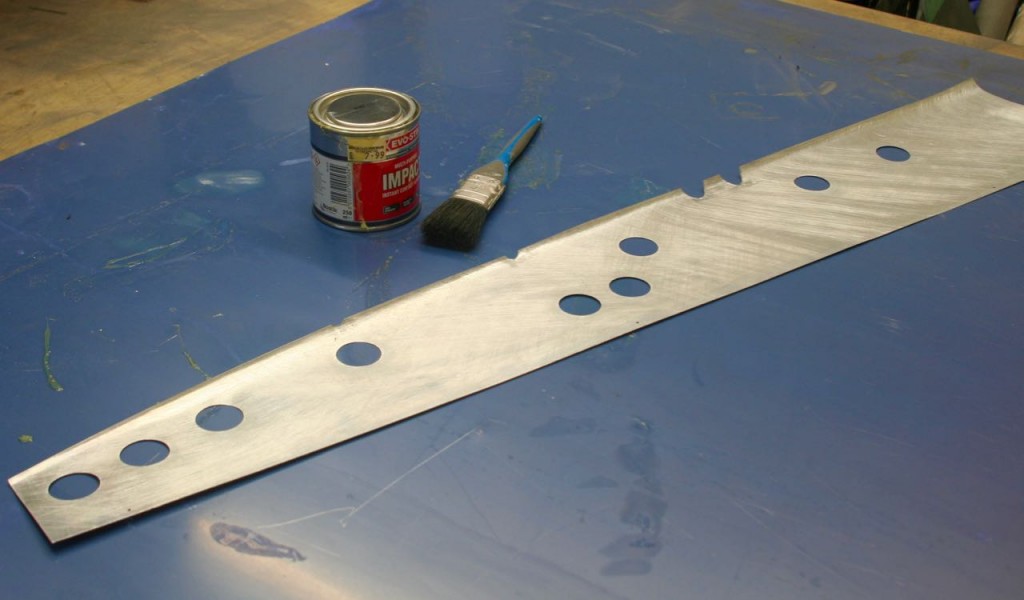
As with the upper surfaces previously described, skinning the underside of the wing starts with the leading edge panel. At more than 34 Inches long, it is an awkward piece: it must must align with the main spar, whilst also abutting precisely with its already installed dorsal counterpart along almost the entire span of the wing. Consequently the margin for error is zero, and come the ‘moment of truth’ when the adhesive grabs there is no going back without potentially irreparable damage.
A further complication arises due to the numerous circular openings, nine per side, and I cut these out as the first step before annealing.
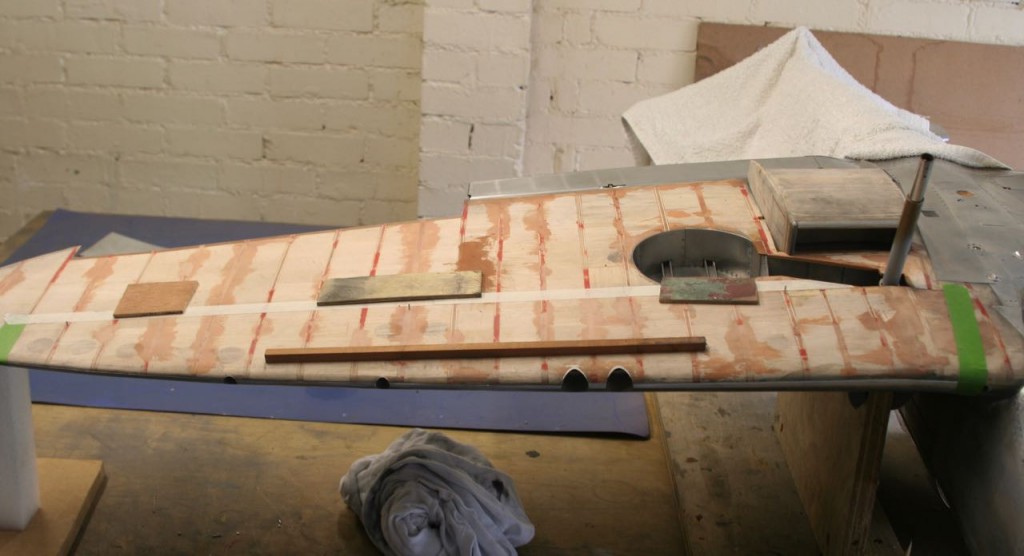
I have described my ‘three pins’ technique in my blog of 6th November, and it was sorely needed here here as an aid to positioning, both during the forming and cutting and the critical final glueing of the panel. The lower wing chord in a Spitfire is much flatter than the upper one, and this works to advantage here because it is only necessary to anneal the immediate leading edge area of the workpiece and the root region around the dihedral break in order to achieve the required shape. It is also an advantage that the curvature tapers to almost nothing as it approaches the tip.
The major problem arises when marking and cutting away the unwanted overlapping metal to so as to achieve a perfectly straight and consistent seam line down the entire leading edge. My solution, which I have described before, is to paint the extreme edge of the already installed upper panel so as to imprint a line in wet paint on the inside of the lower panel. The resulting impression is never perfect, but usually good enough to cut to with care and circumspection; and if in doubt the paint can be washed off and the process repeated. There is probably a better way to do this job, but I am not aware of it.
I use sharp scissors to make the all-important cut, but fine tuning is done with a file and repeated test fittings: Yes, it is possible to file softened litho plate by using the stiffening effect of the curvature in the plate as its own intrinsic support, but it takes great care and patience.
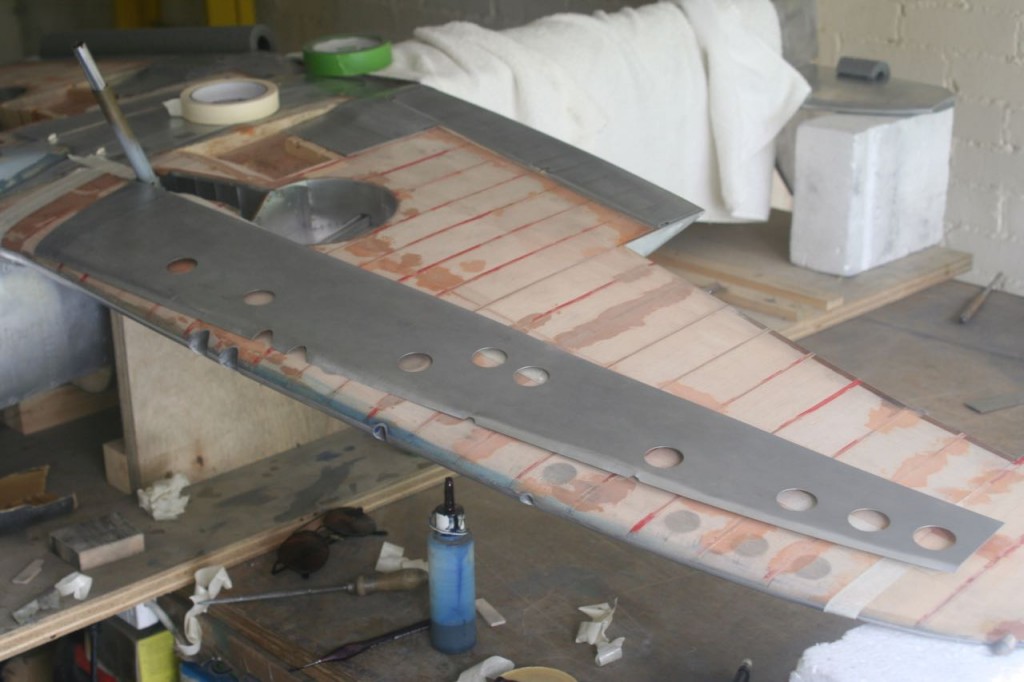
The gun ports require special treatment, and are gradually refined during the fitting process from a minimal V cut made for location purposes to the required elliptical shape. However, it is important that at least one millimetre of excess material is left all around the periphery before glueing. This is cleaned off only after the glue is hard, using the tubular apertures to guide the file.
The final stage, even with the three locator pins, is a heart in the mouth operation, and my picture shows the additional precautionary deployment of scraps of wood as buffers at strategic locations so as to prevent premature grabbing at the crucial lowering down stage. Mercifully, all went well, and with both port and starboard panels applied, I was able to give myself nine out of ten for that all important and highly visible seam line.