Wing undersurfaces: Riveting
Sunday, 8th October, 2017
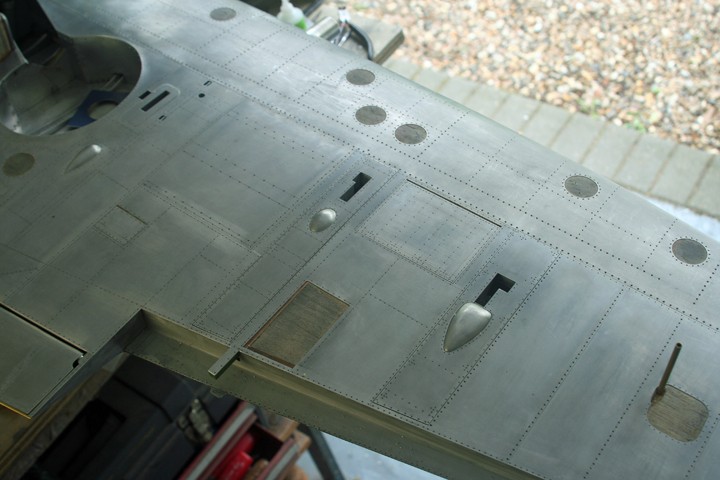
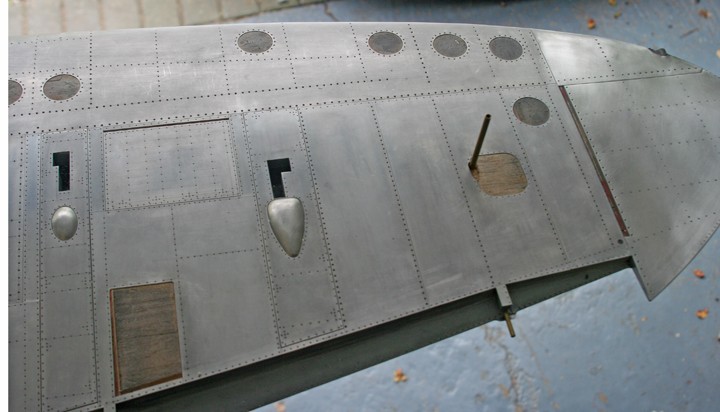
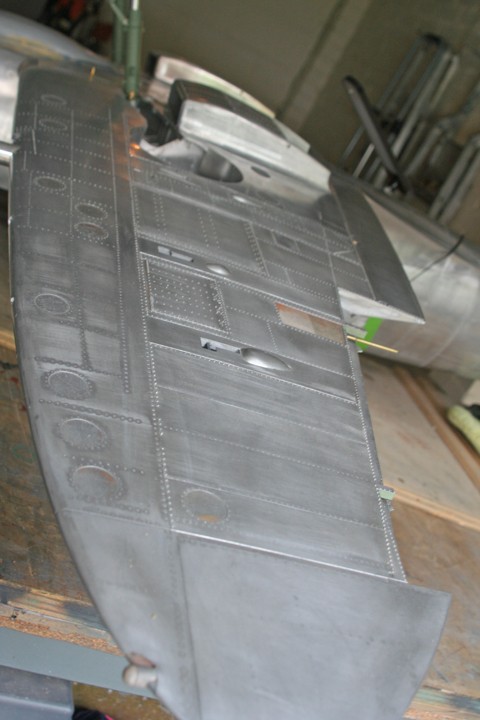
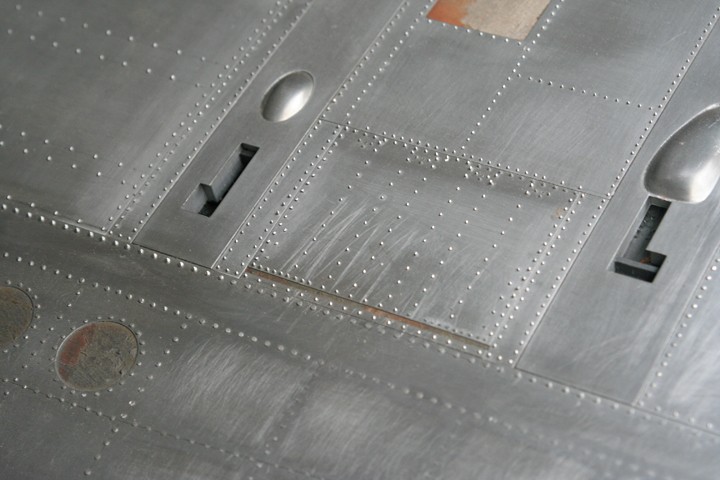
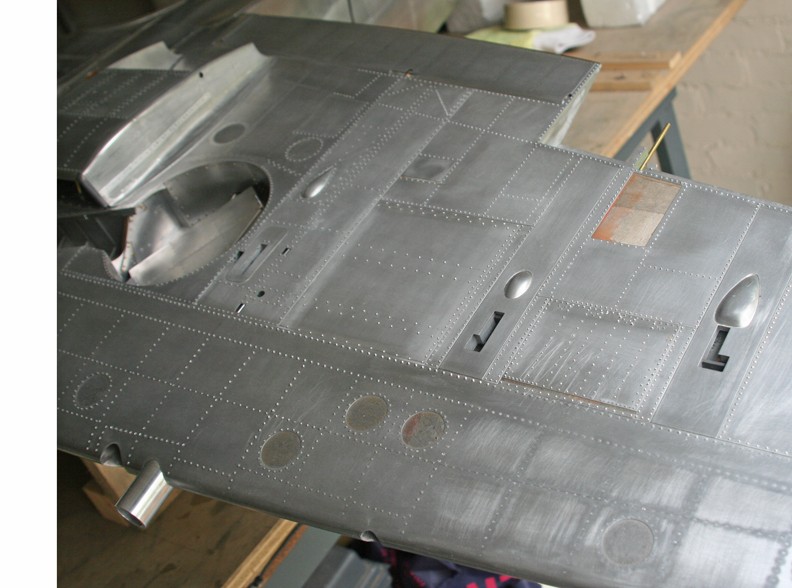
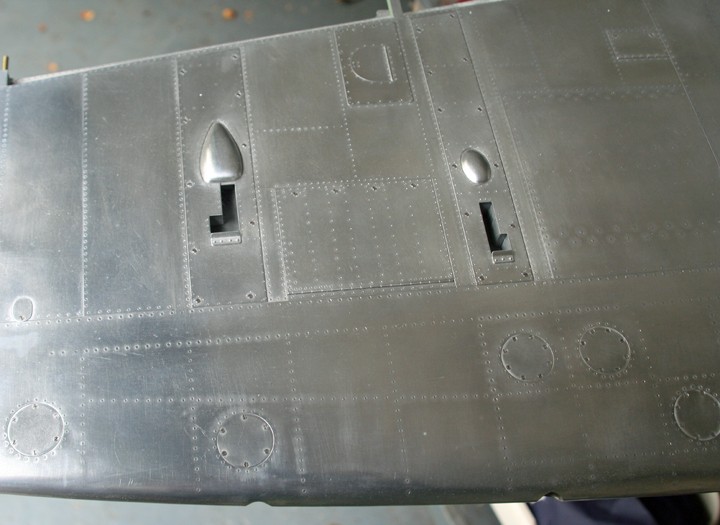
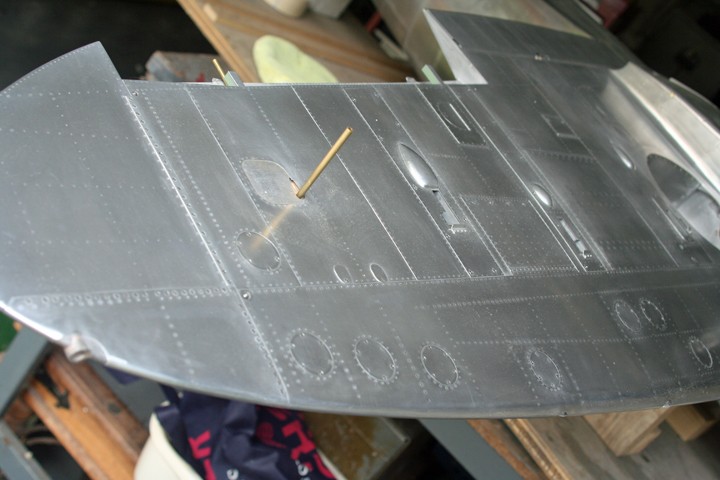
I have documented my technique for ‘riveting’ the metal skin panels of my 1:5 scale models so often here and elsewhere that it needs no further elaboration, so I will let my photographs of the process on the underwing of the Spitfire speak for themselves.
The skinning and riveting of the underside of the wings has taken most of the summer: The number of tiny holes to be ‘drilled and filled’ is simply vast and it cannot be rushed. Yet despite the seemingly endless repetition, it is something that I quite enjoy; with care and concentration it is simplicity itself to do, and much welcomed ‘therapy’ after those many other more challenging and less well charted tasks where irrecoverable disaster may only be a misstep away!
The plethora of inspection doors and panels that characterises the undersurfaces of the Spitfire’s mainplanes also makes itself felt at this fine detailing stage. Where there are thousands of rivets, there are also several hundreds of screw ‘fasteners’, some of them tiny, and each one of which has to be put in accurately and individually and without damage or distortion to the fragile aluminium skin, much of it rendered ultra soft as a result of the annealing process.
When sourcing screws – countersunk, round, or cheese head – I habitually stick to the British Association (BA) series so well loved by model engineers in the UK. I source stock in steel or brass ranging from tiny 16BA through 14, 12, 10 and 9 BA and occasionally larger; and most of these feature somewhere on the wing.
Make no mistake, these tiny fixings are expensive to buy, and some are becoming increasingly hard to come by as manufacturers increase not only their prices but also minimum order requirements, to the extent that traditional model engineer suppliers are finding it no longer viable to stock items that I have been using routinely for decades. It is a worrying development: Where ‘flush head rivets’ can be substituted for, or even supplanted by, aluminium wire, no such simple alternative is available for slot headed screws!