Wing undersurfaces: Rad 'ramps'
Thursday, 12th October, 2017
The radiator blocks of a full-size Spitfire are set deep into the wing, almost to the top skin; and the wing ribs immediately fore and aft of them are cut away to accommodate a ramp-like duct that allows free air flow in and out.
Since I planned to model the fairing doors in the closed position, I decided to include only that part of each radiator block below the wing mid-line, which is approximated in the model by the 1/4-in. plywood web over which the top and bottom halves of the wing are built. While this would be a significant compromise, it would save a lot of work otherwise needed to cut openings in the wing web and and to remove material above them; and why waste time on something that will never be seen?
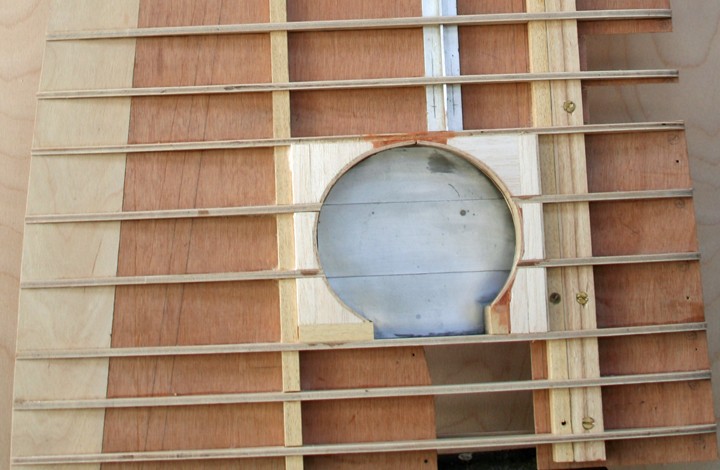
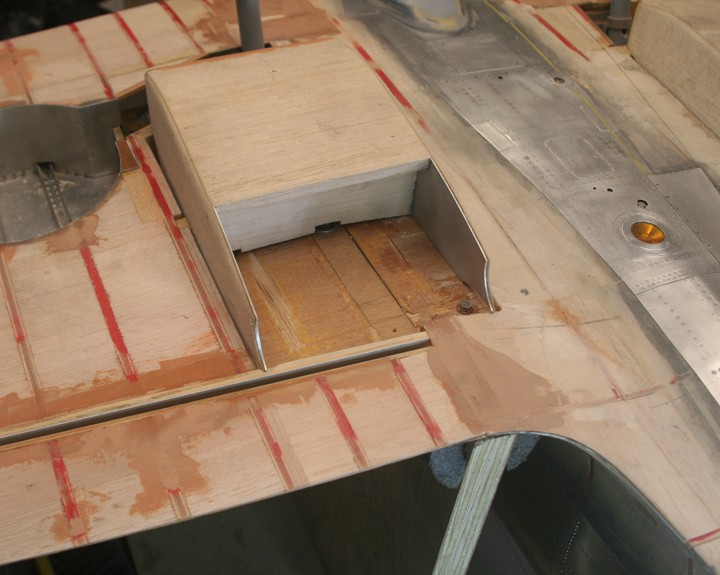
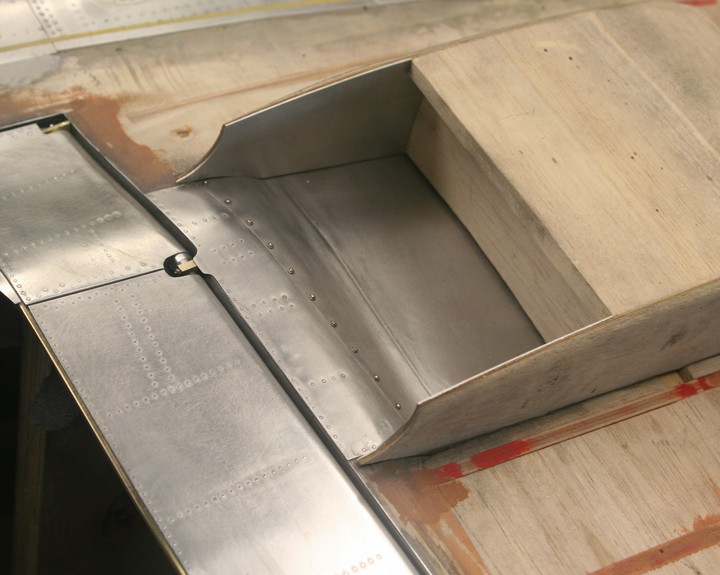
Accordingly, when building up the bottom half of the wings, I installed full plywood sections throughout, ignoring the radiator cavities entirely. Only after the main planes had been permanently fitted did I remove in situ those parts of the half-sections (three per side) where the radiator assemblies would go. And it was not until the summer of this year, with the underwing skinning well advanced, that I turned to fleshing out the two shallow cavities with a soft balsa fill from which to carve the ramps, or, more accurately, those parts of them that will be visible through the front and rear of the radiator fairings.
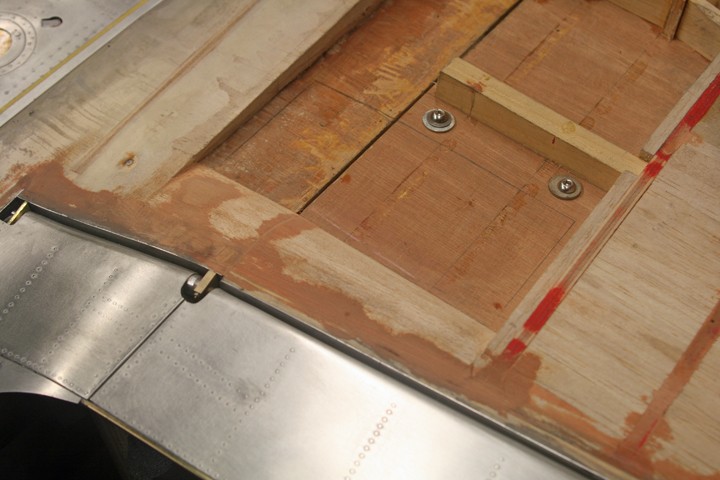
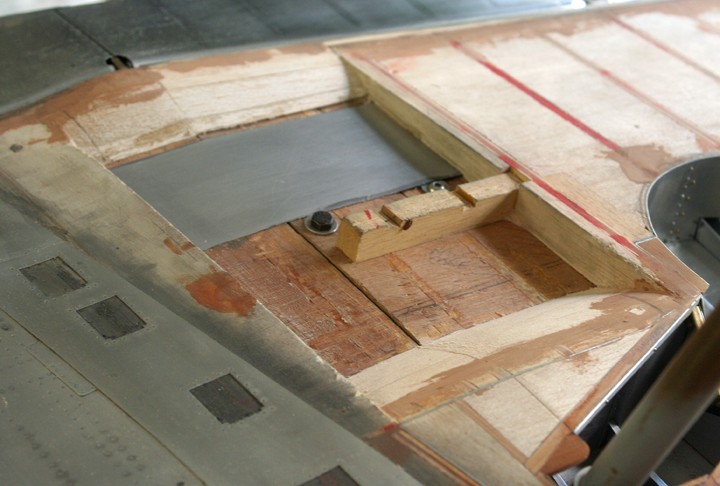
My photos capture this stage, and the subsequent cladding of the ramps with litho plate as part of the underwing skinning sequence. Not surprisingly, the process called for minor adjustments to the wooden fairing shells that I had built three years previously, although, all in all, the fit was good.
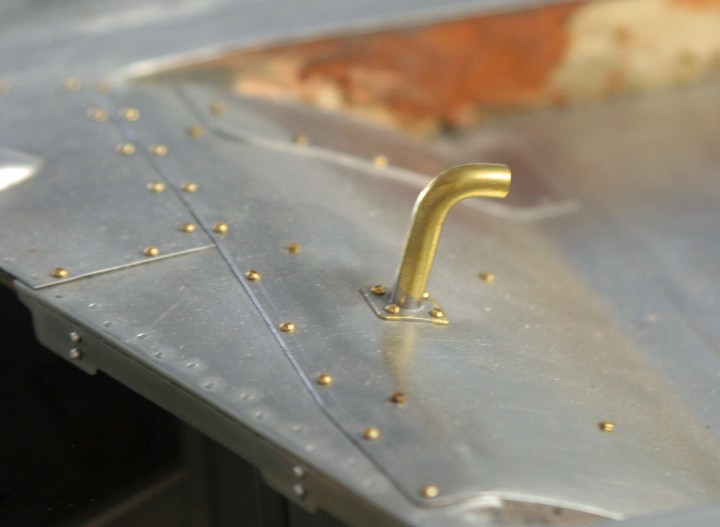
As can be seen, the finished ramps are relatively free of detail, save for a row or two of flush rivets and round-head screws and the prominent L-shaped vent pipe which is offset from the centre of the starboard intake.
Much more detail will be needed when it comes to skinning the exterior of the fairings and bringing the radiator and oil cooler blocks to life with foliated and honeycomb surfaces, but this is for another day.